Sewing Project: Long Denim Skirt
Hello again! Today I’ll be talking about the first steps I took in making one of my latest sewing projects: a long denim skirt. Let’s get started!
I used the same pattern as this skirt, only the long version. Here’s a link to the pattern, which is made by Marie Madeline Studios.
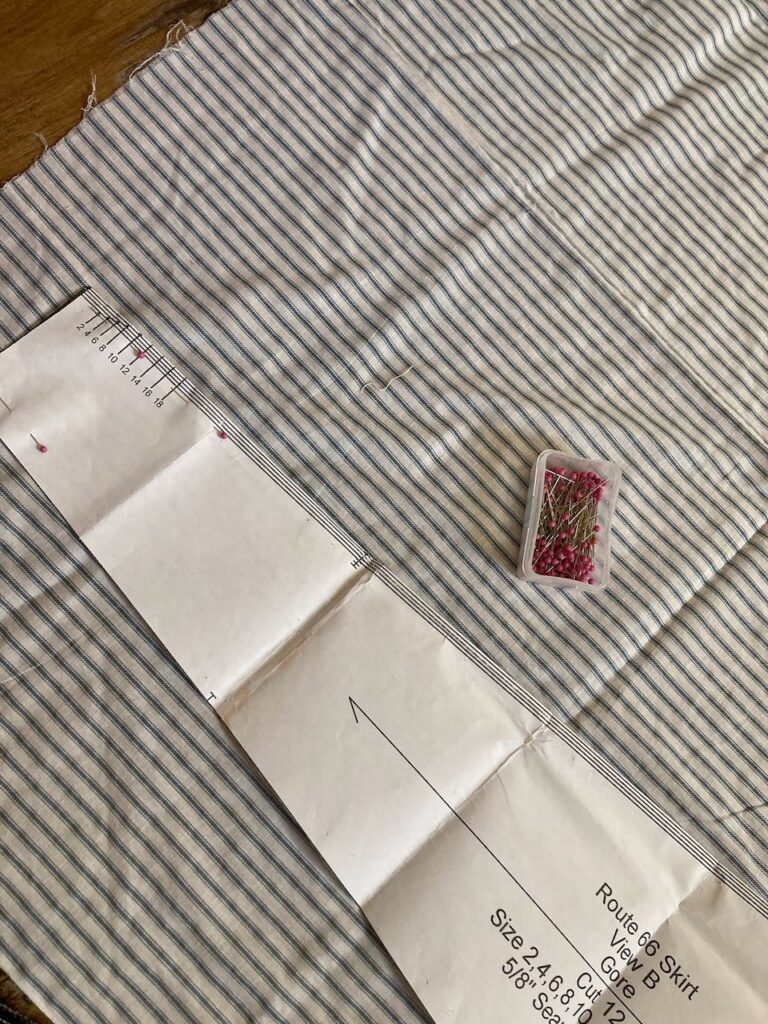
Before I started cutting out pieces from my denim, I cut out a “master” piece from this fabric. It’s a lot easier to work with pinning this fabric than the thick paper. I also made sure to label the size onto this master piece, for future use.
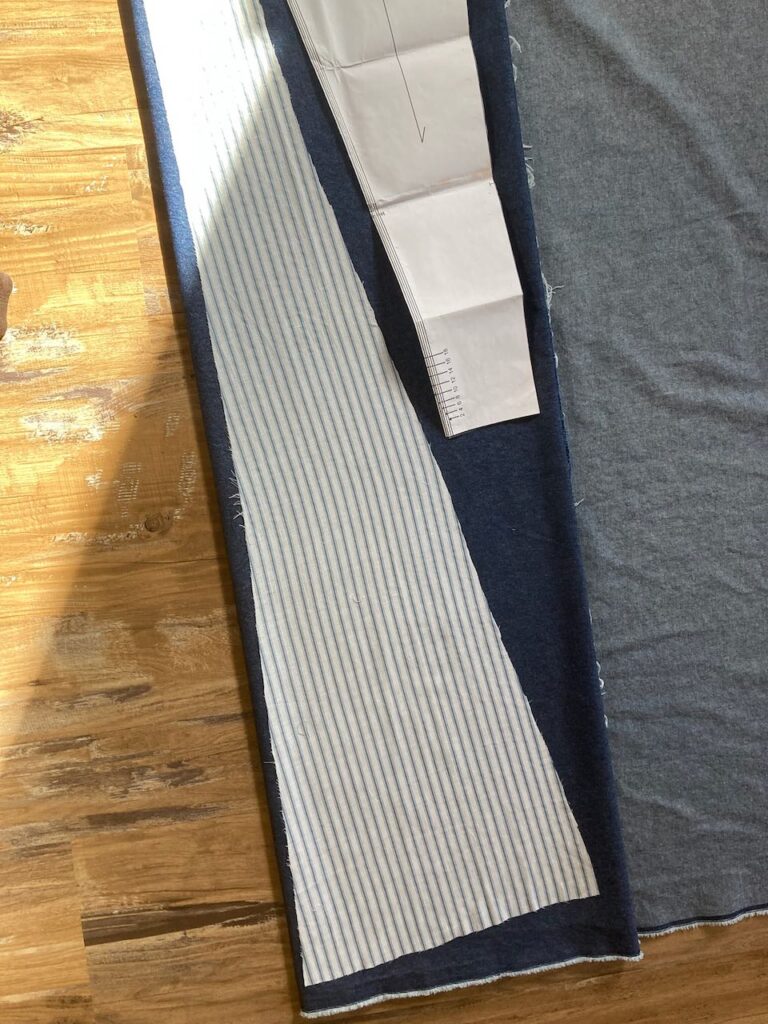
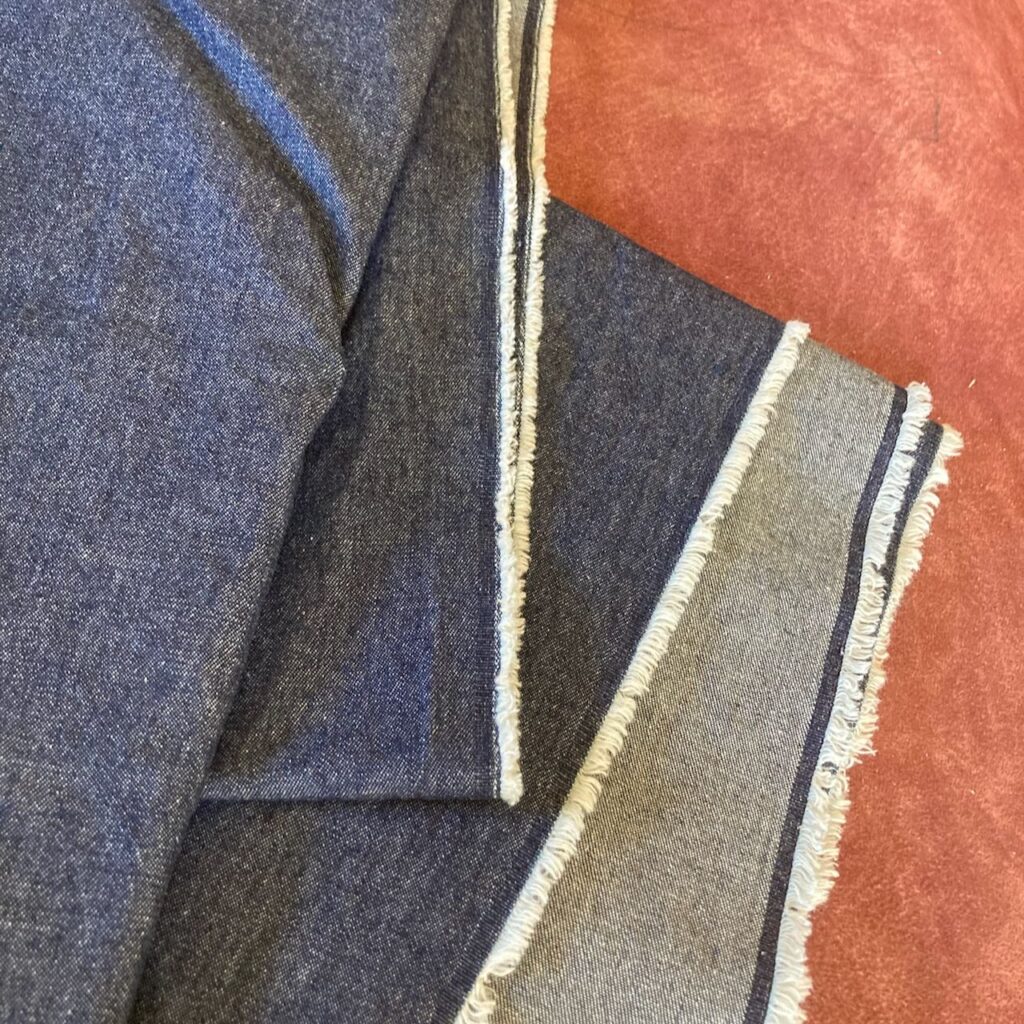
Then I cut out the pieces. I folded up the fabric so that I was cutting through four layers at once. (I bought the fabric at Joann fabric store. It’s a dark wash, 7oz denim.) And so I ended up with twelve pieces of exactly the same thing.
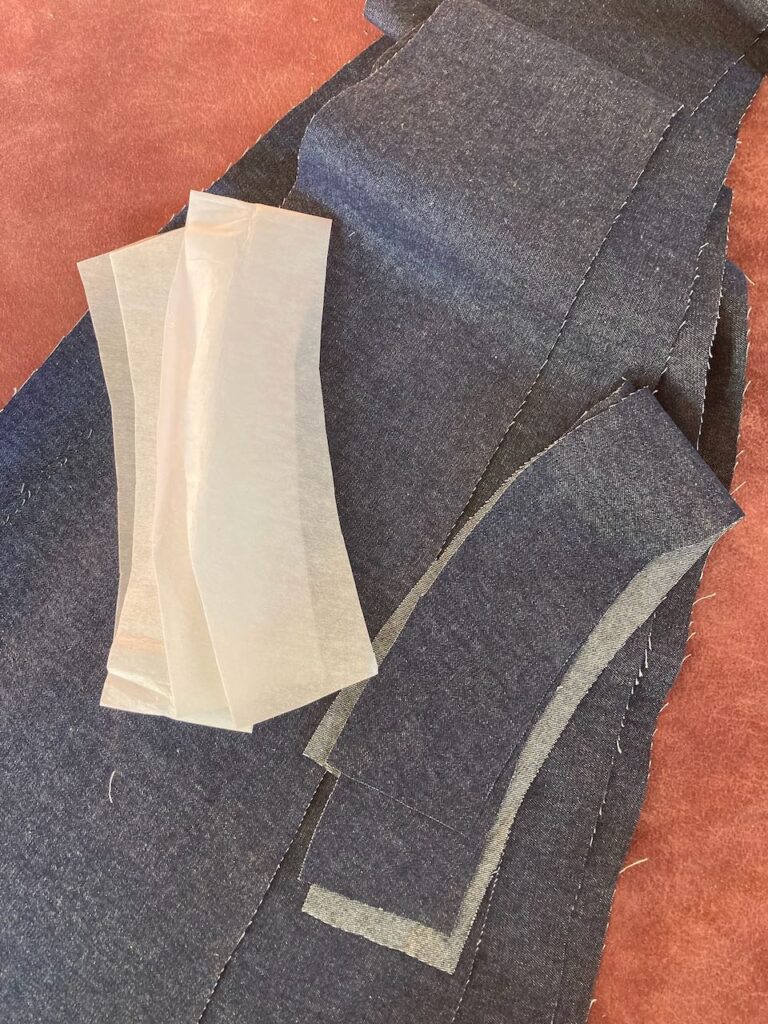
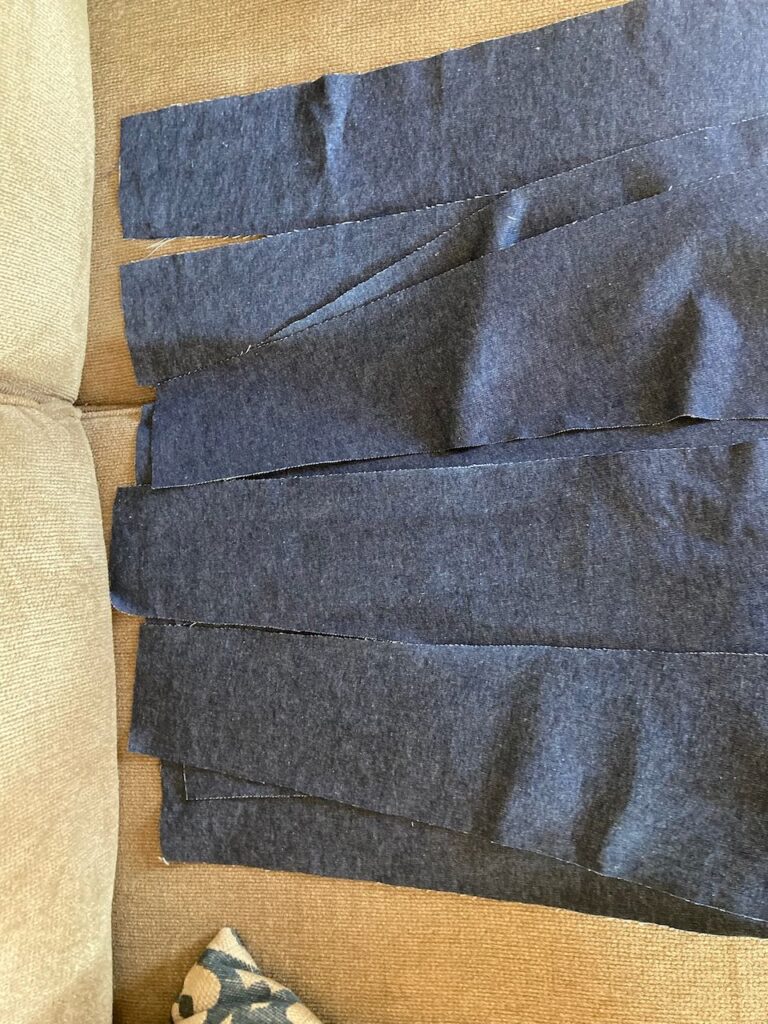
And here is all of the pieces together, including the two waistband pieces and identical interfacing pieces. I didn’t take quite as much time deliberating over the size to cut out as usual. Which, is probably why this sewing project seemed the least nerve-racking out of the ones I’ve done. I did have a few hiccups (which I’ll talk about later) but nothing too serious.
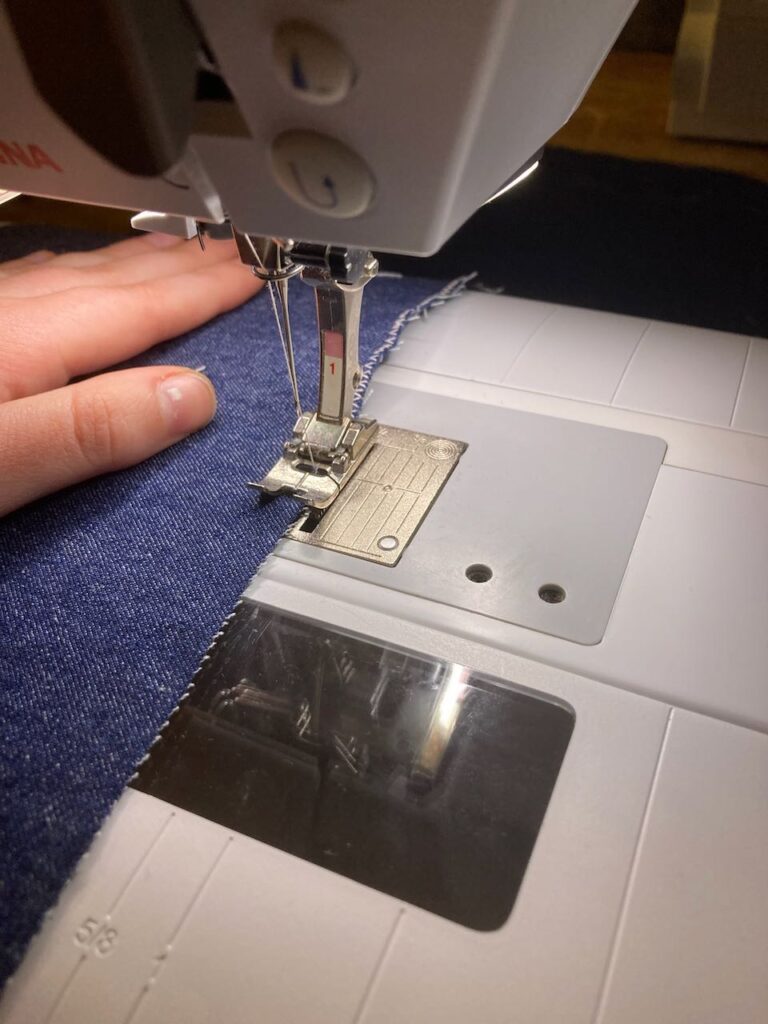
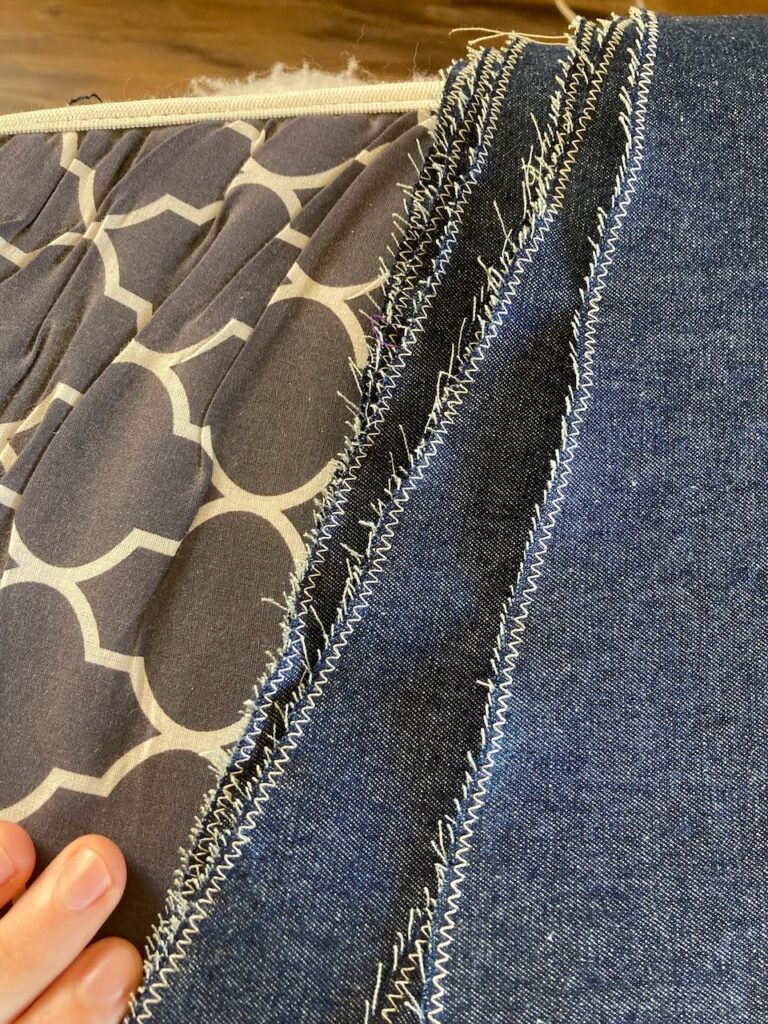
Then I finished both of the long edges on all of those gores with a zig zag stitch. That seemed to take forever, but it’s essential to the finished product. Wouldn’t want all our hard work to unravel, would we?
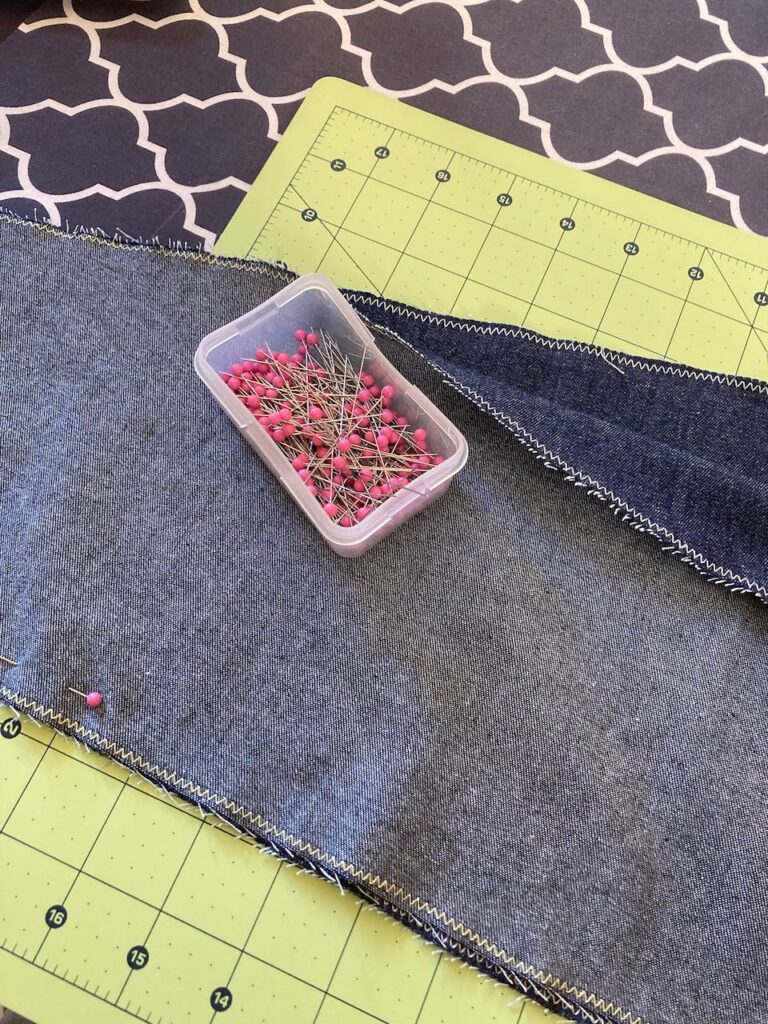
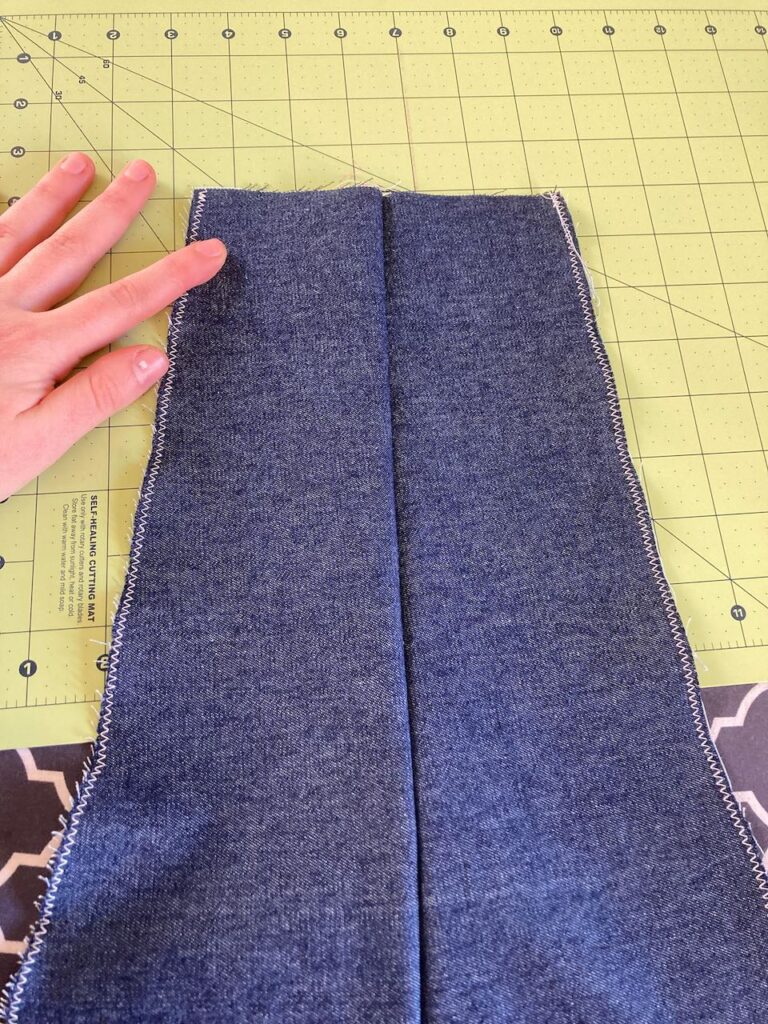
Then I pinned and sewed those panels together, by twos. So I ended up with six sets of two panels sewn together.
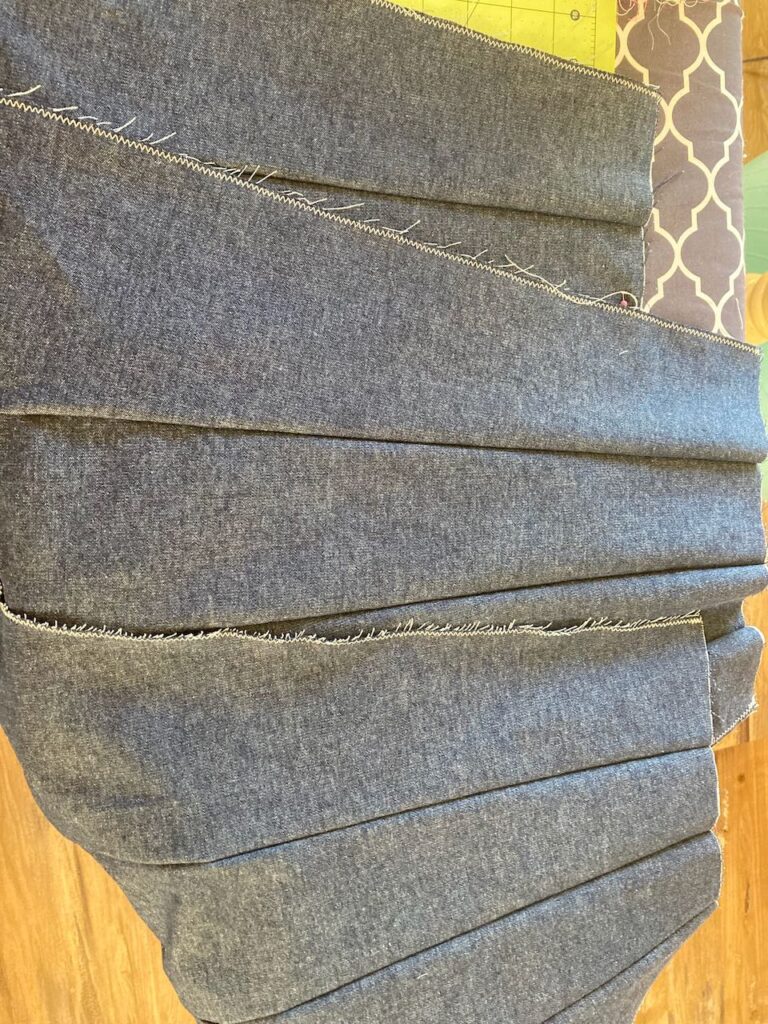
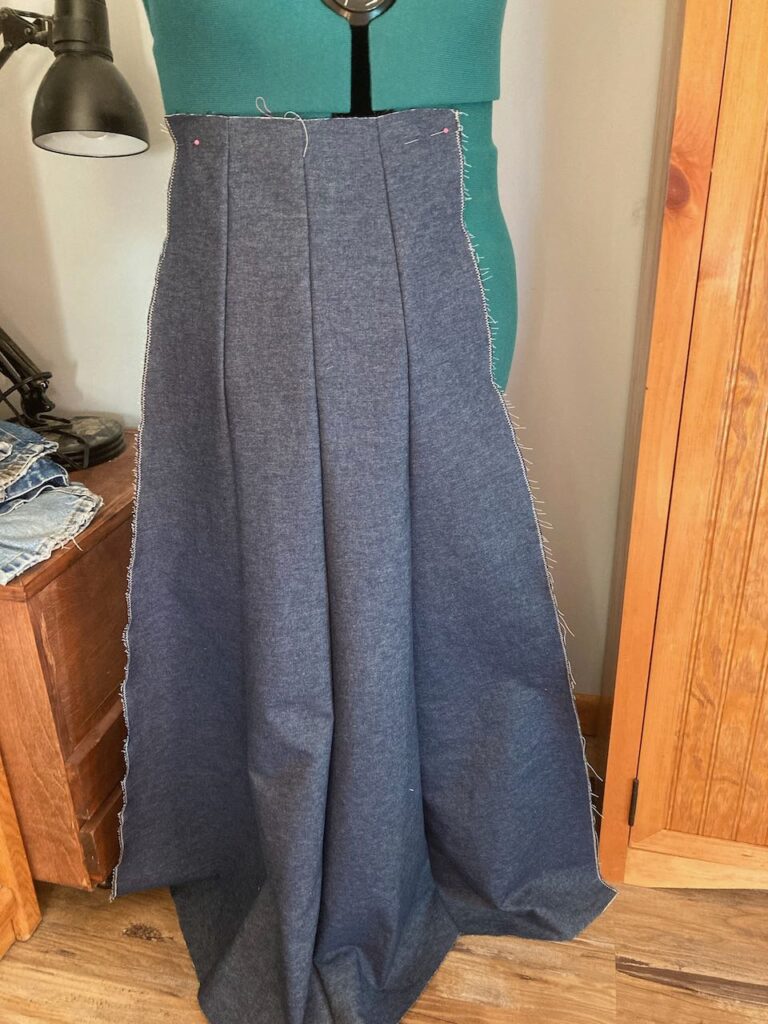
Then I sewed those panels together in a way that I had three sets of four panels. I find that it’s easier to manage when I sew them together in this way, so that I’m not working with all of the panels connected to each other until the very end.
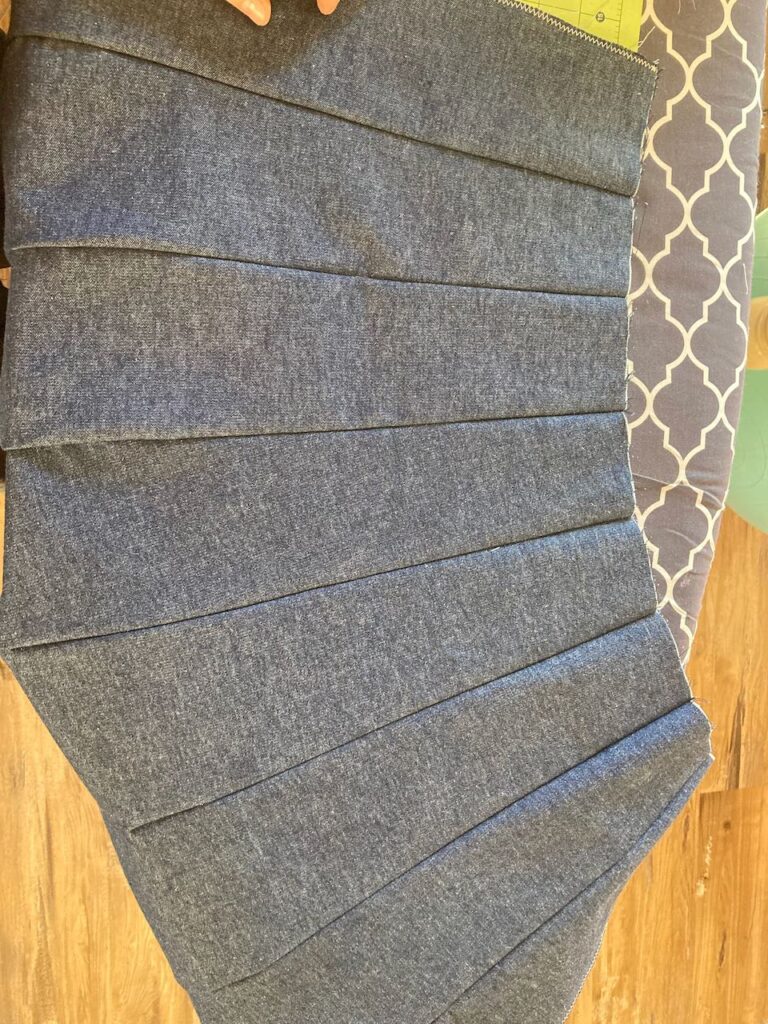
And you can see that here. It was at this point that I realized the skirt was too small. After a split seconds thought of giving up the whole project ;-), I just cut out one more panel, finished the edges of that piece, and sewed it to the other twelve panels. It worked out really well, and no one would be the wiser! Except anyone who reads this blog… 😉 Of course, adding that extra panel meant I had to do some addition to the waistband. I’m planning on telling about how I did that, in the next post.
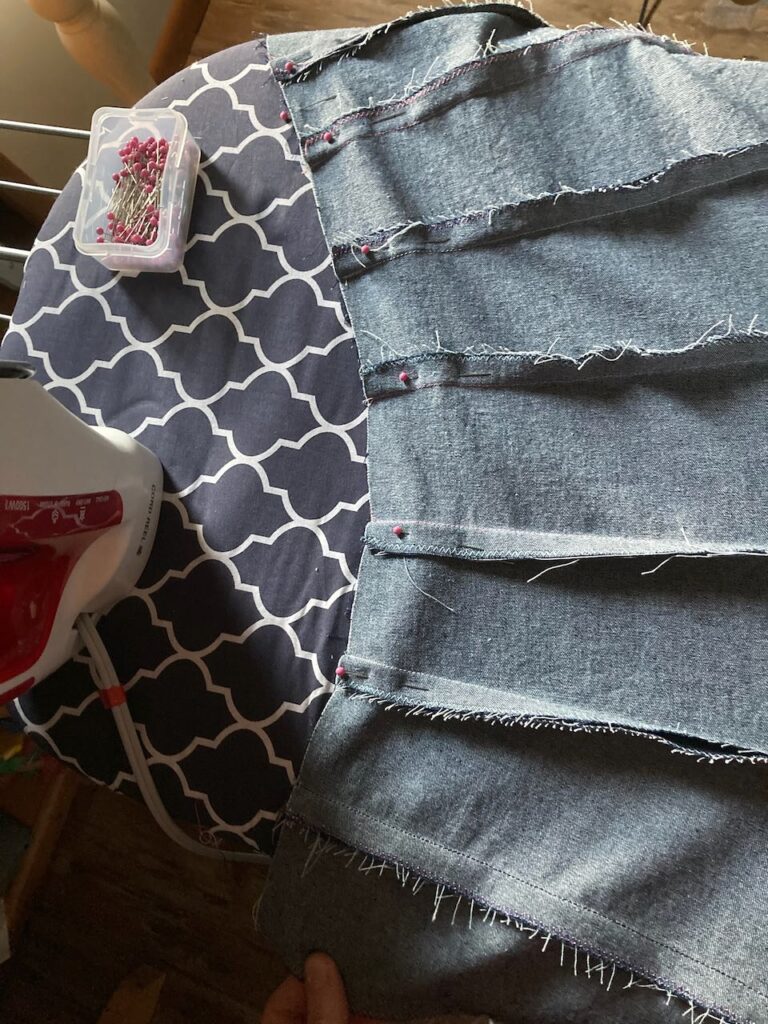
Sorry about the lighting in this photo. It was a little late in the day.
In this photo, you can see that I’m preparing to topstitch the skirt. In the pattern instructions, they said to iron the seam allowances to each side, then topstitch both of those down. I didn’t feel like doing twice as many rows than was really needed, so I pinned both sides of seam allowance to one side, ironed it down, and topstitched it. It worked just as well (or better, certainly faster) than what the pattern instructed. The pins were to remind me which side I was ironing the seam allowances toward. And I also happened to only have enough of a certain thread for the amount of topstitching I did, which was nice. 🙂
Well, that’s all for now! Hopefully next week I’ll be able to post about the waistband. ~ Emily
3 thoughts on “Sewing Project: Long Denim Skirt”
Comments are closed.
[…] be going a little out of order and showing the finished product of my last Simply Saturday post. (I say out of order because there are still two or three “in the making” posts to […]
[…] for my skirt. Oh, and if you’re wondering why the waistband had to be altered, take a look at this post. Let’s get […]
[…] be looking at sewing a denim skirt, the final steps. I’ll link to the first two posts here and here. Let’s get […]