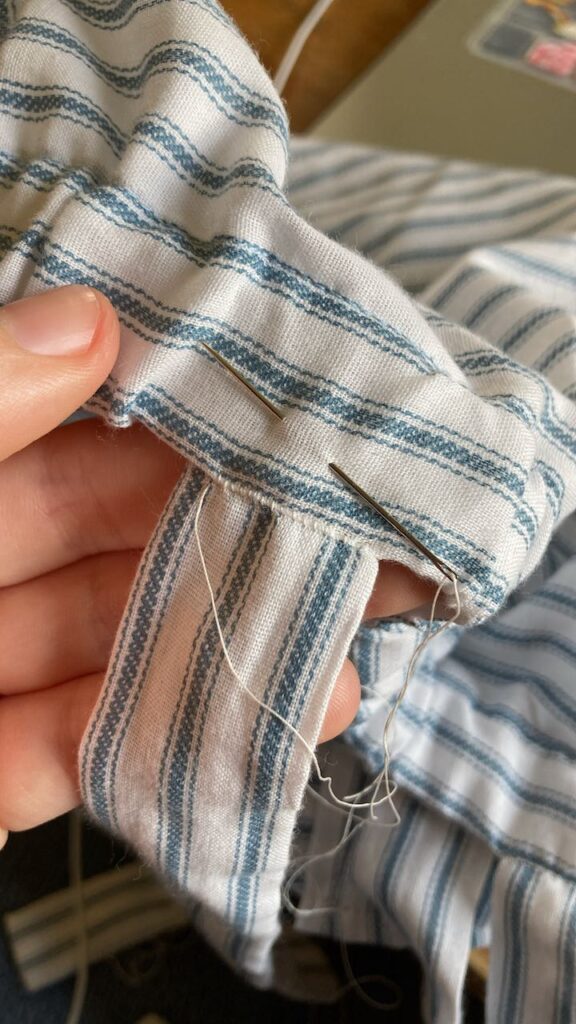
Making an 80’s Romper: Part Two
Hello again! Today on Simply Saturday, we’ll be taking a look at making an 80’s romper: part two. Let’s get started!
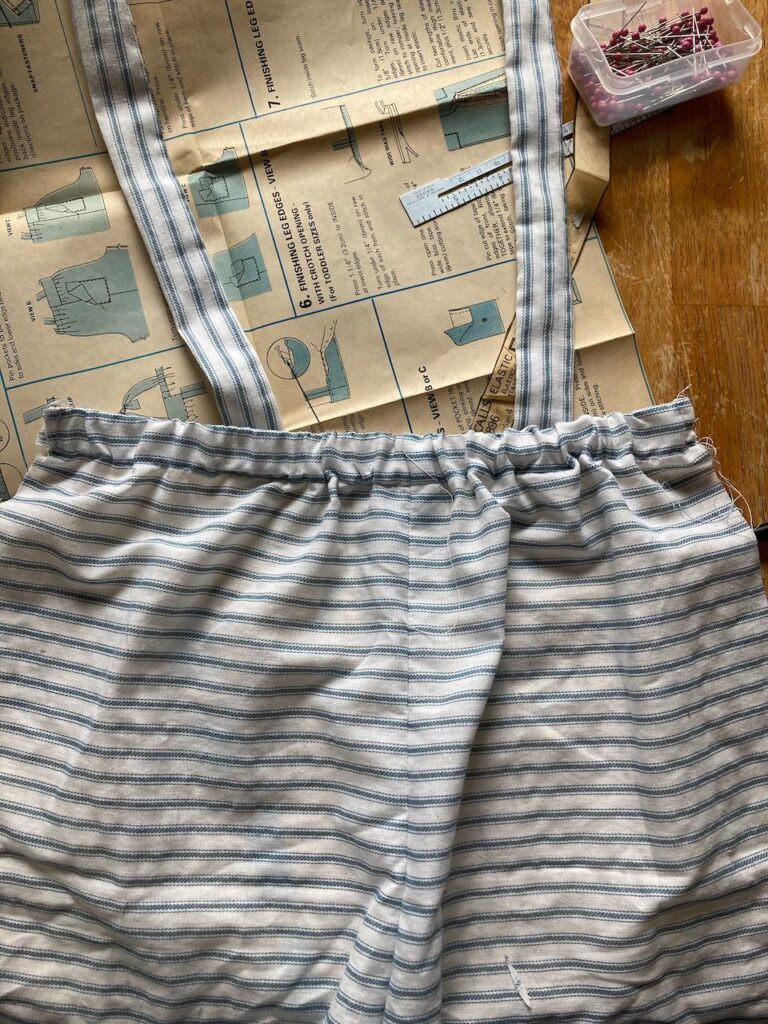
Picking up where I left off last week, we’ll start with the elastic that I inserted into the back of the romper. It served the purpose of gathering up the excess fabric.
Something that I’ve noticed in a lot of these older patterns is that there’s a whole lot of gathering!
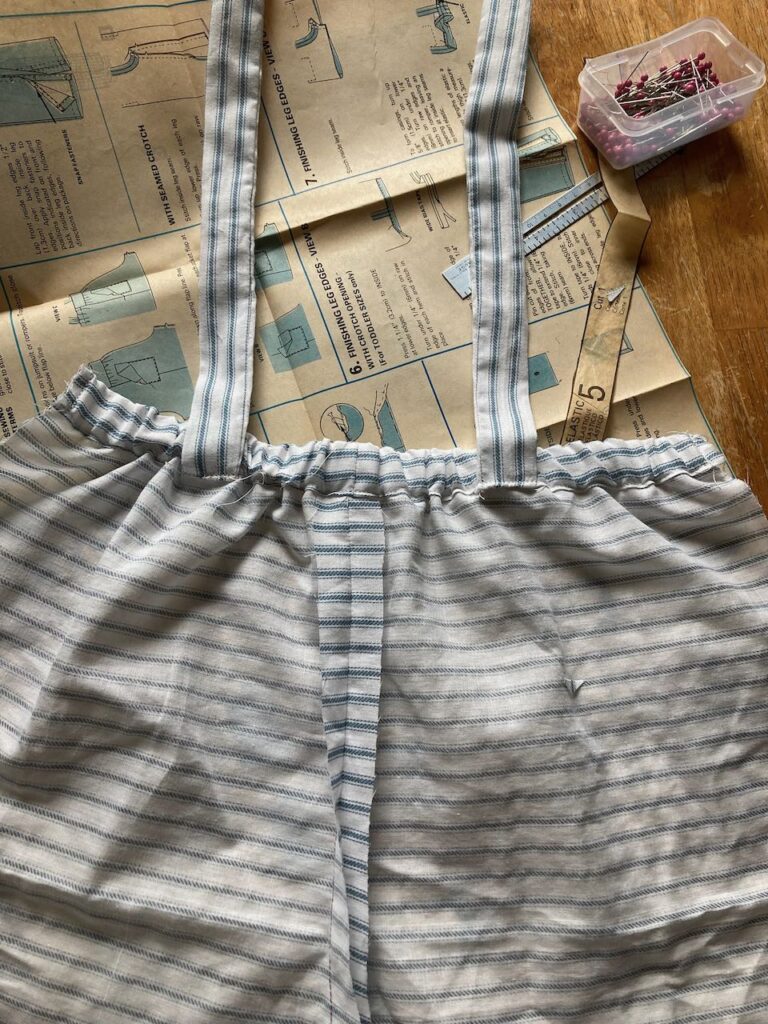
And here’s what the inside of that looked like.
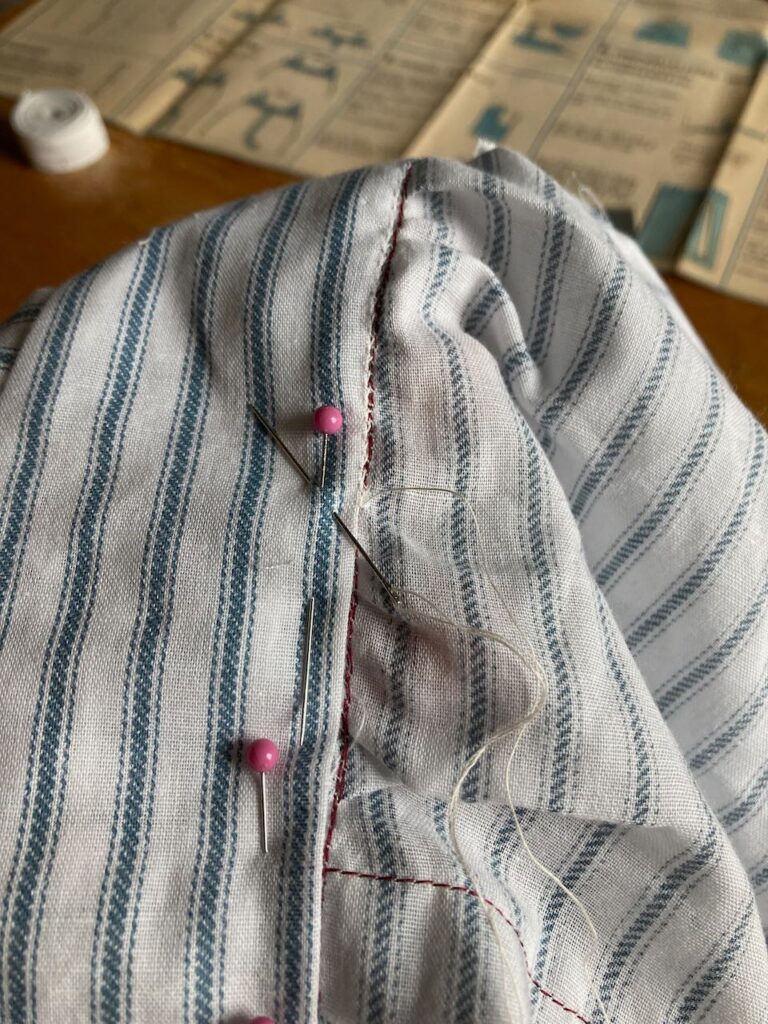
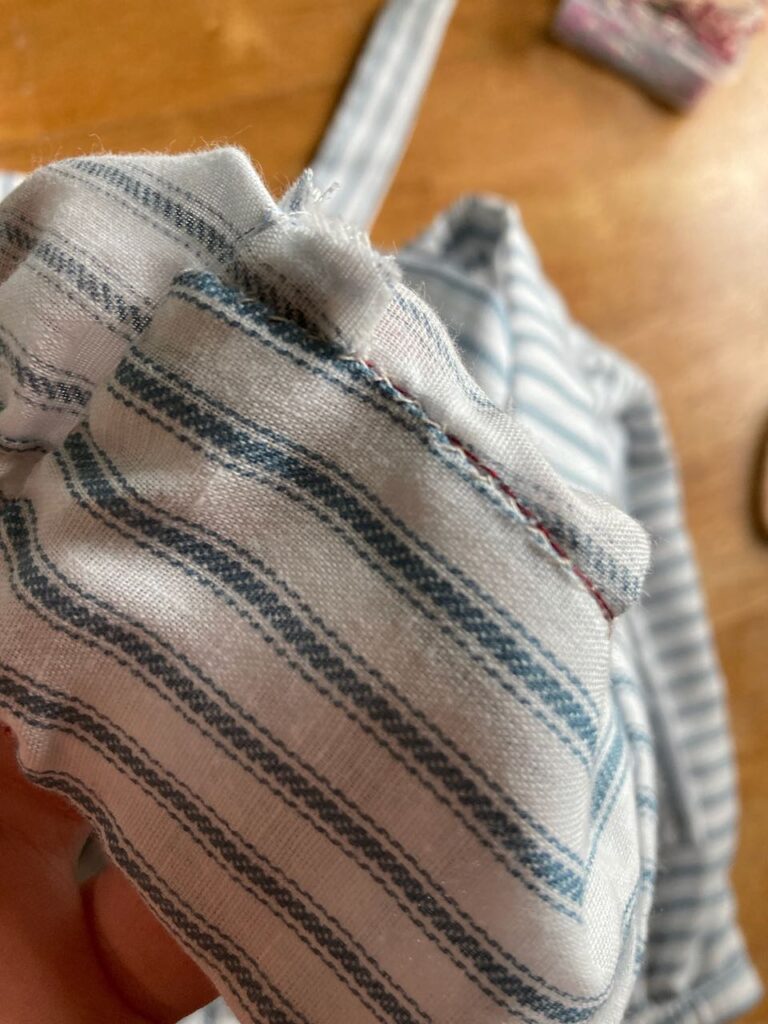
Then after stitching the back and front panels together, I added the facing to the yoke. I hand sewed the facing down, which was probably one of my favorite parts of the process. 😉
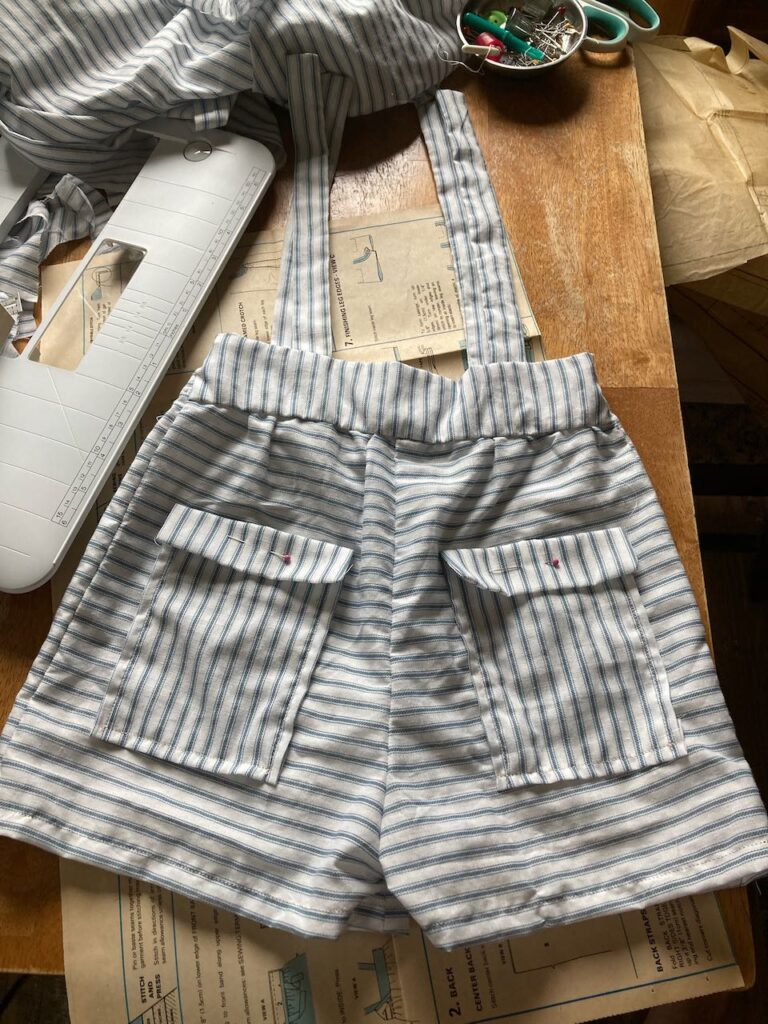
And then after adding the pockets, etc, I arrived at this point. This was before adding elastic to the legs…
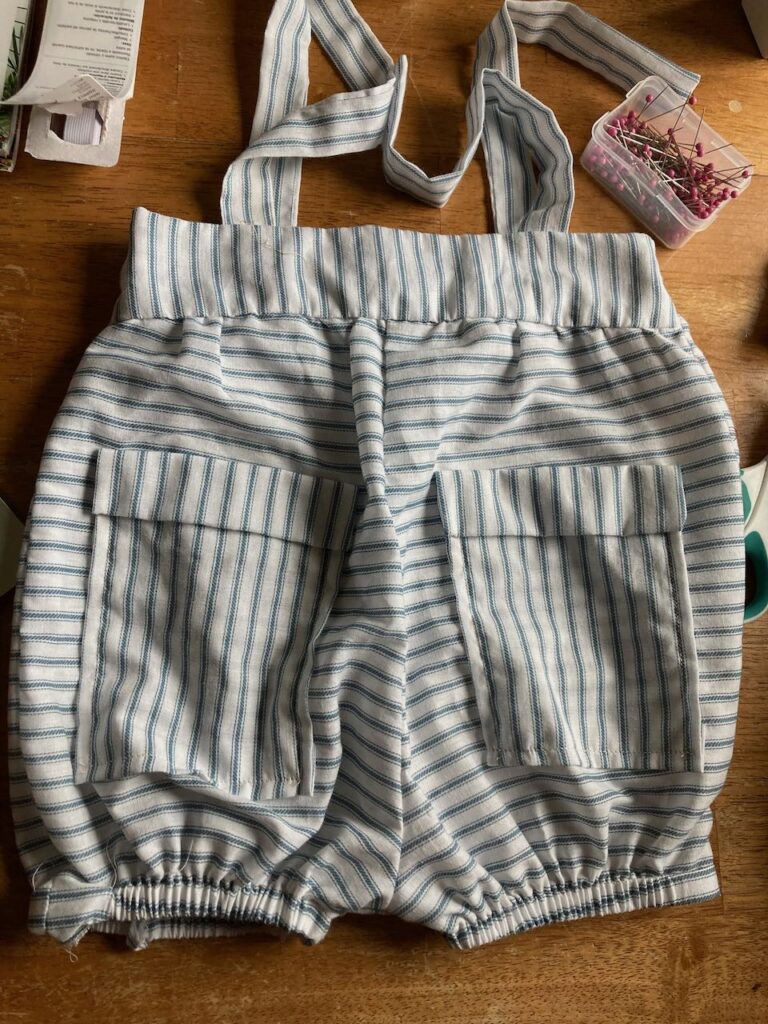
…and here’s what it looked like afterwards. Don’t worry, I evened out the elastic, which you may notice looks particularly wonky on one of the legs.
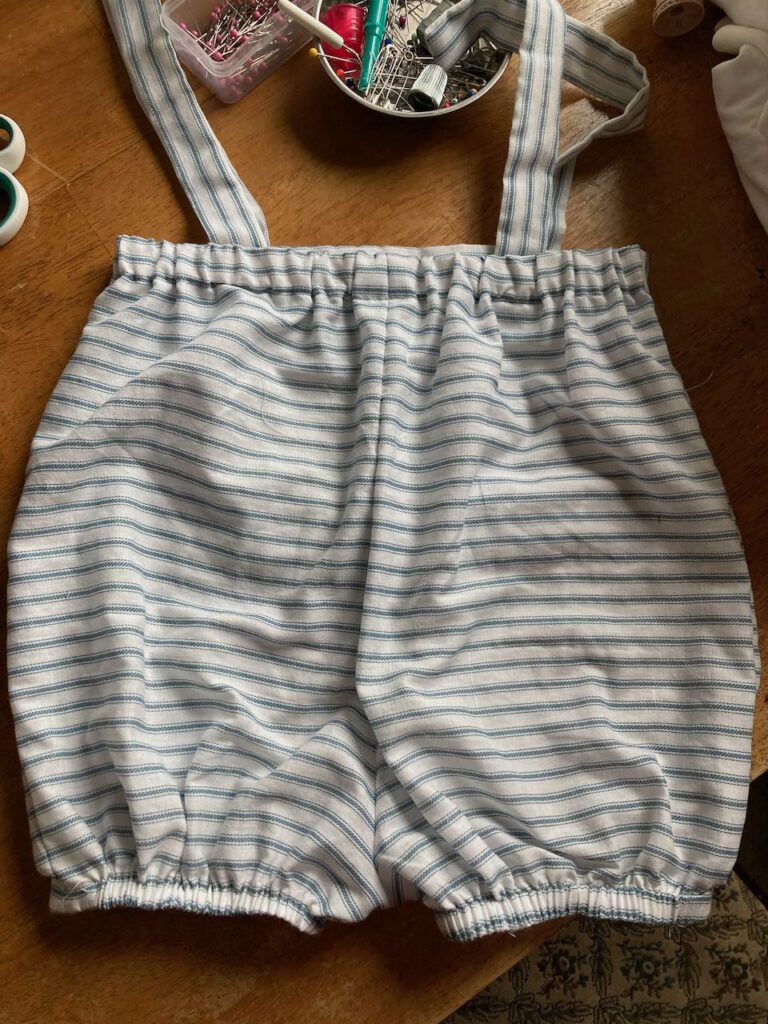
And here’s what the back looked like.
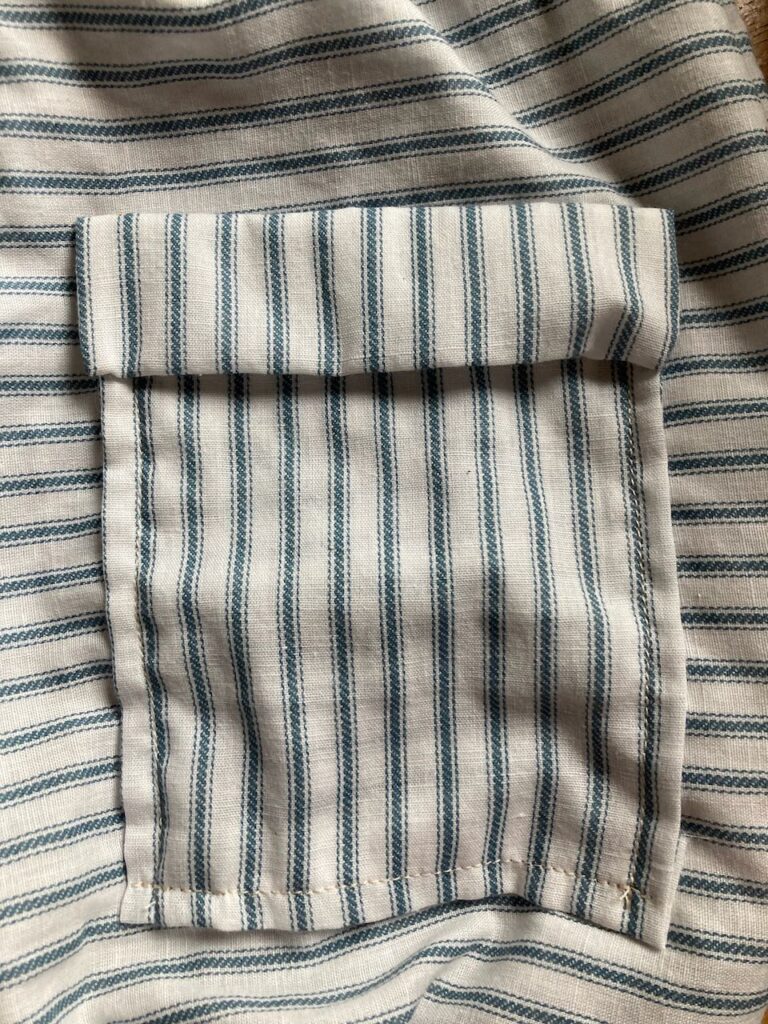
I really liked the added detail of the pockets, although it’s debatable how much use a one year old will have for them. 😉

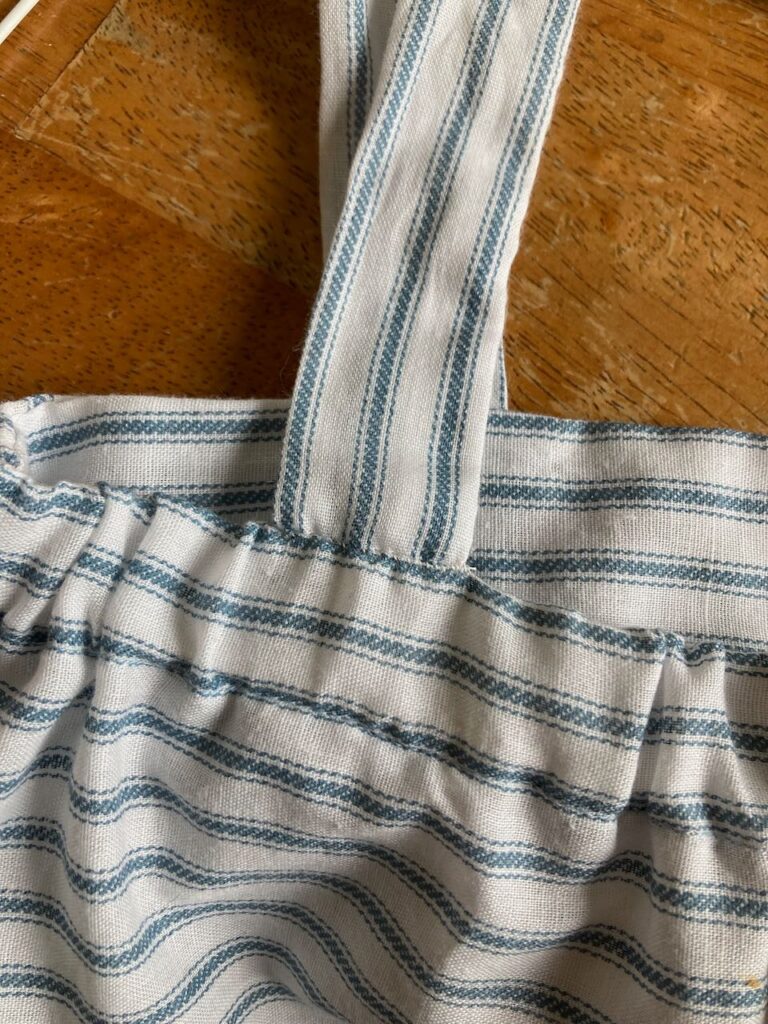
And then I was just putting a few little finishing touches. Such as sewing the back straps in place so that the elastic wouldn’t twist.
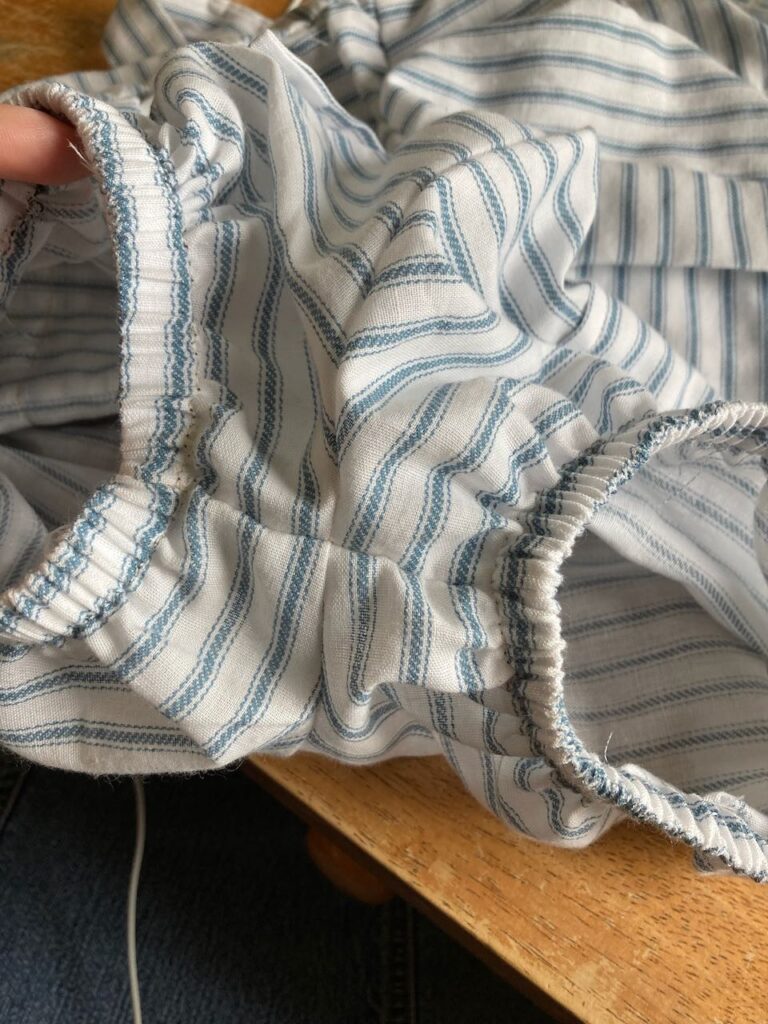
And at the bottom here I’d like to add some snaps, eventually.
But for now, I’ve finished it! I think it turned out pretty well, and also looked super cute on my niece!
I hope you enjoyed this post; making an 80’s romper: part two. Have you been doing any sewing lately? ~ Emily