Drafting a Bodice Pattern
Hello! Today on Simply Saturday we’ll be taking a look at my process of drafting a bodice pattern. Let’s get started!
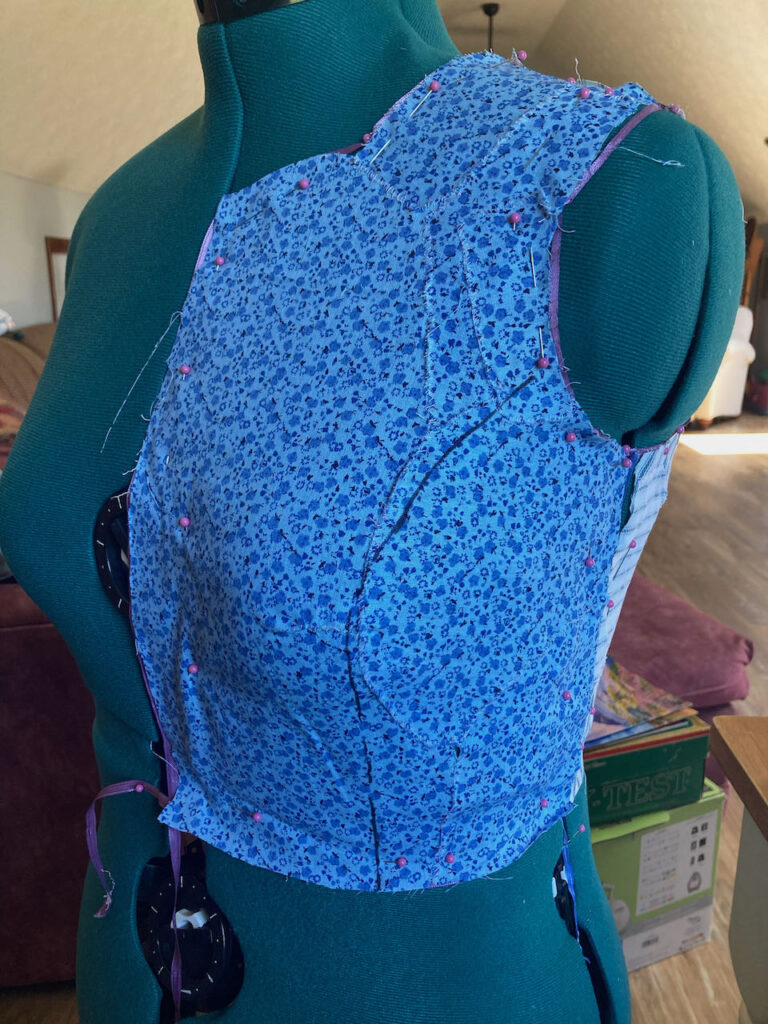
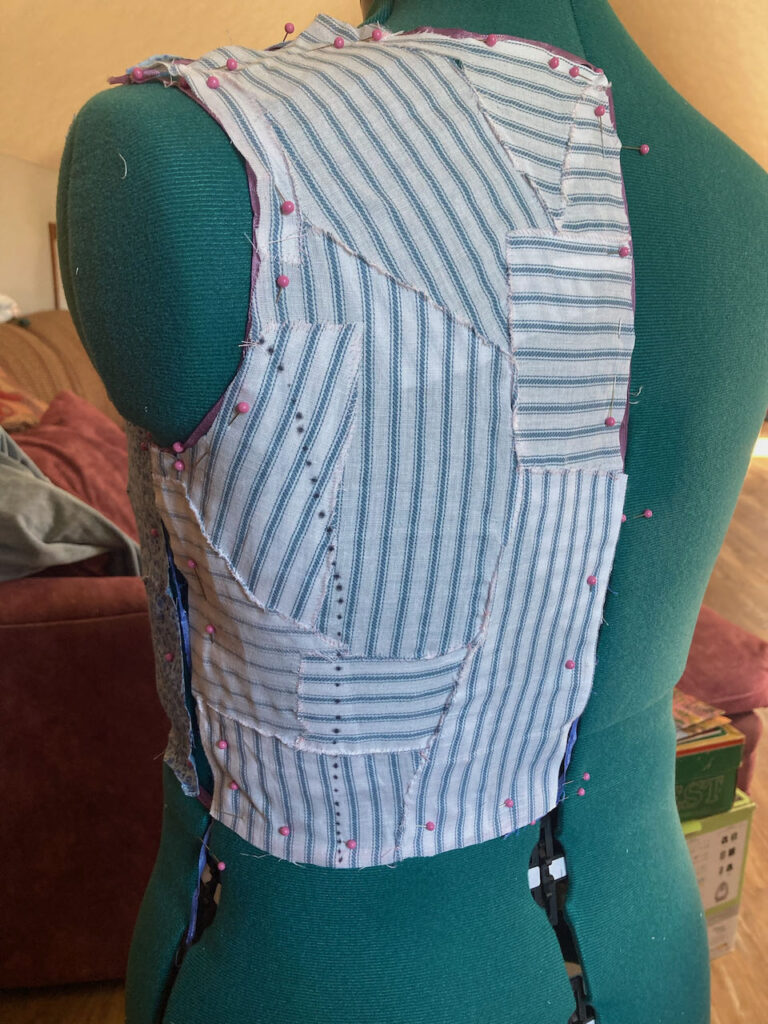
The first step in the process (for me at least) was to lay out the shape that I wanted using ribbon. Then I filled in the shapes with scraps of material. Those scraps of material then had to be sewn together by hand, before removing the pieces from the dress form. The black lines are where I marked the spots I was going to cut the pattern pieces in half (giving me side front and side back seams).
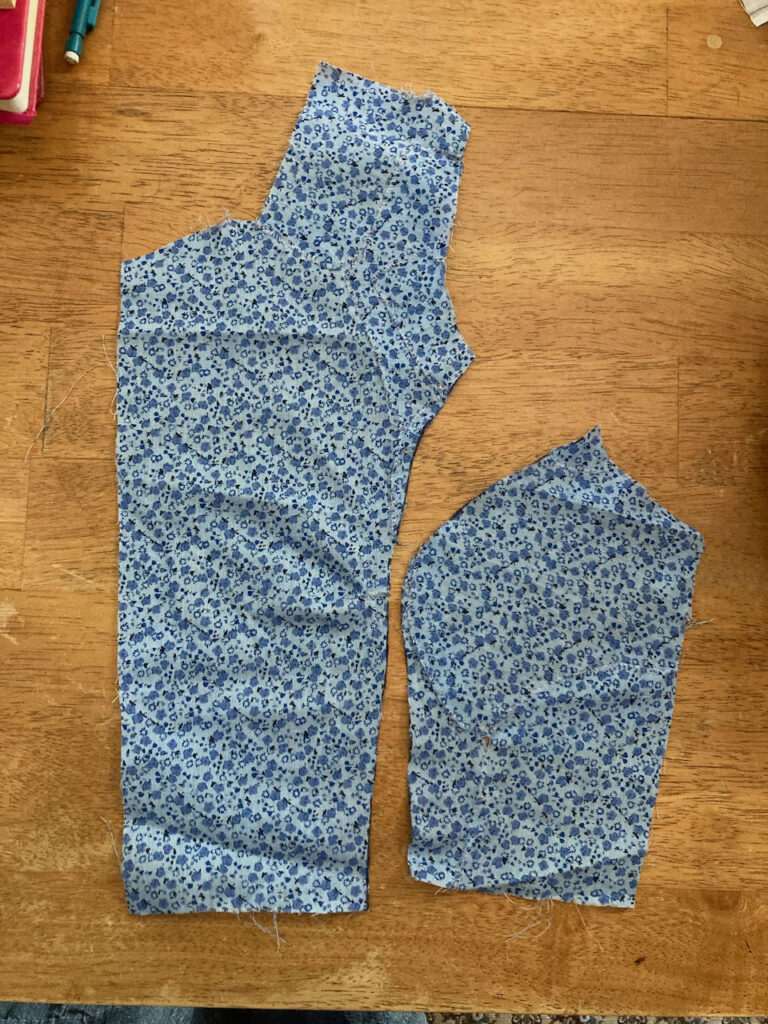
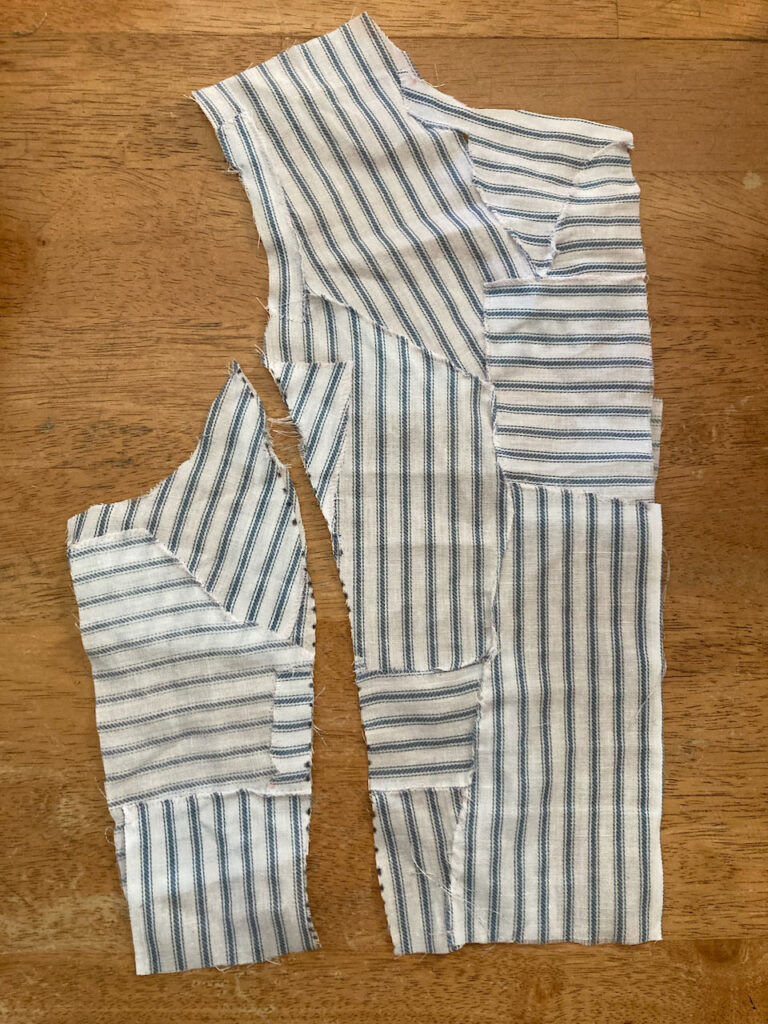
After I removed the pieces from the dress form, I cut along the black lines, giving me these four pattern pieces. Two for the back, two for the front.
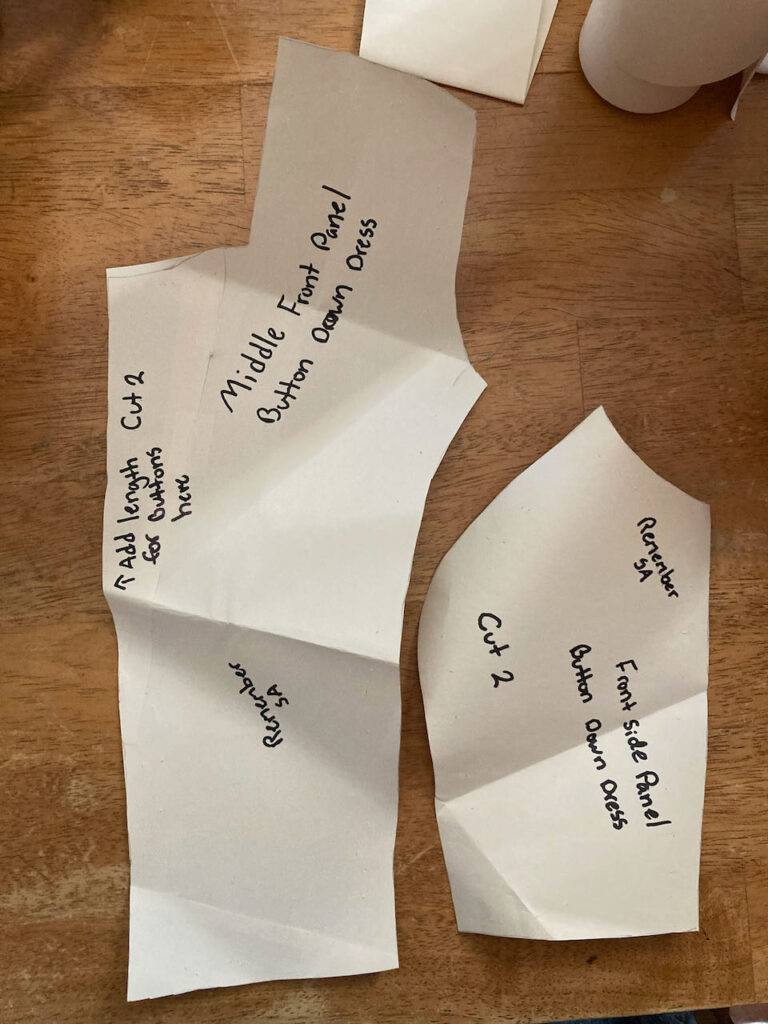
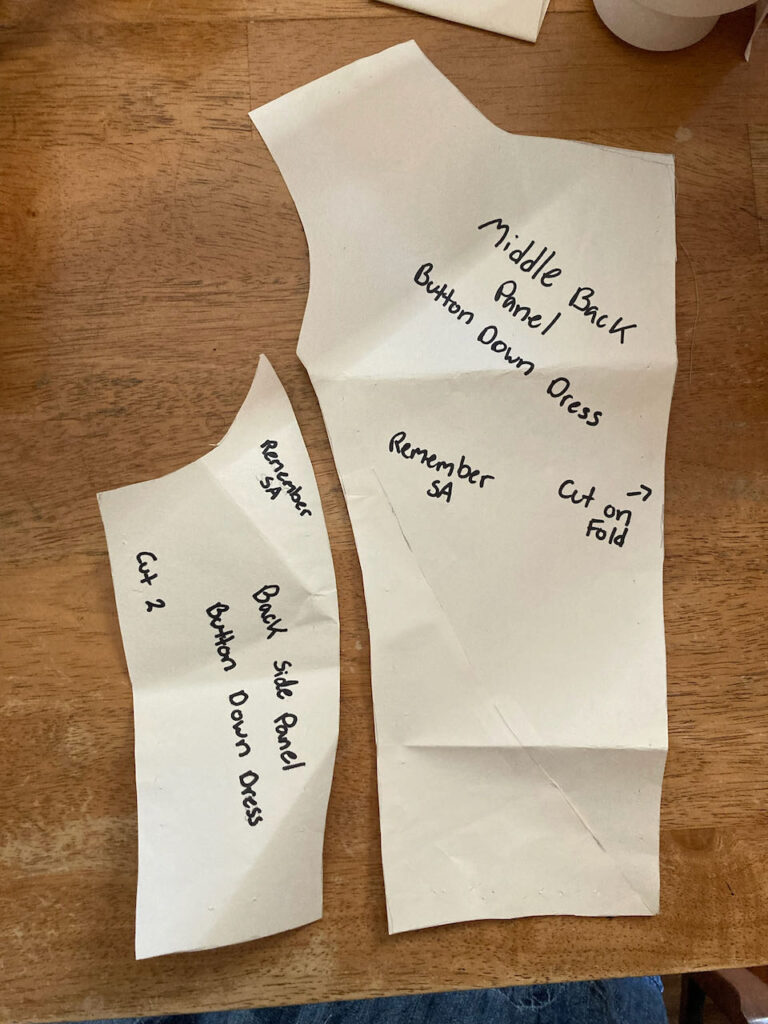
I then traced those pieces of fabric onto paper, so that I would have more durable, useful pattern pieces for future use. I also wrote down the specific instructions for each panel, as you can see.
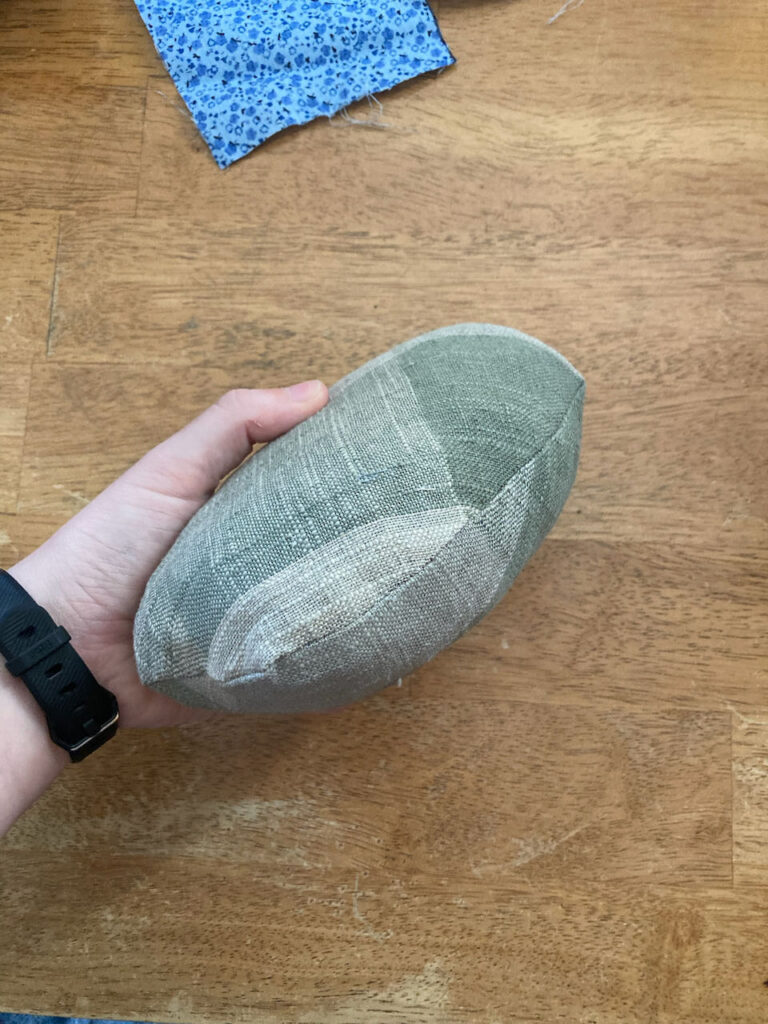
On a side note: I also made myself a tailor’s ham, in order to iron the curved seams of the bodice. It was pretty simple. Just cut out two ovals of sturdy material, sew almost all of the way around, pull inside out, and stuff with little scraps of fabric. Then hand stitch the hole closed.
Drafting a Bodice Pattern: It all comes together
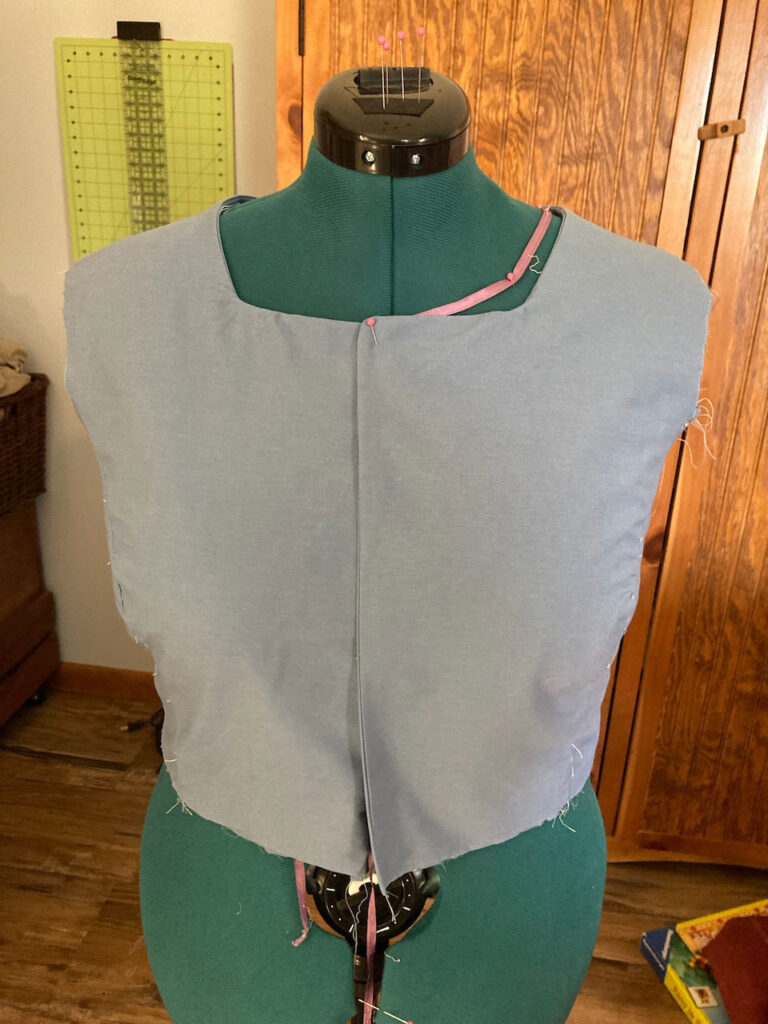
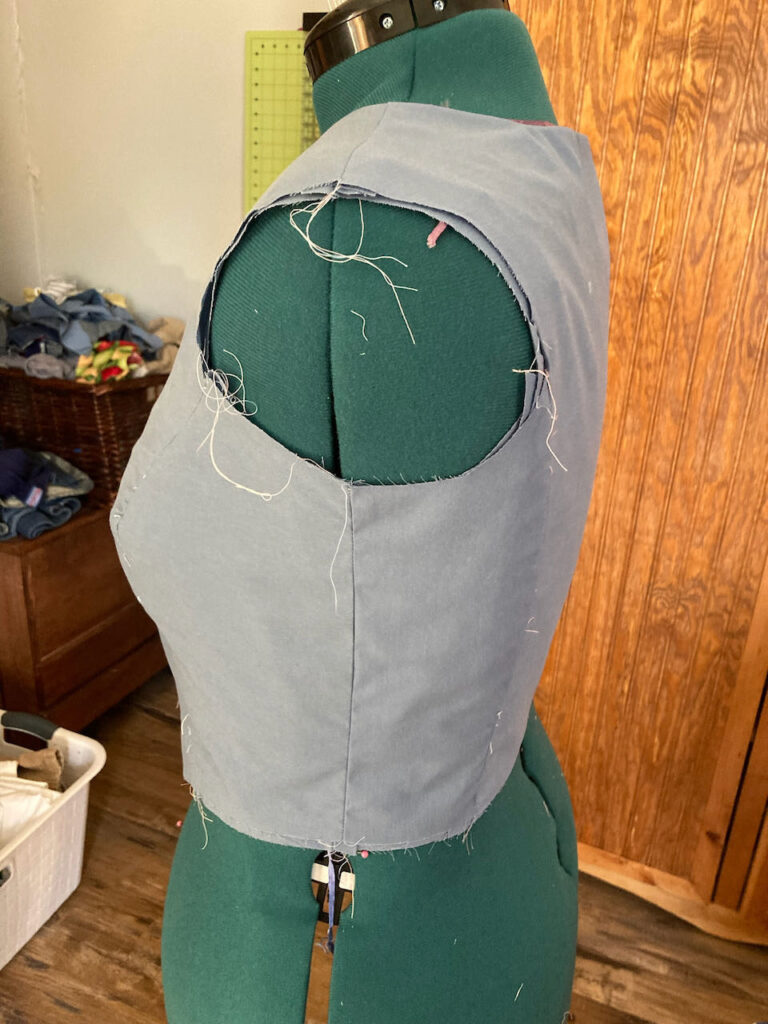
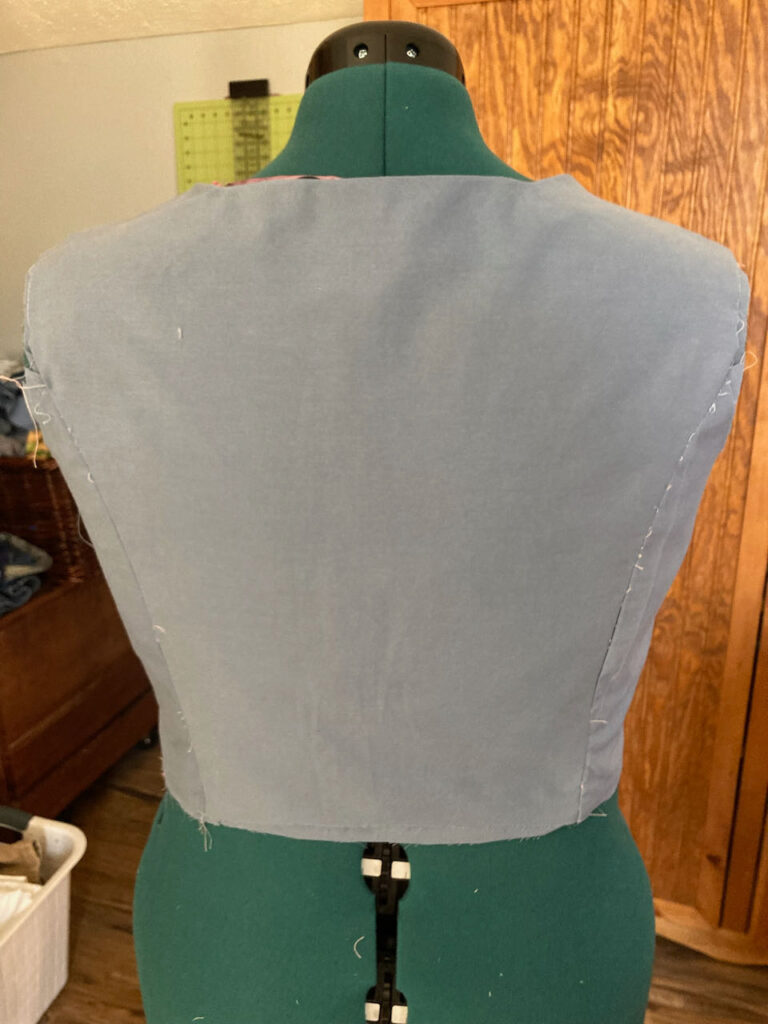

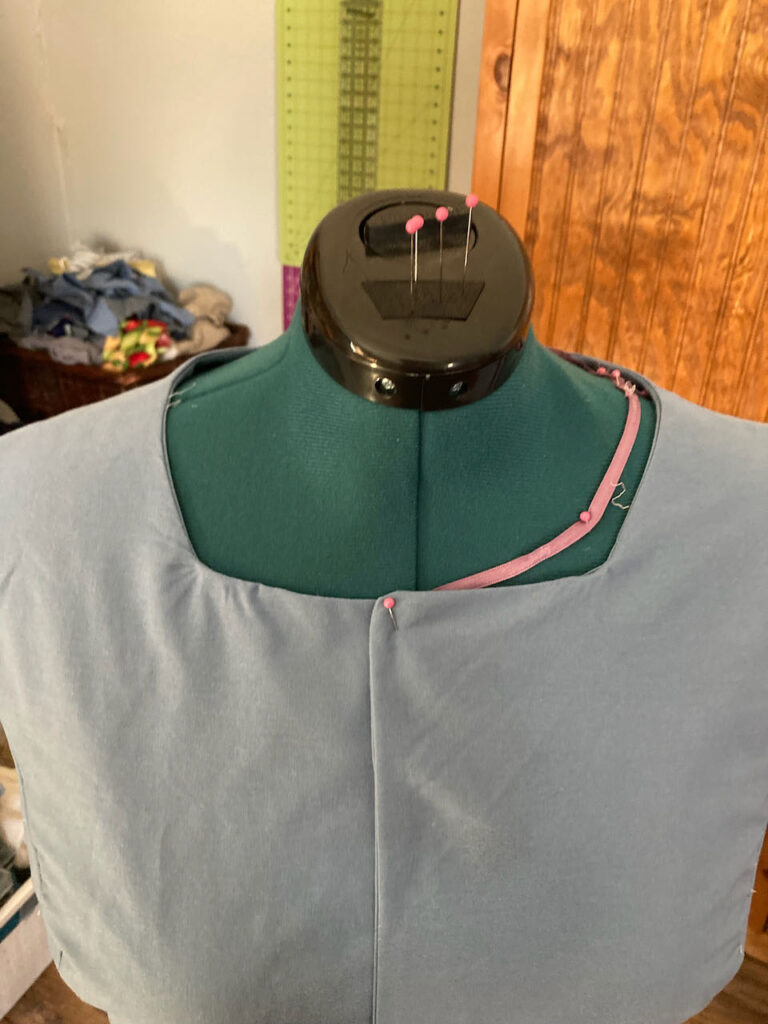
And somehow it seems I didn’t take any more photos until most of the bodice was already finished. Sometimes I just get “into the zone” and forget about taking photos. Anyway, you can see what it looks like, at least. In these photos it still needs the sleeves and skirt. (Oh, did I mention I was making a dress? Well, I am. 😉 ) But this bodice is really only the mock-up, anyway, since I’d like to make it again out of some nicer fabric.
Well, I hope you enjoyed this drafting a bodice pattern process. Until next time ~ Emily