A Few Odds-n-Ends
Hello! Today I’ll be sharing the various steps I took to repair a few pieces of well-used clothing.
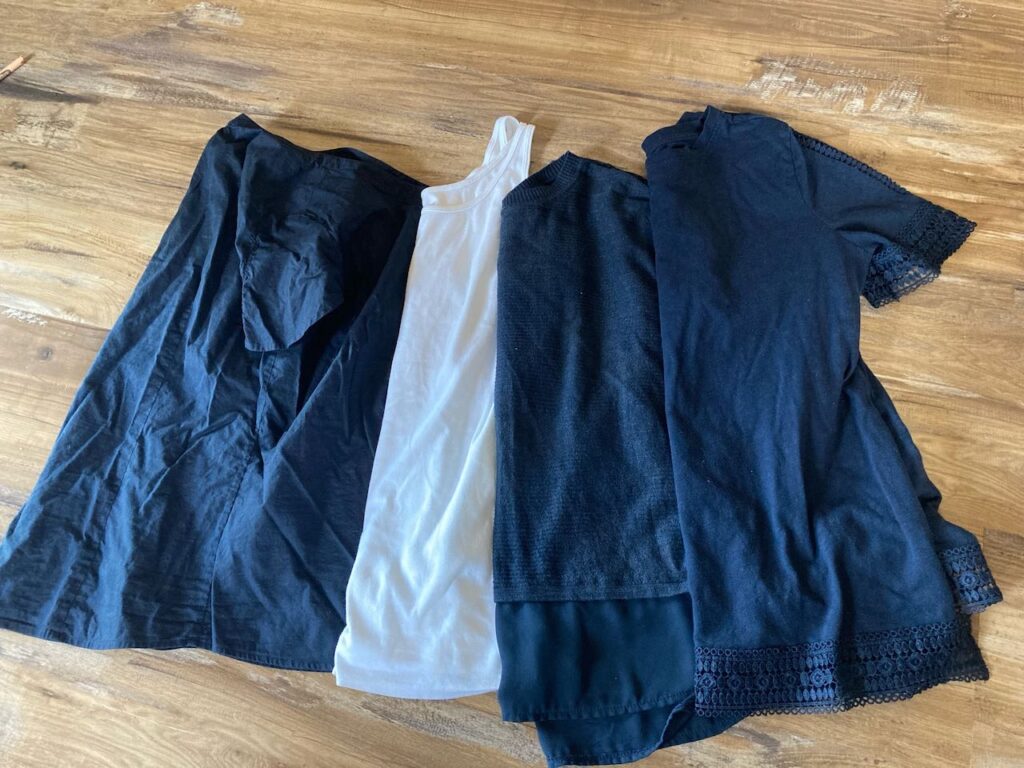
The subjects? The above three shirts and tank-top. Please excuse the very wrinkled button-down on the far left… Anyway, these shirts have been sitting in my sewing pile, waiting patiently to be fixed. None of them were beyond repair, but instead were just bad enough to make me not want to wear them. (Oh, and contrary to what this photo might make you think, I wear a lot more colors than just dark blue 😉 ) Let’s get started!
How I fixed the problems:
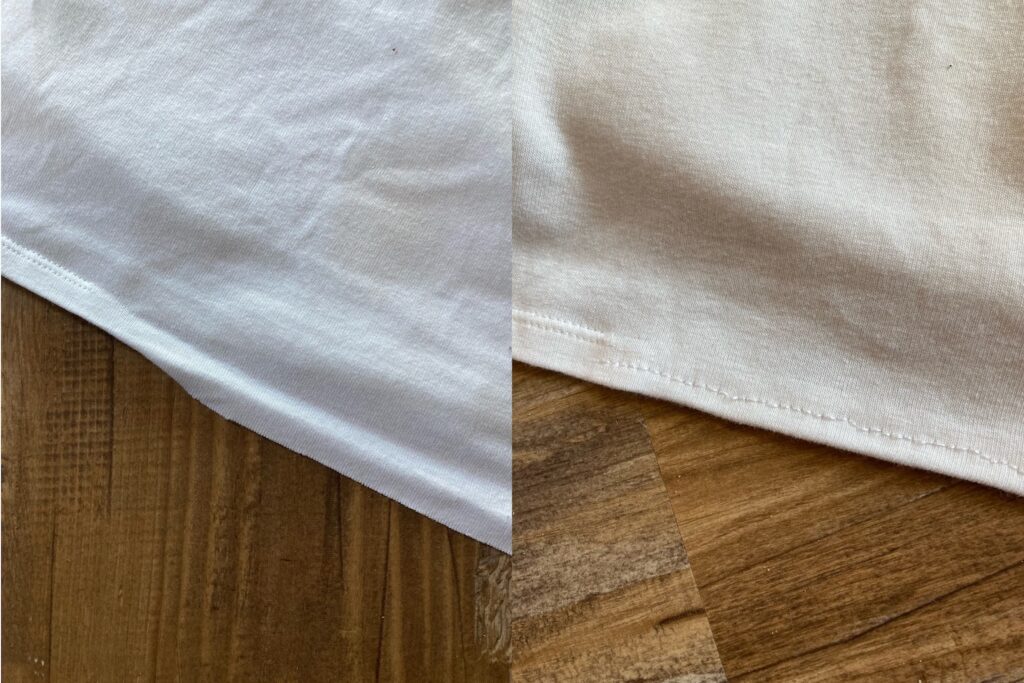
Firstly, this tank top. As you can see, the hem was beginning to unravel. I used white thread, a needle and a little hand stitching knowledge to fix it up. Of course, I wondered why I had put it off for so long, after being able to take care of it in such a short time… I’ll remember that for next time, hopefully. 🙂
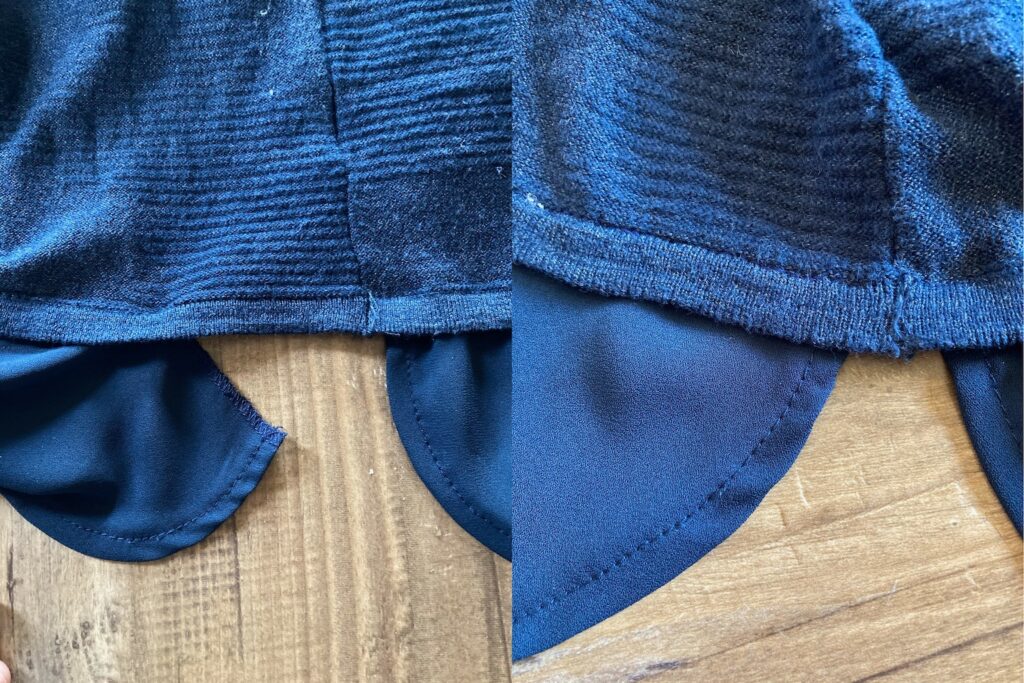
Next, this sweater. I just recently bought this shirt at the thrift store for 99 cents. (I was pretty happy about the price 😉 ) The brand is Dalia. I only realized after I had already brought it home that the hem was tearing off. So, into the sewing pile it went until I had time to stitch it up. When I had time, I simply pinned the hem in the correct position and hand-sewed it together. Now, you can’t tell that it was ever coming apart!
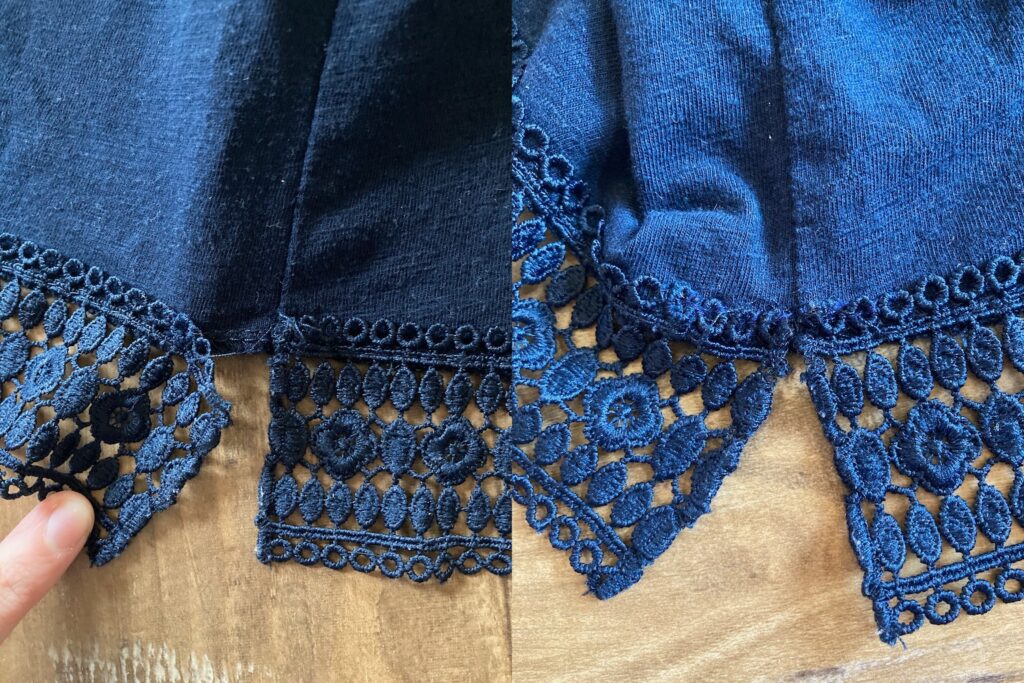
This one is pretty much the same situation. Apparently the hems aren’t sewn on very securely on shirts like this. 😉 Using the same thread as for the sweater, I hand-stitched it together in just a few minutes. It has a much sharper, cleaner look now.
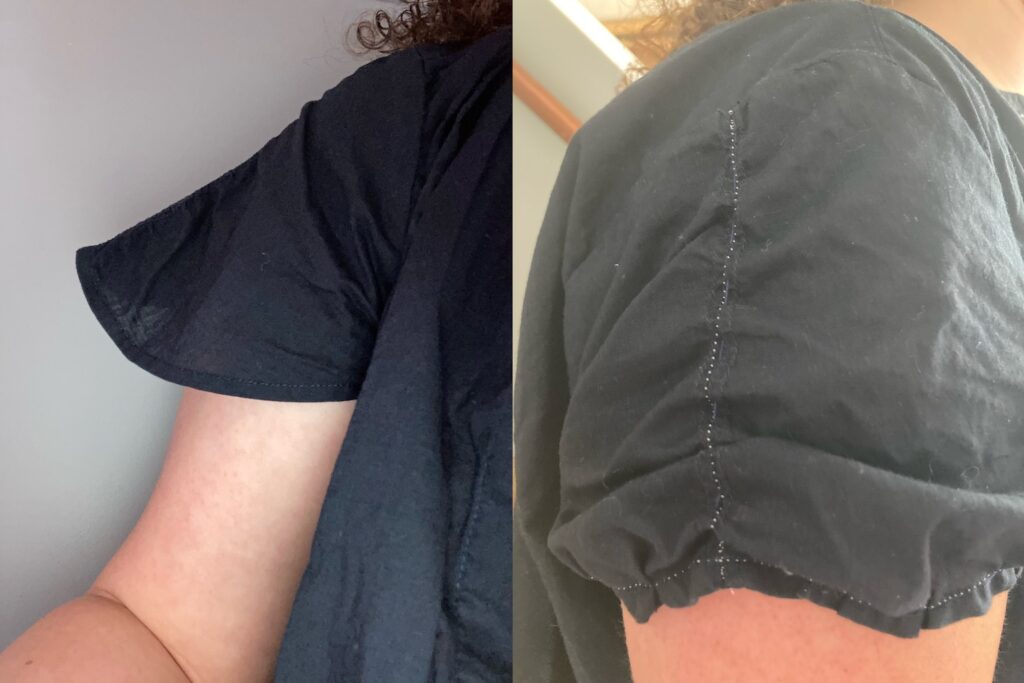
The most involved fix:
For the button-down shirt I had to use a little more imagination. As you can see in the picture on the left, the sleeves stuck out in an odd, very unflattering way. To fix the problem, I loosely stitched around the bottom of one of the sleeves. I didn’t tie up the end of the thread, yet. Then I tried on the shirt, pulling the thread so that the fabric gathered around my arm where it should be.
After I repeated that first step on the other sleeve, I tried on the shirt again. I then noticed that the upper part of the sleeve puffed out strangely over the gathered edge. So, I loosely stitched from the bottom edge of the sleeve to the top where it connected to the rest of the shirt. After pulling that string to gather it, I tied it off. Then I used the sewing machine to sew over the new gathers that I had added to the sleeves. I’ll add another photo below so that you can see what I did a little more clearly.
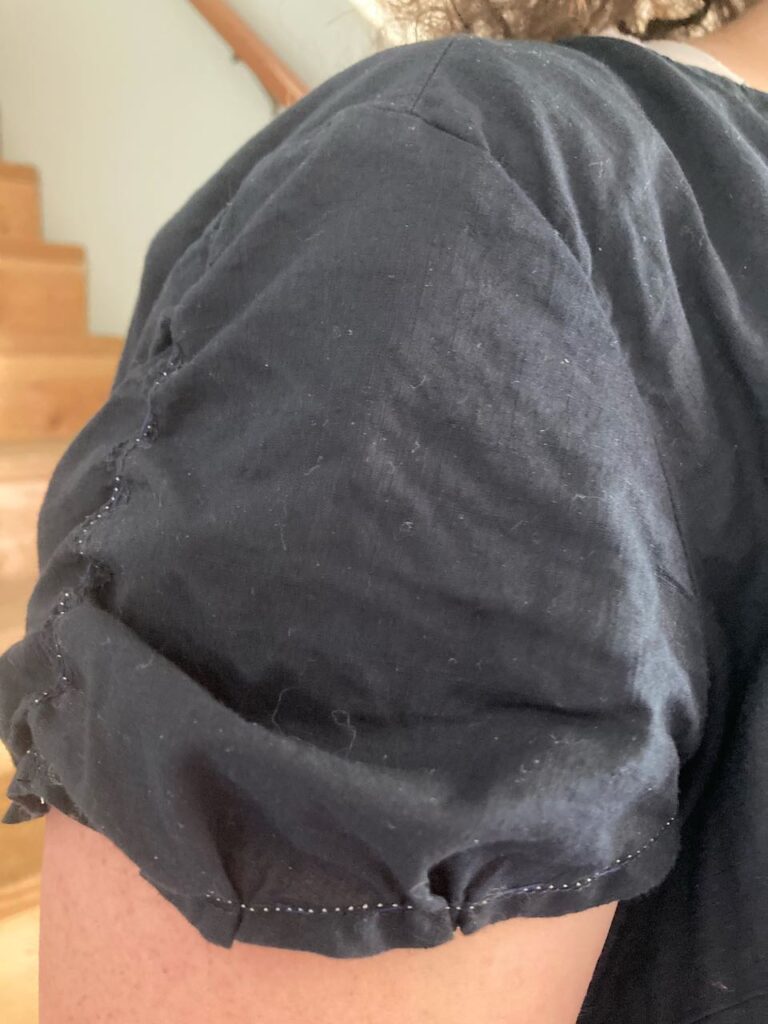
And there you have it! Four pieces of clothing given a little face-lift. Just another reason that I highly recommend learning even the most basic skills of sewing. You never know when you’ll have to be your own tailor! What do you think? Do you alter or fix your own clothes? ~ Emily