Personalizing a Hand-Bound Book
Today I’ll be a sharing a few photos of the process of personalizing a hand-bound book. Yes, I’ve never posted anything like this before, but that’s what Simply Saturdays are for!
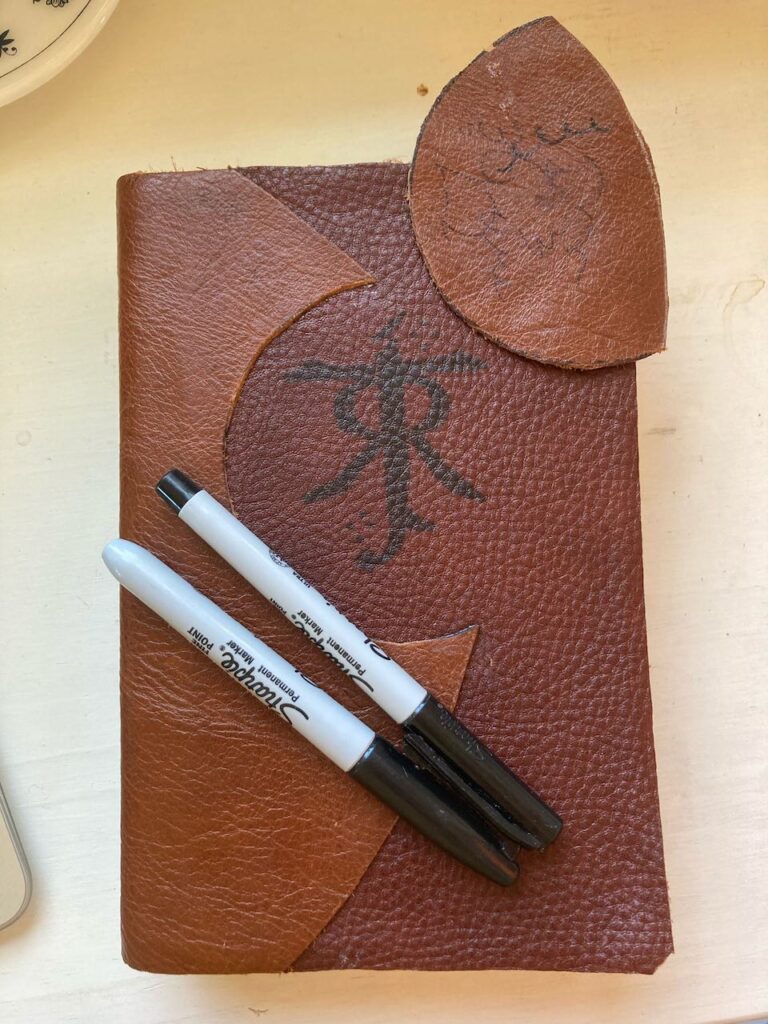
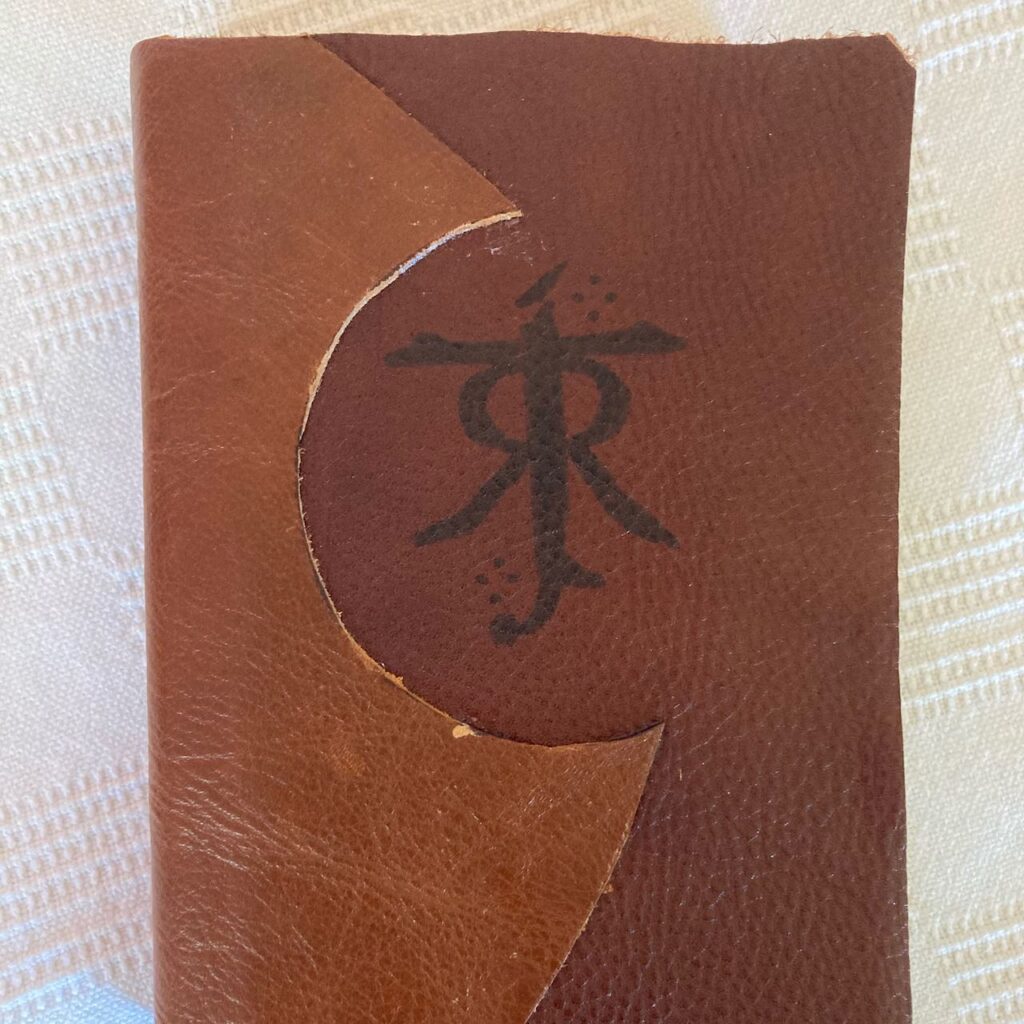
Here is the book in question. I should make it clear that I was not the one to do the binding. This is my brother’s copy of The Lord of the Rings. He didn’t like the original paper cover, so he bound it in leather instead. Doesn’t everybody do that? 😉 He also drew the symbol on the front of the book (which is Tolkien’s symbol). Then, he enlisted my help to do the lettering on the spine. (Oh, and I’ve actually recommended this series here.)
We tested a few markers on that scrap of leather in the upper corner, then decided that the Sharpies were the best for the job.
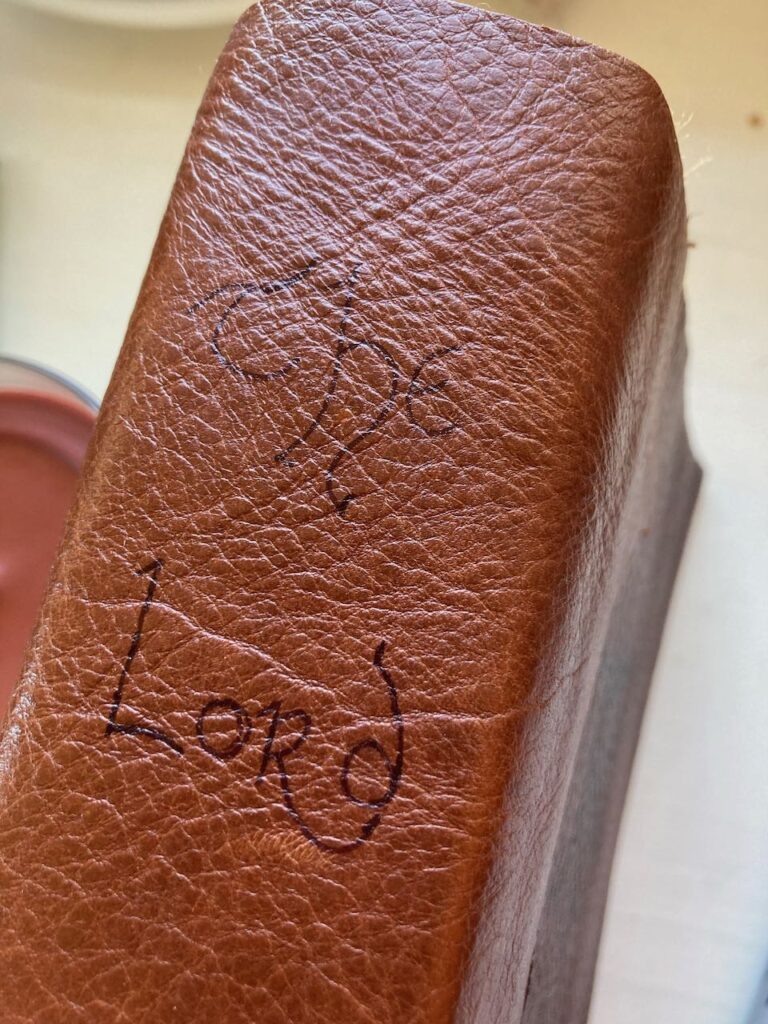
(Sorry for the glare in the picture.) I searched for Lord of the Rings fonts (you know, the ones that show the whole alphabet) then just copied the letters I needed from there. Unfortunately, my calligraphy pens didn’t pass the leather test, so I had to fake the thick lines by filling them in later.
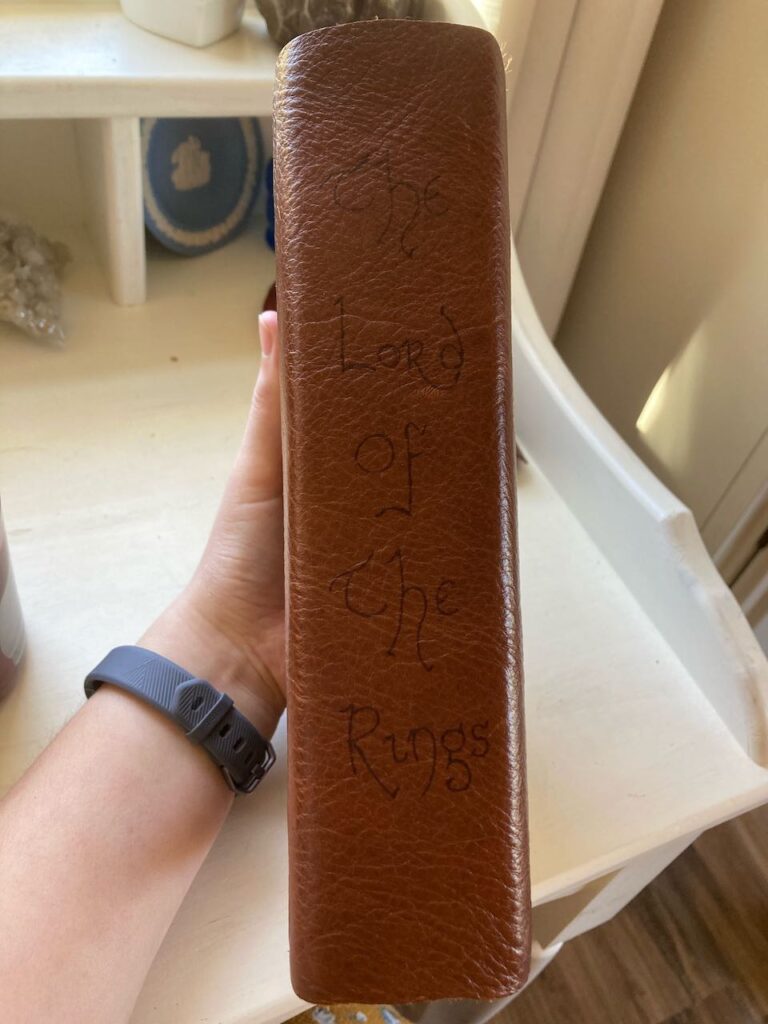
And here’s all of the letters, before filling them in.
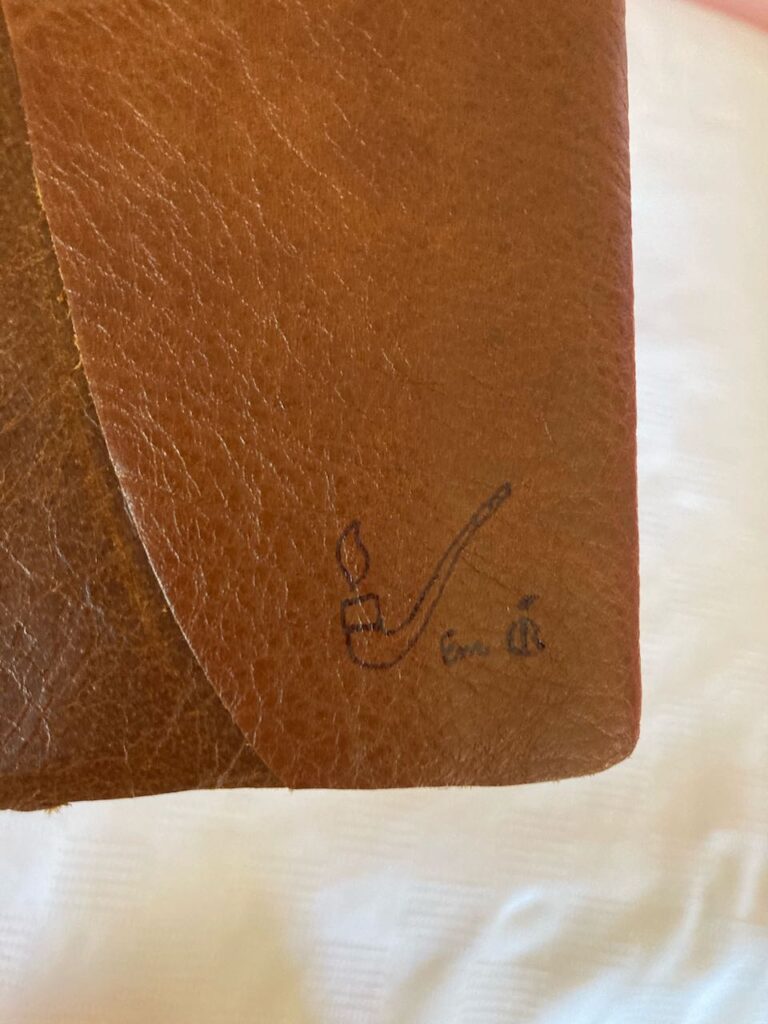
Oh, and also on the back, I added a Hobbit pipe. And the “EM” that I always add to drawings. The other symbol to the right is my brother’s.
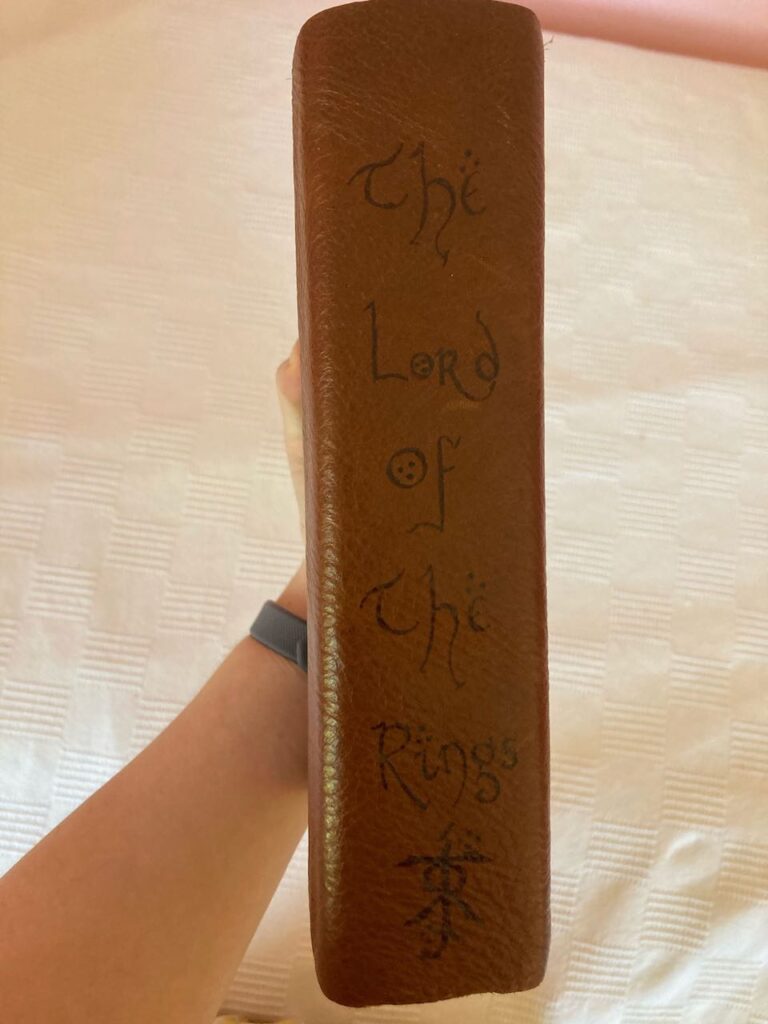
And here’s the finished spine. Personally, I think it turned out pretty nice-looking. My brother added the second symbol at the bottom. He’s happy with the result too, so I guess it was a success. After writing in that font, though, I’m inspired to use it on other things… 🙂
And that’s on personalizing a hand-bound book. I hope you enjoyed this post! Do you enjoy experimenting with different writing styles? ~ Emily