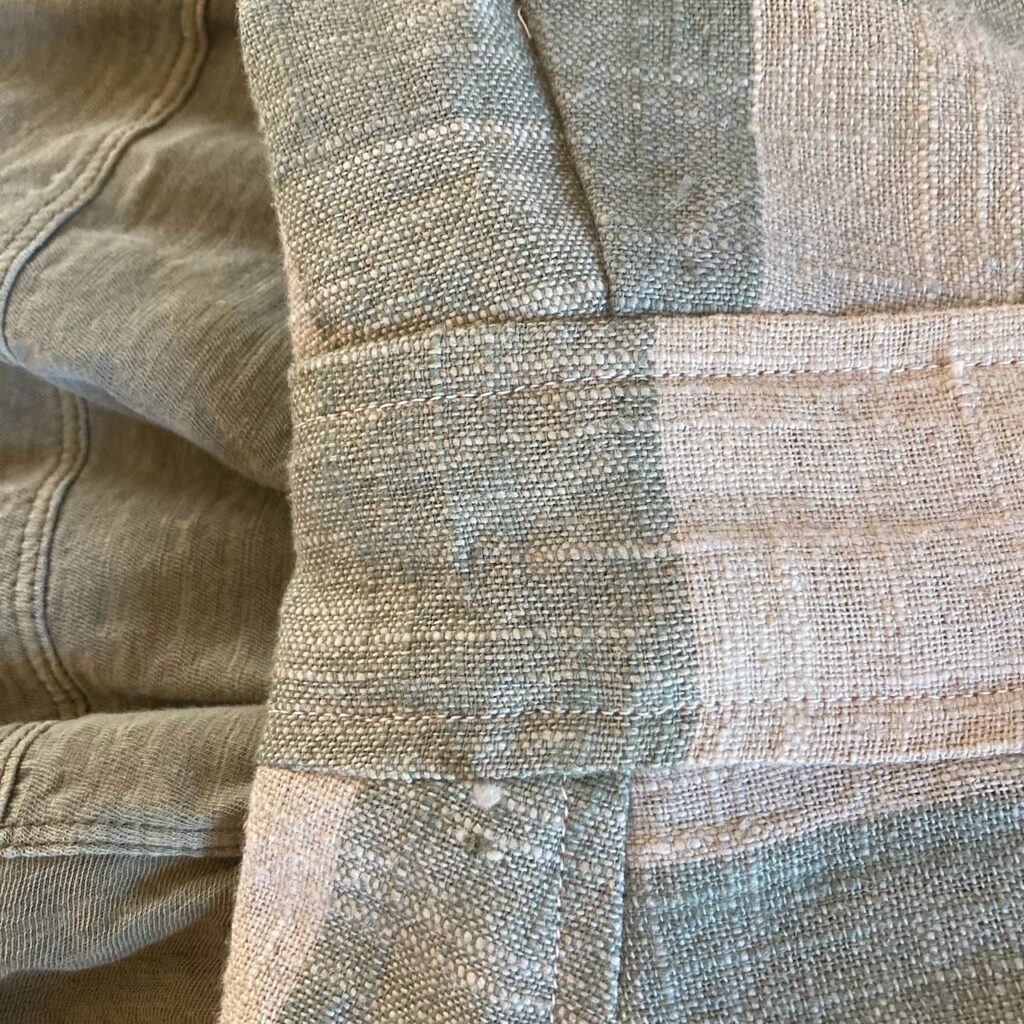
Finished: A Plaid Jumper
Hello! Here we are again with the second part of last Saturday’s post, Finished: A Plaid Jumper. Let’s get started!
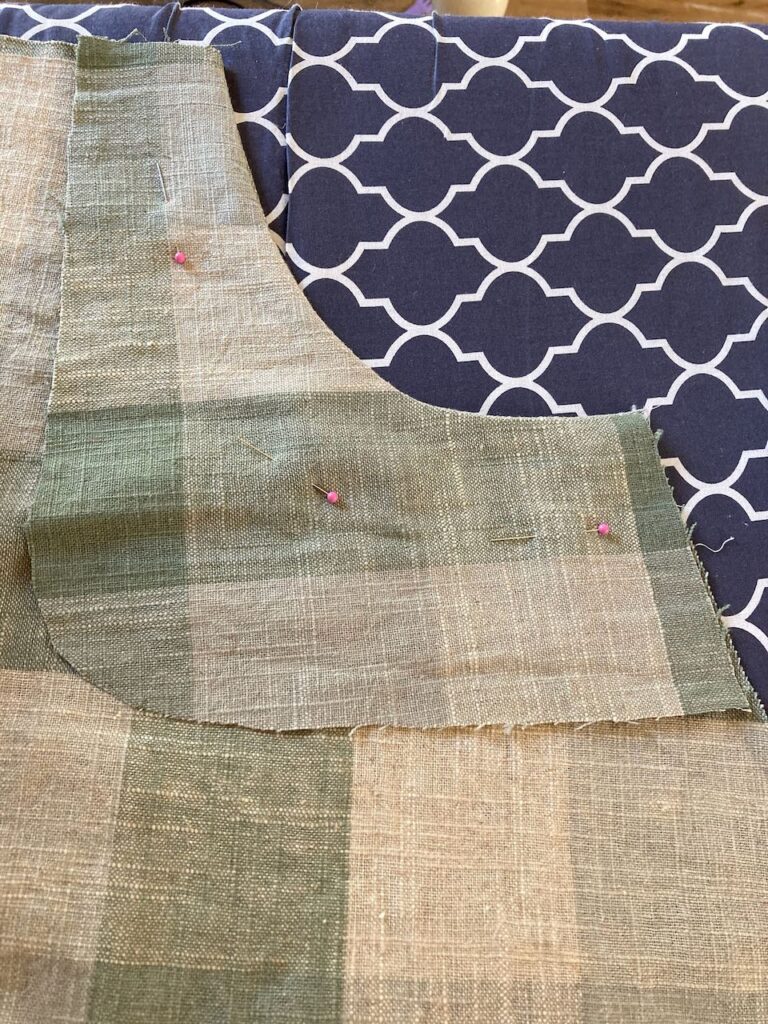
So, as I was looking up the photos I’d taken to use for this blog post, I realized I hadn’t taken as many as I thought I had. This post will be a little disjointed as a result, but I’ll explain what’s happening in each one anyway. 😉
In the photo above, You can see after I attached the inner pockets and ironed the seam. This is before I topstitched the seam, however.
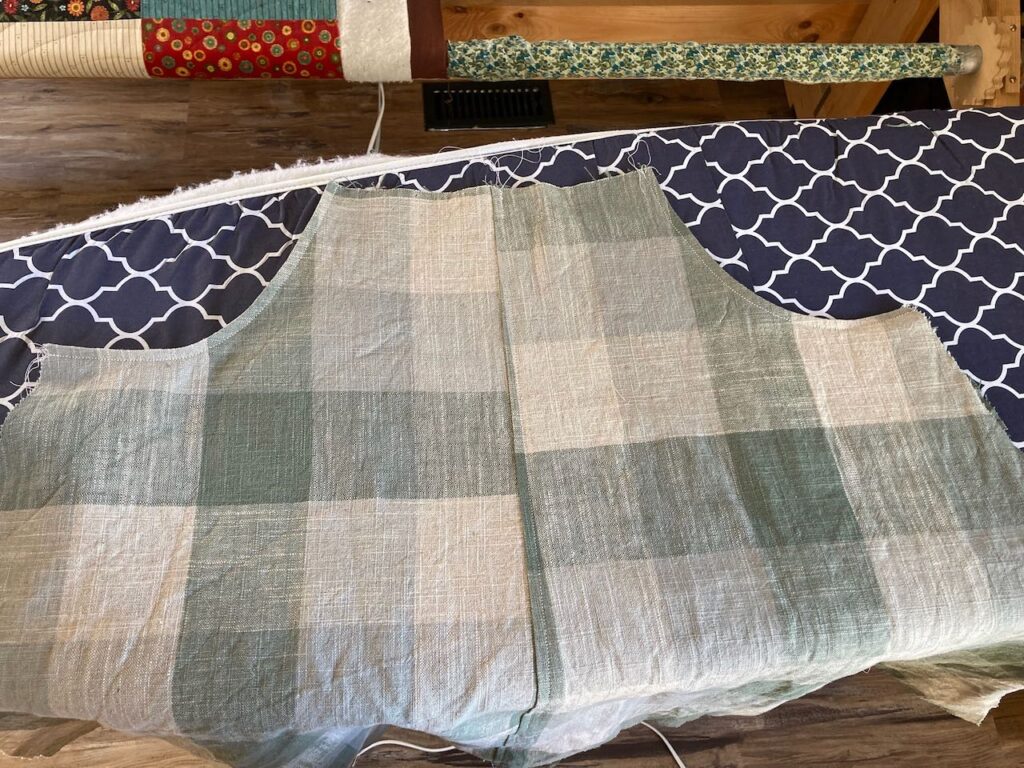
Here’s what it looked like from the front, after topstitching the pocket seams.
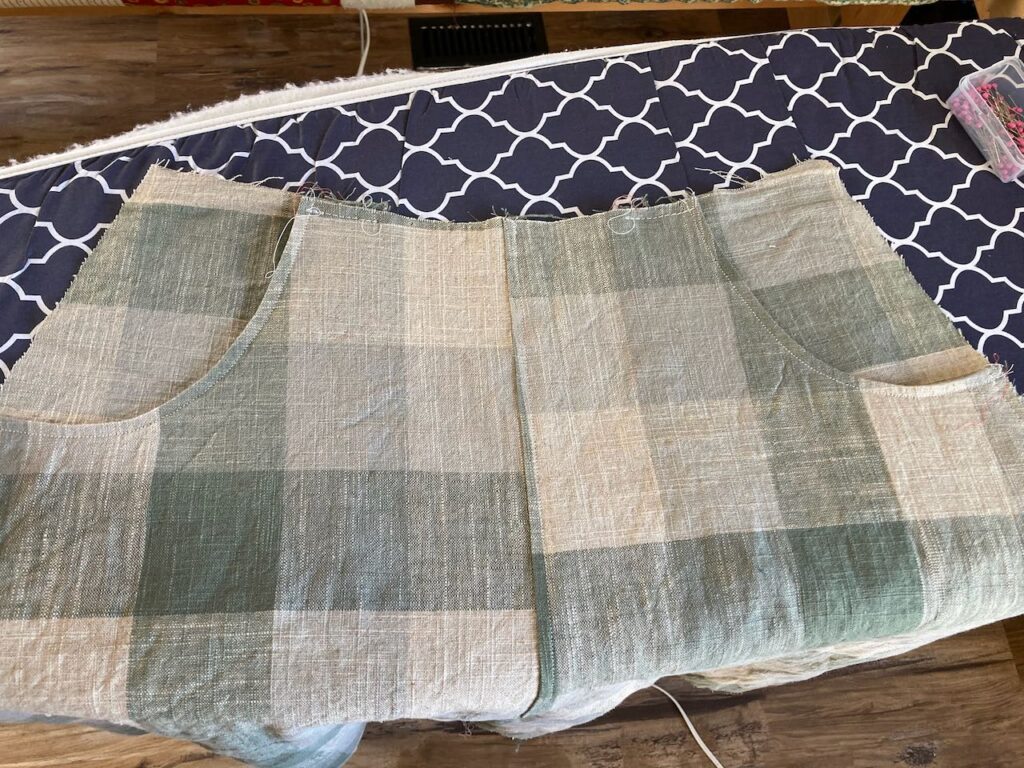
Here it is with the rest of the pockets sewn onto the inner pocket. The edges are basted to where the skirt pieces and waistband would later be connected.
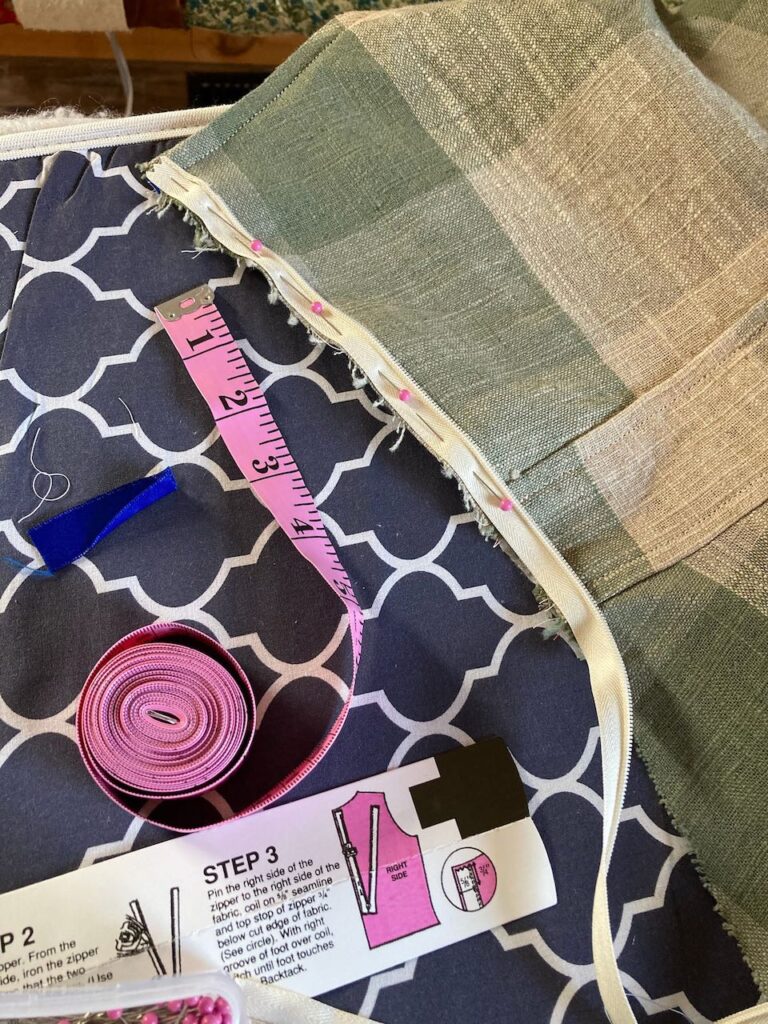
And somehow I forgot to take any photos after that last one until I was attaching the invisible zipper. You can see that above. I was pretty happy with how the zipper turned out! I’m always a little nervous about installing them.
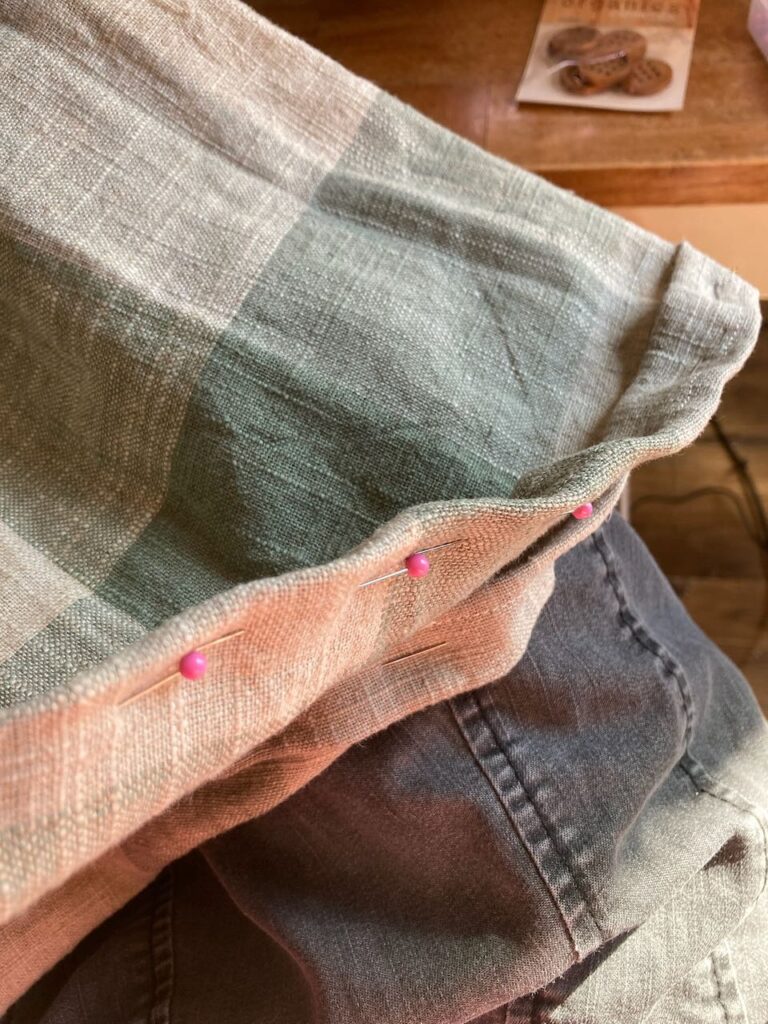
Concerning the length: I actually cut off six inches of the skirt after finishing everything else, but before hemming, obviously. I had an idea that I would have to do this before I even started cutting out the pattern pieces, but it still kind of felt wrong to cut off that much fabric. After I’d done that, I folded up the edge of the skirt another inch and sewed that. Then folded it over itself, sewed it, and that was the the hem!
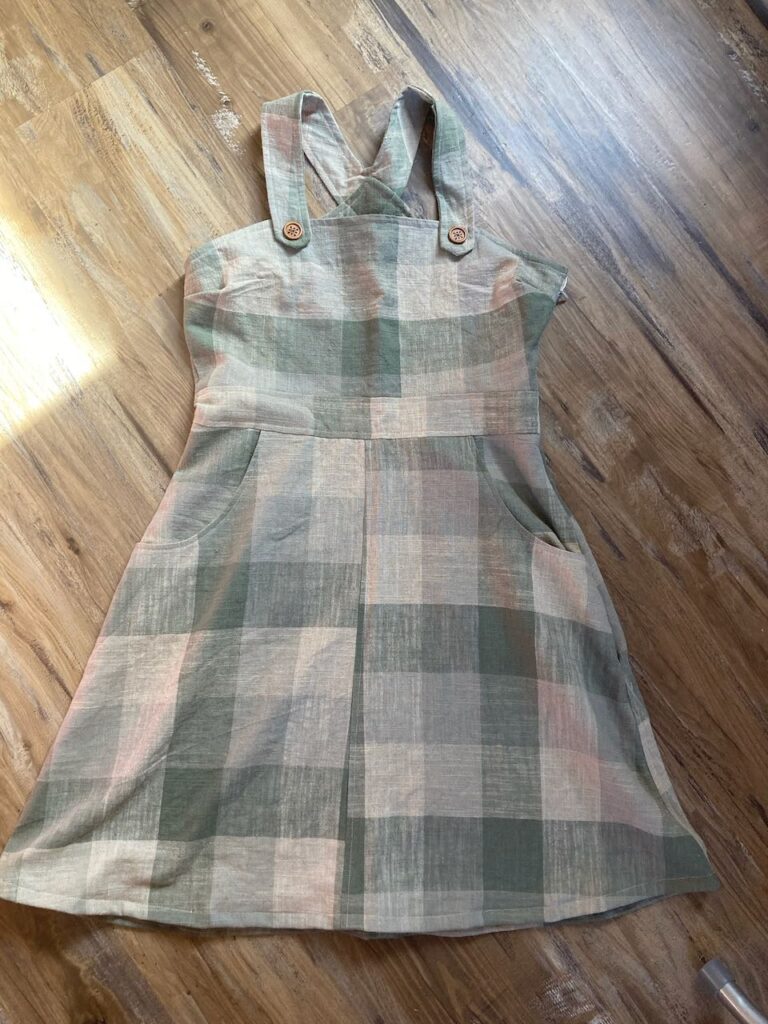
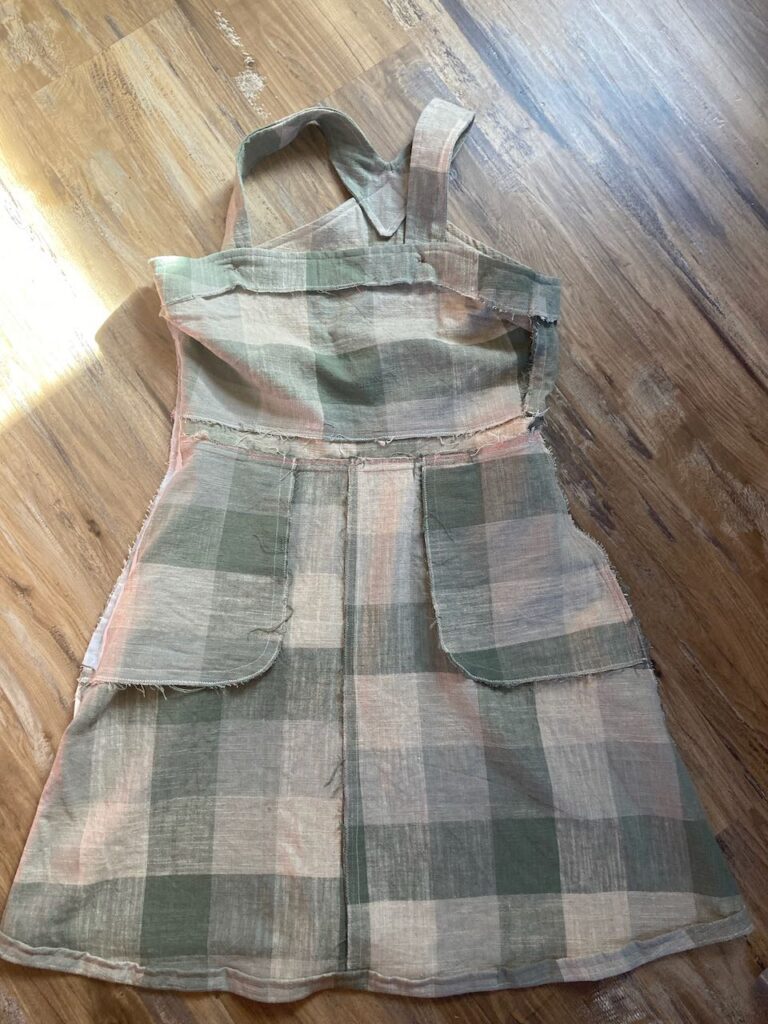
Finished: A Plaid Jumper
And here’s the finished product, both inside and out! It doesn’t look all that good on the floor, but I’m hoping to post what it actually looks like on me for a Modest Monday post. I’m pretty happy with how it turned out! It’s my first successful dress. My first attempt didn’t turn out too well. 😉
Well, that’s all for now! Do you sew clothes? ~ Emily
1 thought on “Finished: A Plaid Jumper”
Comments are closed.
[…] looks like being worn. (I’ll leave a link to the sewing posts about the jumper here and here.) Let’s get […]