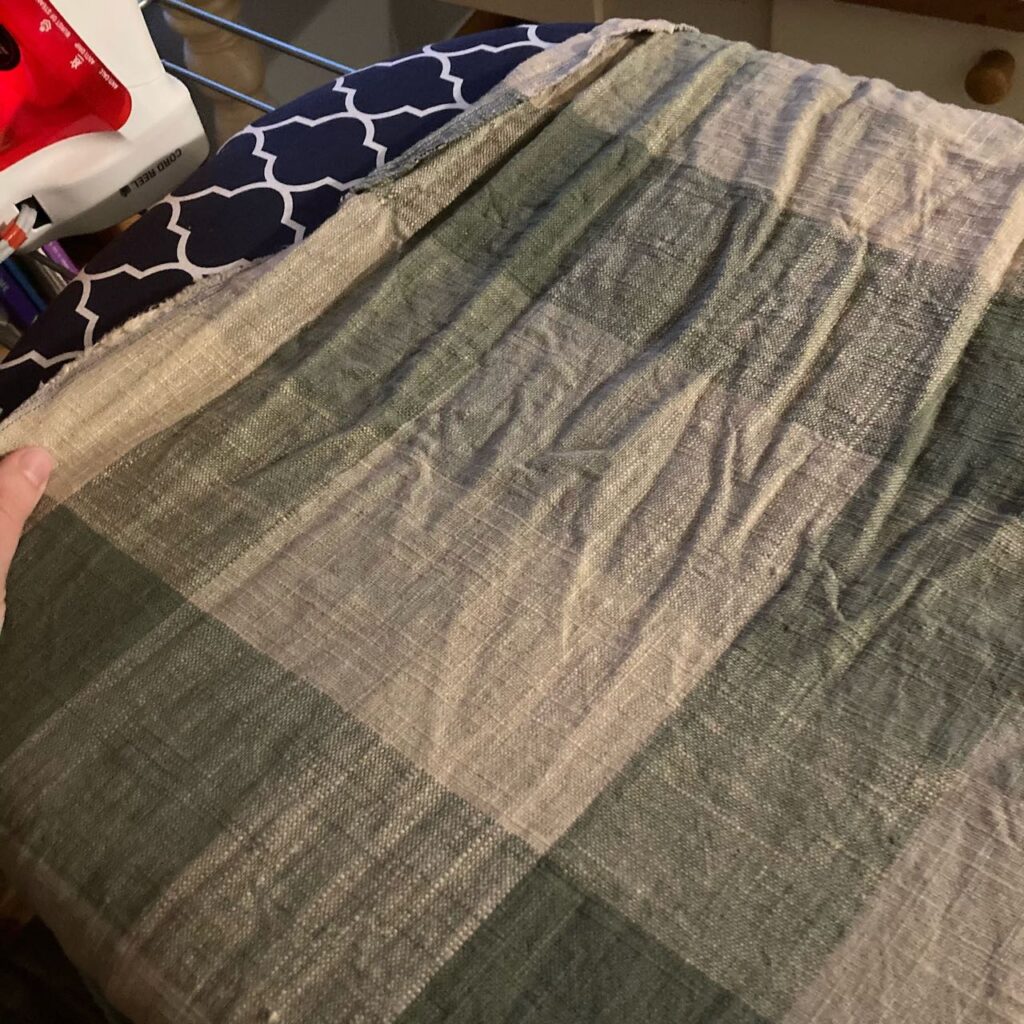
In the making: A Plaid Jumper
Today I’ll be sharing a project that is currently in the making: a plaid jumper! Let’s get started.
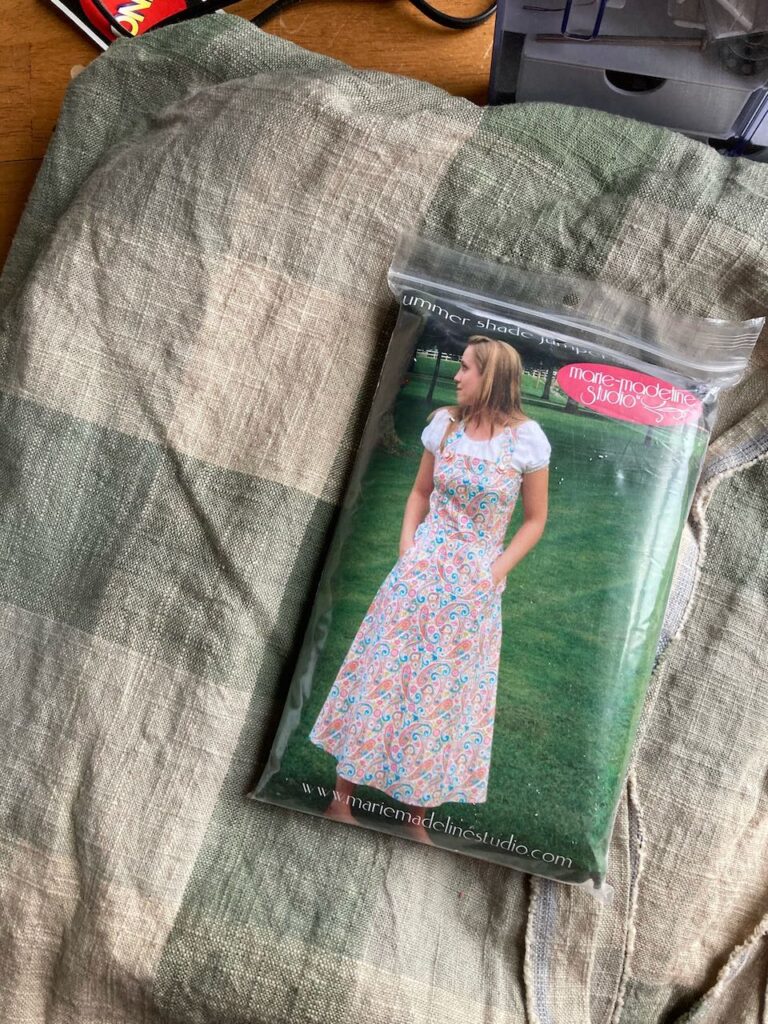
First off, I’m using this pattern from Marie Madeline Studio. I searched for the exact pattern on the internet, but unfortunately couldn’t find a link for it. It is twelve years old, at any rate. (I used another one of their patterns in this blog post.)
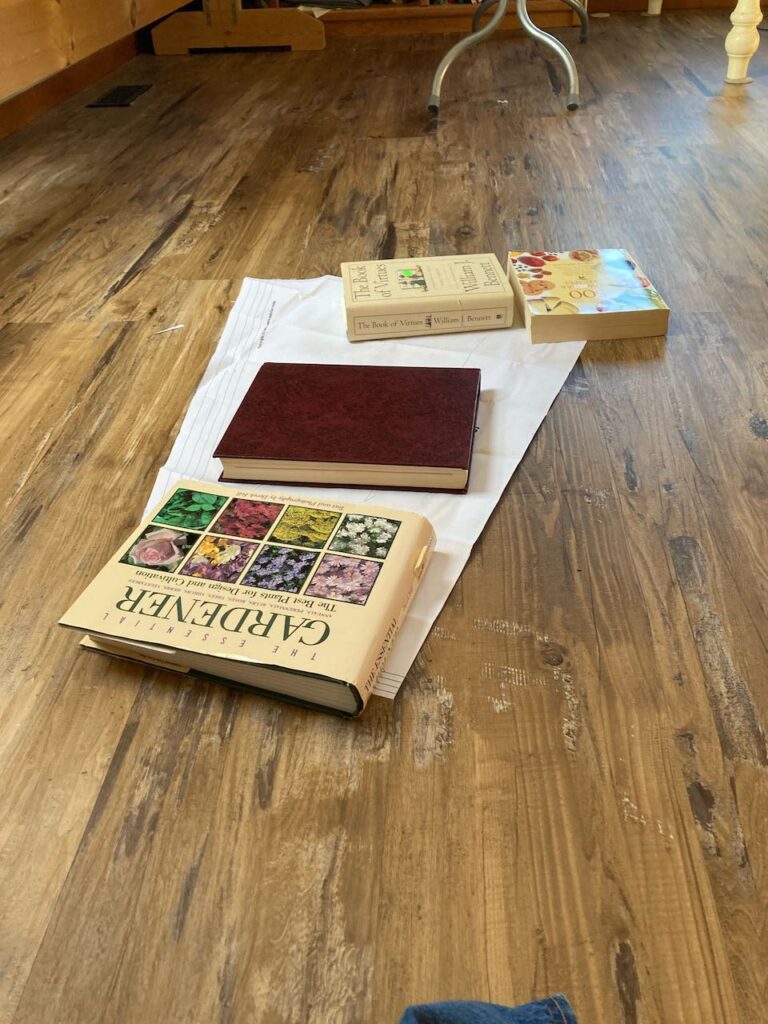
This was my strategy for smoothing down the papers. They’d been folded up in the package for a very long time, so they needed some creases smoothed out. This worked pretty well!
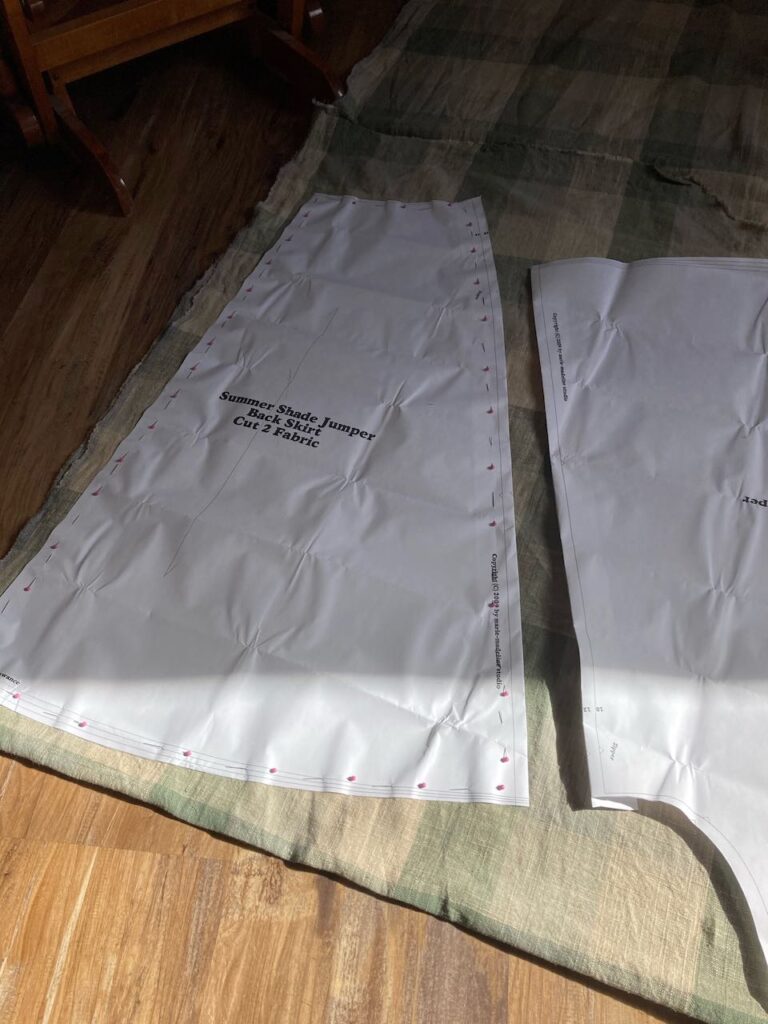
After ironing the fabric (which is linen, I believe) I cut out the pattern pieces. I also made sure to cut out the pieces so that the stripes would look right when it was sewn together.
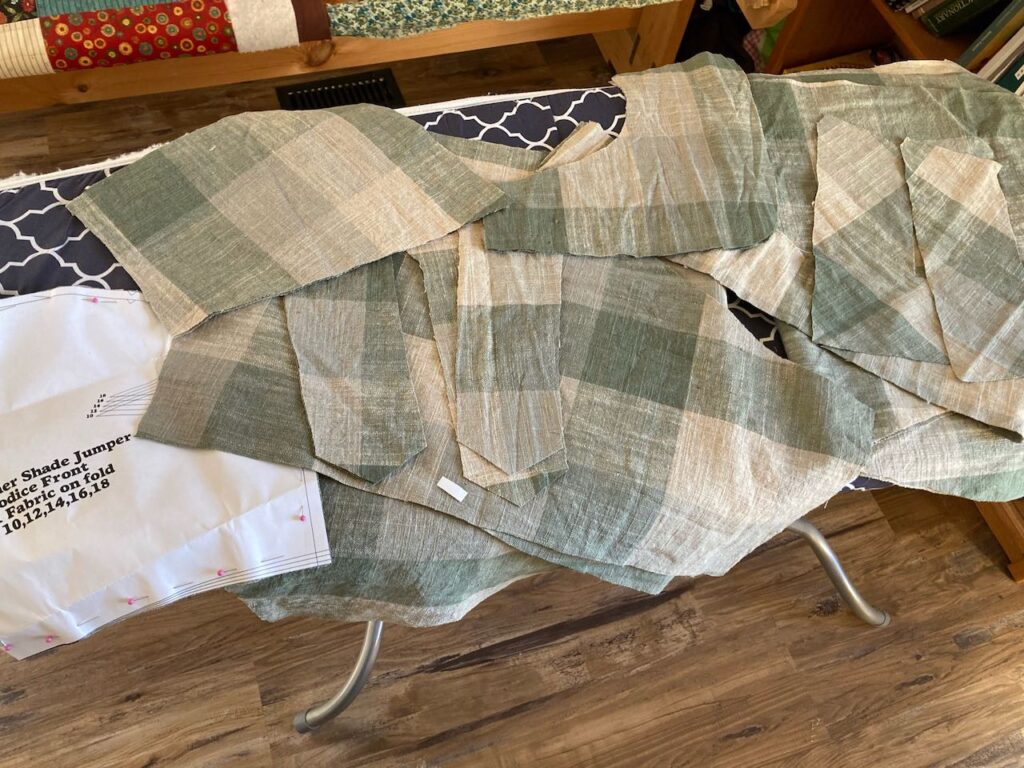
Here are most of the pieces, only missing the facing and interfacing pieces. Specifically, this is the skirt, pockets, waistband, straps, and bodice pieces.
In the making: A Plaid Jumper Bodice
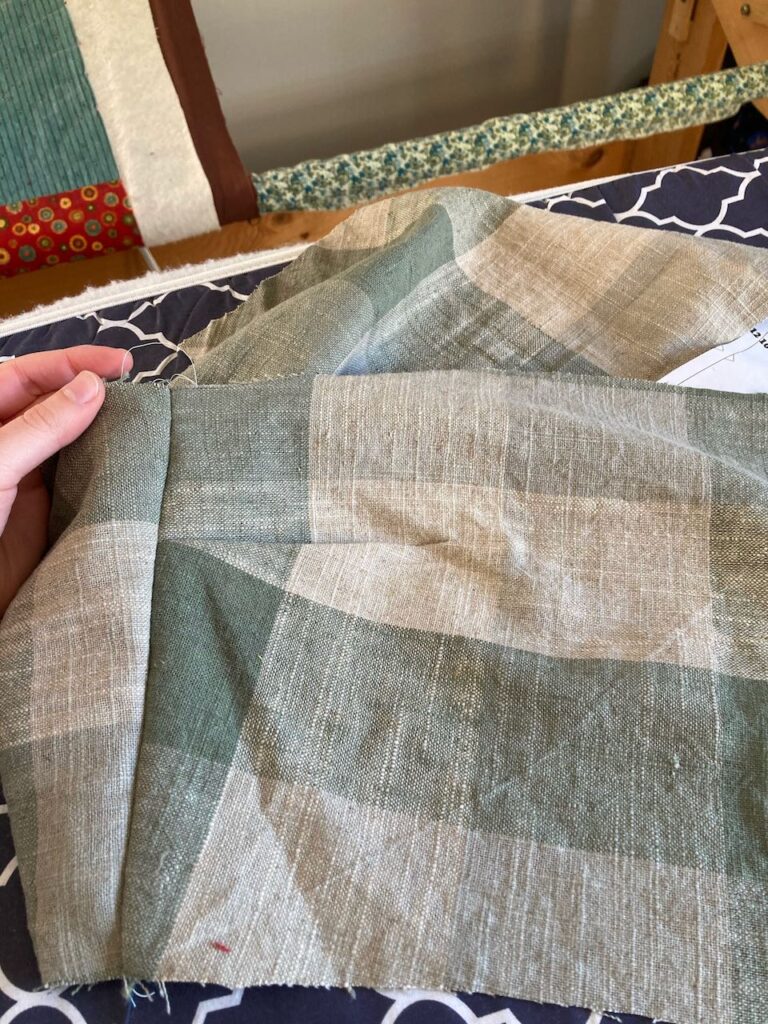
The first steps after cutting out the pieces was to add the darts to the front of the bodice and sew the right seam together. I was a little nervous about the darts, but they turned out pretty well, if I do say so myself. 😉
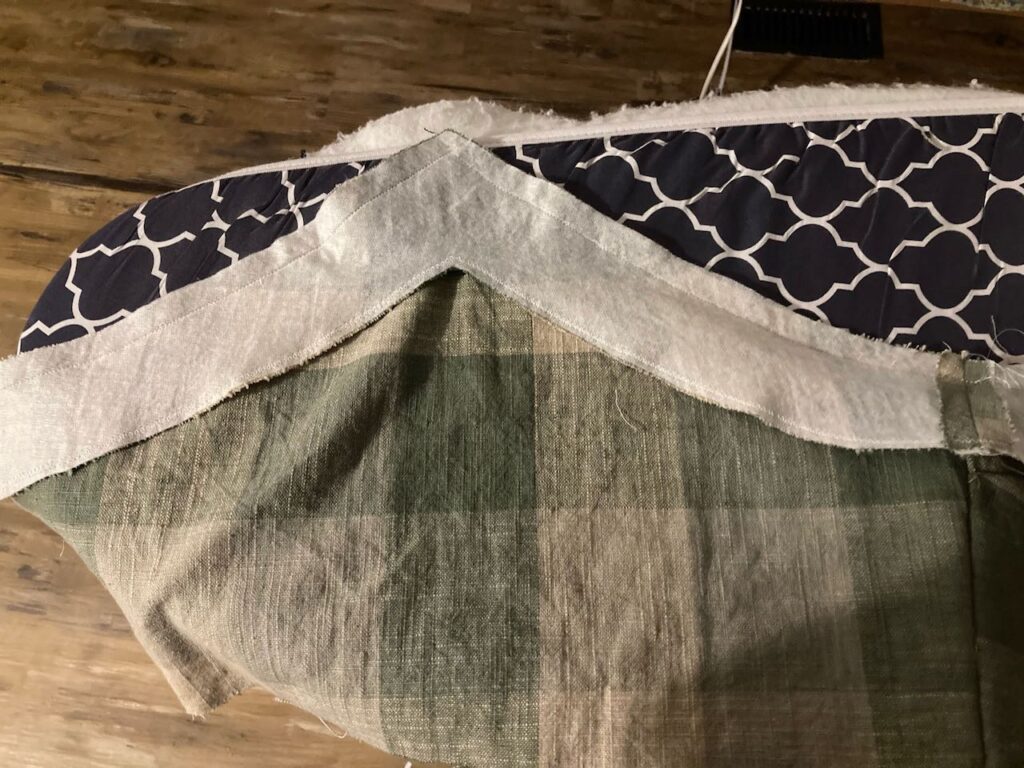
The bodice gave me a fair amount of trouble. I had to take it apart and reassemble it several times, which was frustrating. Somehow the lengths didn’t match between the bodice and the interfacing, so I had to change the length as well. Eventually, it worked out. I was just glad to put it behind me. 😉
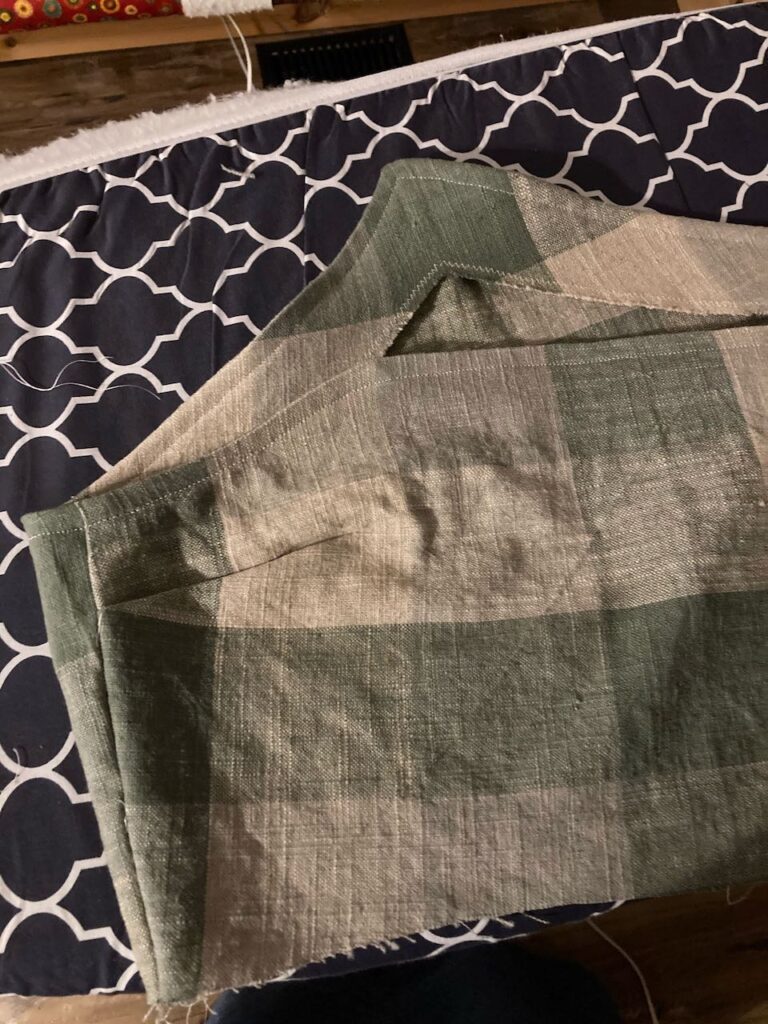
The opposite side was also interfaced. Then I flipped it over, ironed, and topstitched it to hold it in place. Oh, and I’m not sure why the point looks so crooked in this photo. It’s not actually like that in person.
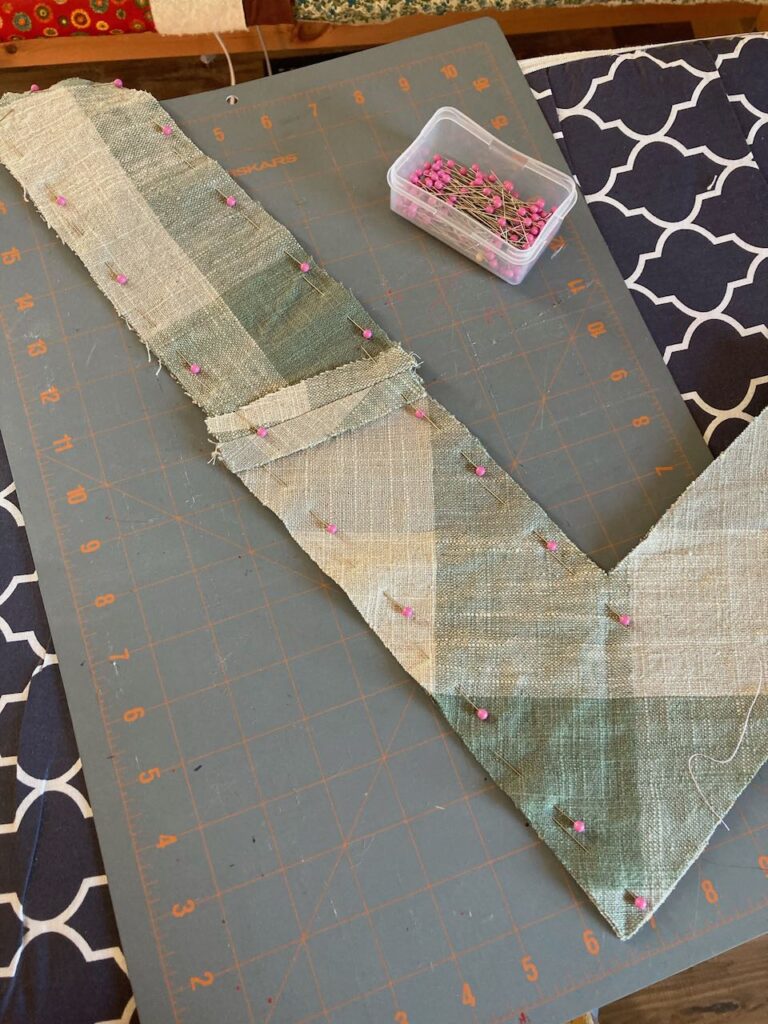
After finishing the main part of the bodice, the next step was to make and attach the straps. As you can see, I sewed the separate sides together, pressed the seams, then pinned it together. Then sewed those two sides together, leaving a hole where I could pull it right side out. And iron and topstitch and so on. 🙂
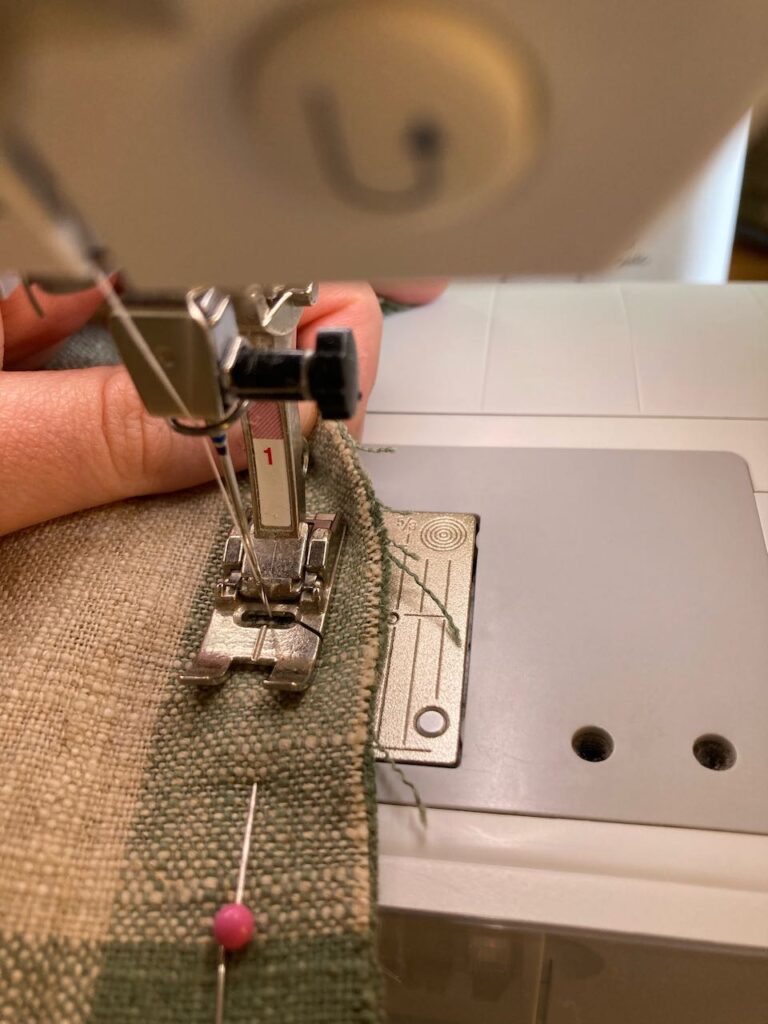
Okay, a little confession here. I realized something that made me feel very silly over the process of making this jumper. Previous to this important discovery, I had been spending a good amount of time marking out seam allowances with chalk, then sewing it together. Well…I realized that there’s these handy little marking directly on the sewing machine. That made me feel a little silly. But, now I know something that considerably speeds up my sewing! You learn something new everyday, I suppose… 😉
I hope you enjoyed this post! Perhaps next week I’ll add a second part to In the making: a plaid jumper. ~ Emily
2 thoughts on “In the making: A Plaid Jumper”
Comments are closed.
[…] Here we are again with the second part of last Saturday’s post, Finished: A Plaid Jumper. Let’s get […]
[…] actually looks like being worn. (I’ll leave a link to the sewing posts about the jumper here and here.) Let’s get […]