How to Make a T-shirt: Part Two
Hello, on this rainy, wet, Simply Saturday! Today we’ll be taking a look at How to Make a T-shirt: Part Two. Let’s get started! (Oh, and I’ll link to the first part here.)
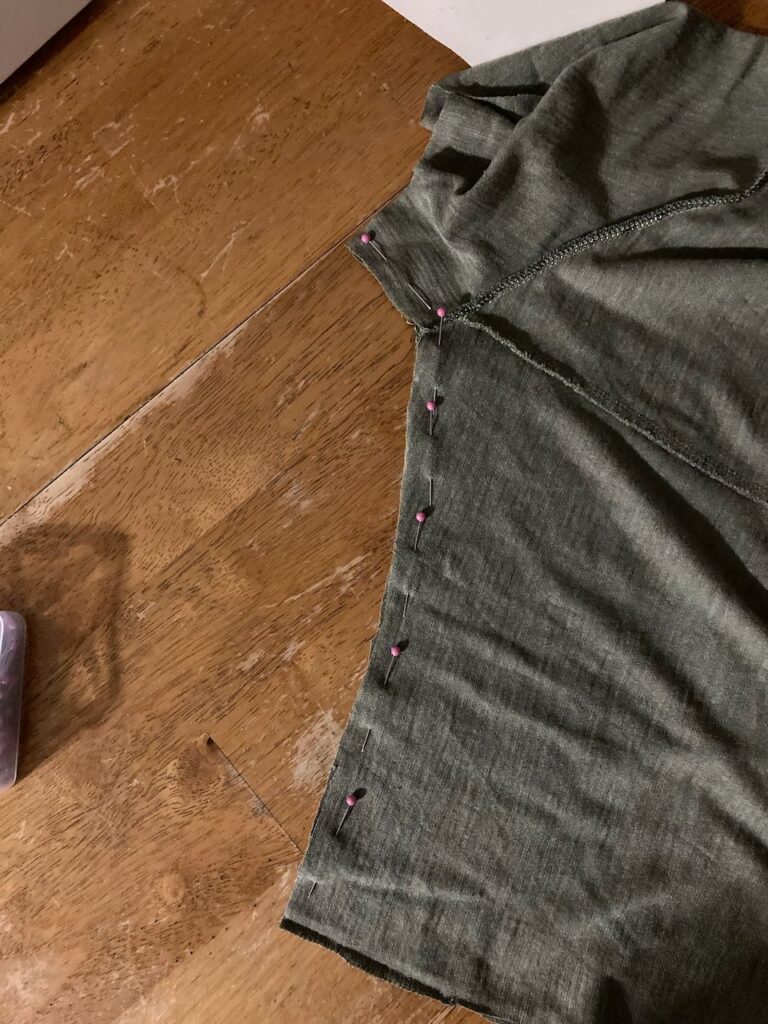
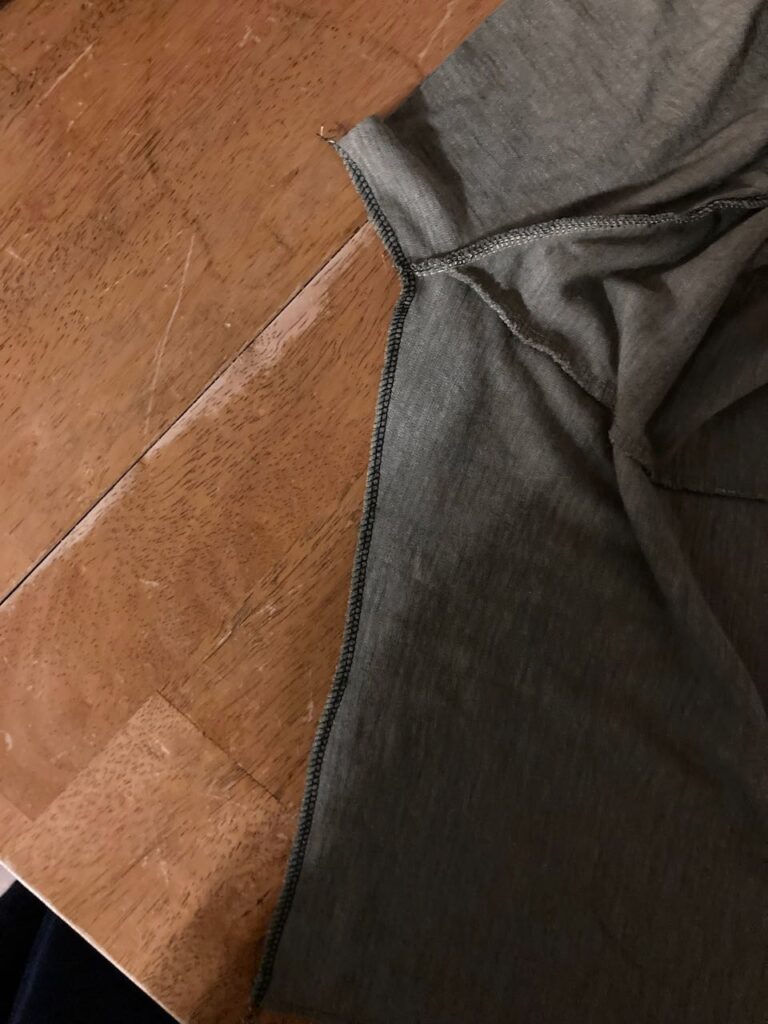
Last week we left off right before sewing the side seams. As you can see, I did those with a serger. And that machine, I might add, kind of revolutionized sewing with knits for me. 😉
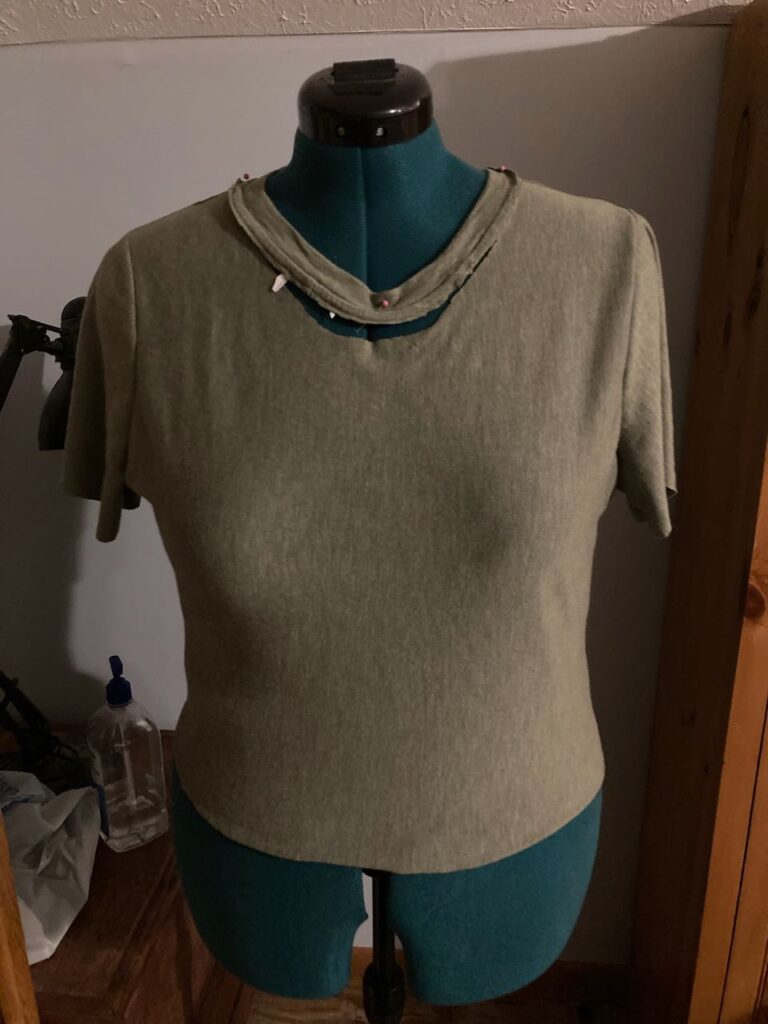
Using the measurements I took at the beginning of this process, I cut out the neck band piece. And to make it easier on myself, I used the trim from the dress I used as fabric. No ironing or folding over needed!
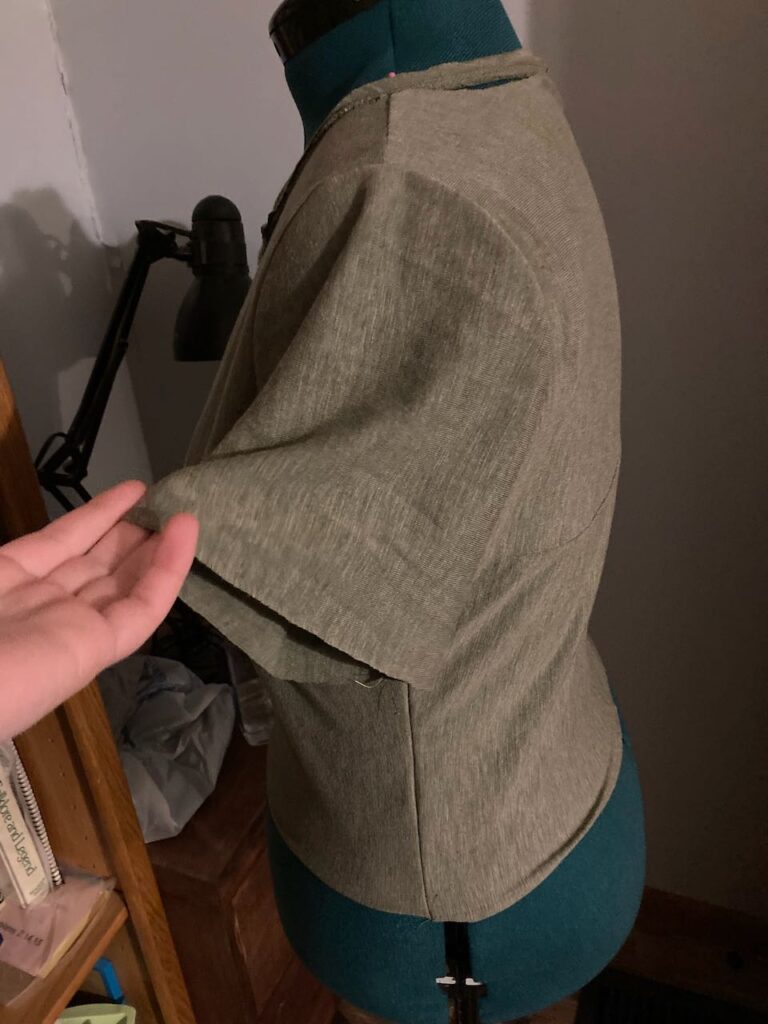
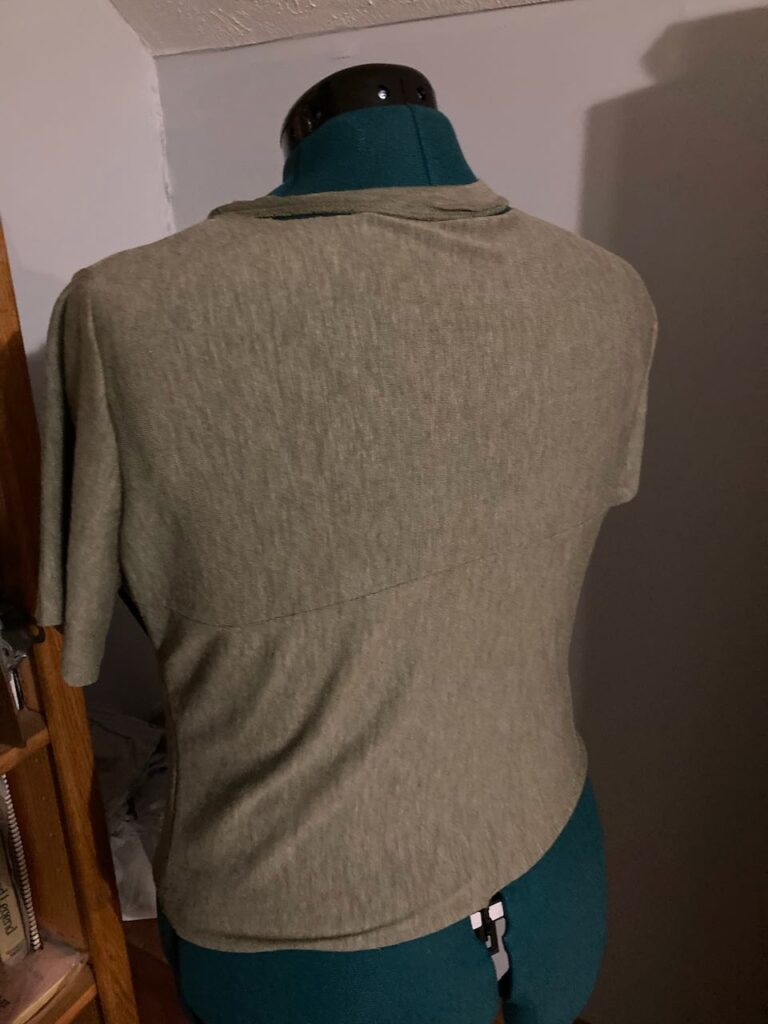
Here you can see a side and back view of the shirt, before I sewed the neck band on.
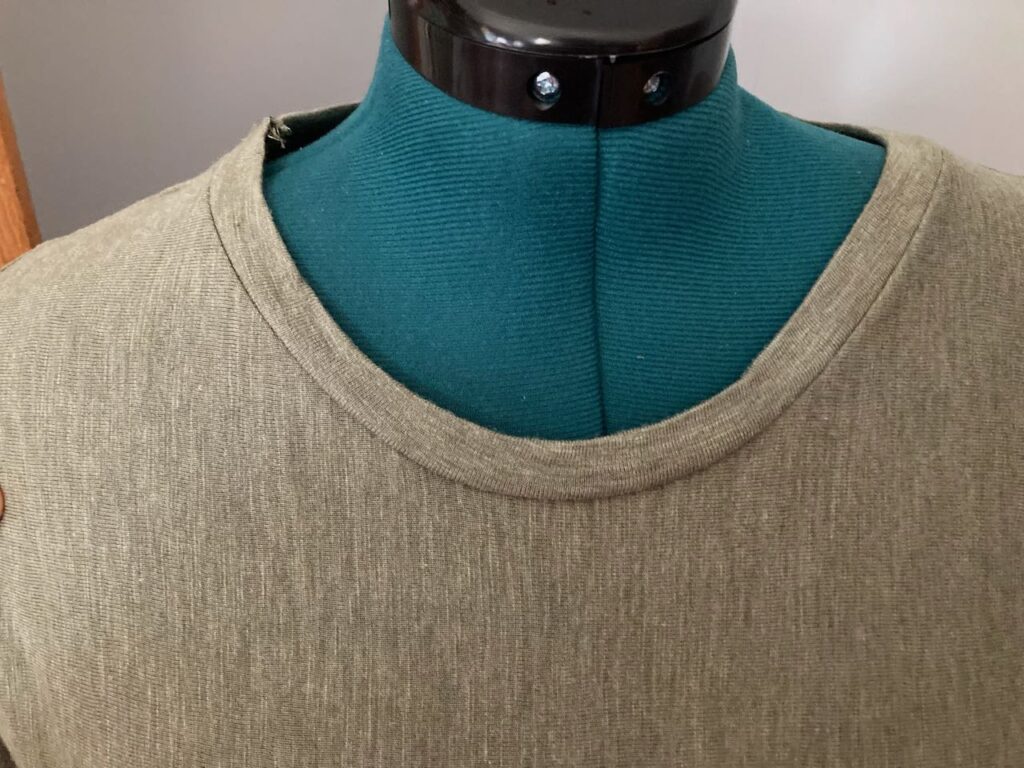
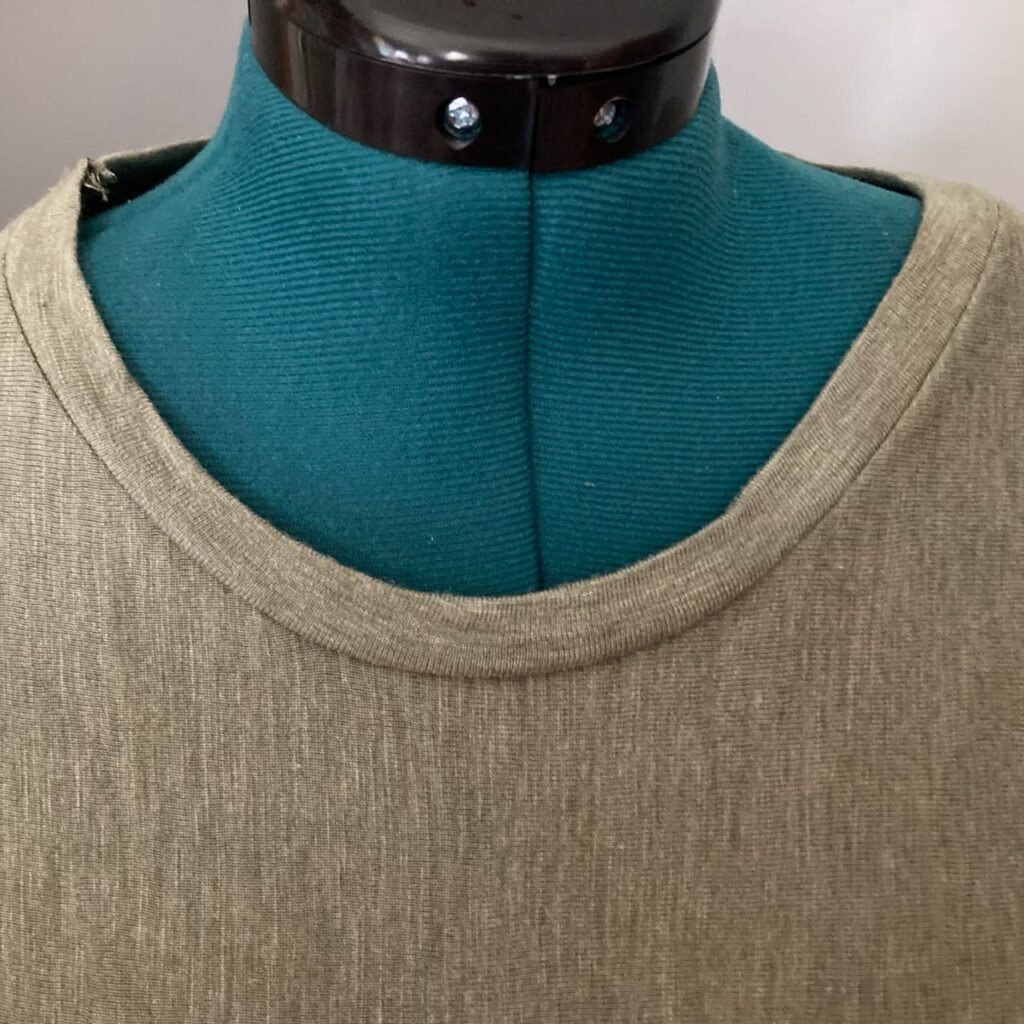
And here’s what it looked like after! I was actually pretty pleased with how it turned out. Looks almost…professional? 😉
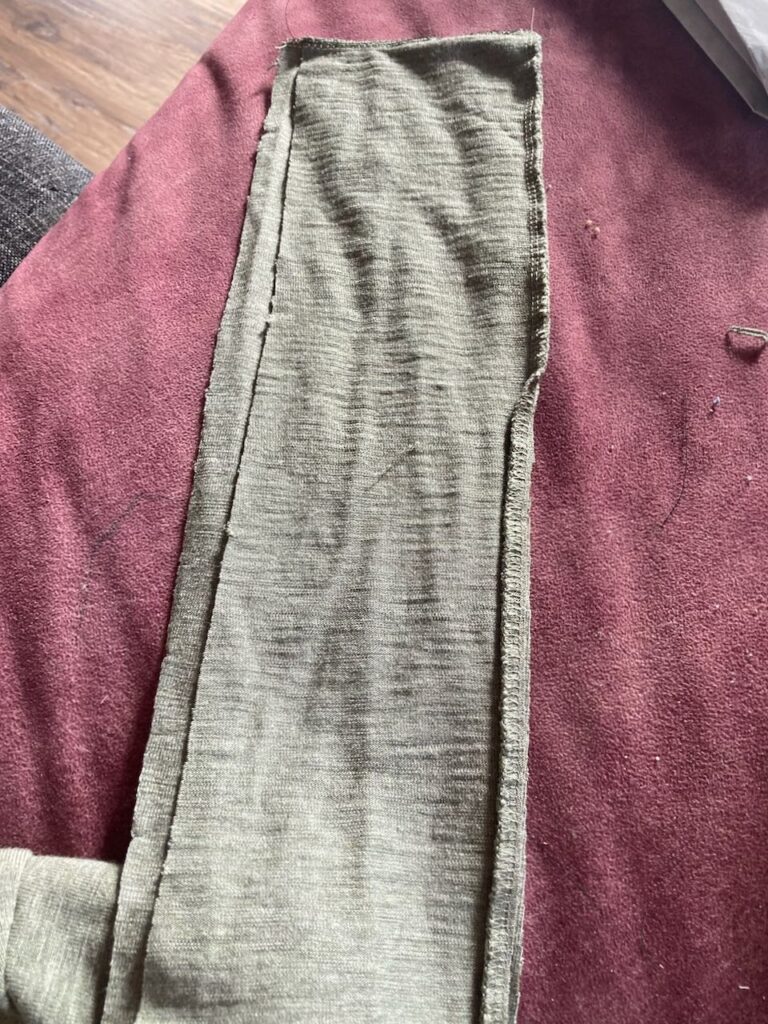
This part probably needs a little explaining.
It turned out that the t-shirt was a little too short to be comfortably worn (by me, at least). So, I decided to just add a band of fabric to the bottom edge. The band was three or four inches wide and I cut it out so that it would attach perfectly to the bottom edge of the shirt.
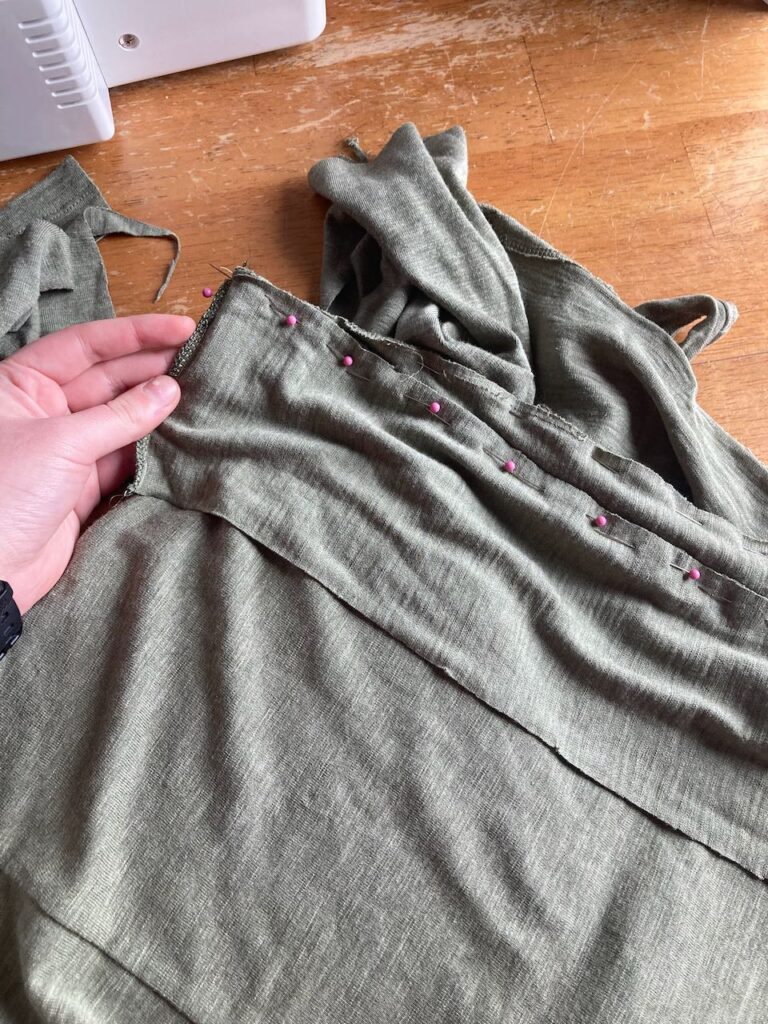
I attached it like so, using the serger, of course. I was a little worried that the shirt would look strange with the extra seam. But, if anything, I think it actually made it more flattering.
Wrapping up How to make a T-shirt: Part Two
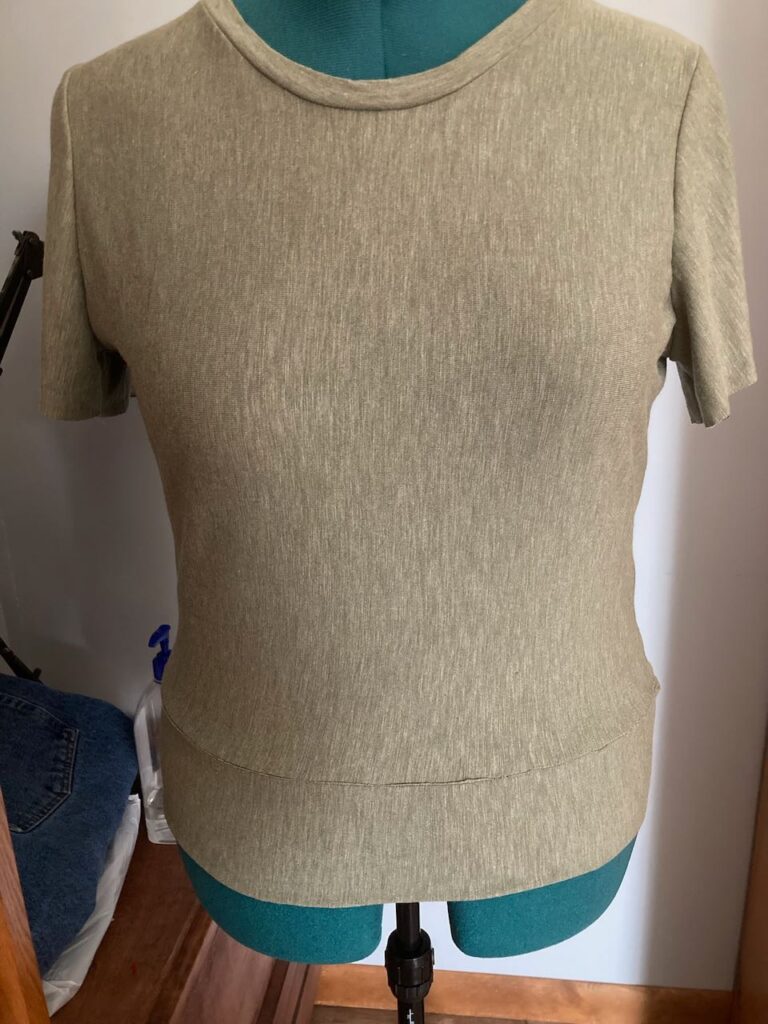
And then I was done! (Oh, and you can see the finished shirt on me in this post.) Well, almost done. I still had to hand sew the hemming on the sleeves and bottom edge. What do you think? I’m planning on making many more in the future.
And after making this shirt, I made another pattern, adding on several inches to the bottom. That’ll make for a much more streamlined process next time. 🙂
That’s all for now. I hope you enjoyed this post. ~ Emily