Making a Ruffle-Sleeved Dress: Part Two
Hello again! Today we’ll be taking a look at Making a Ruffle-Sleeved Dress: Part Two. Let’s get started! (And I’ll leave a link to the first part here.)
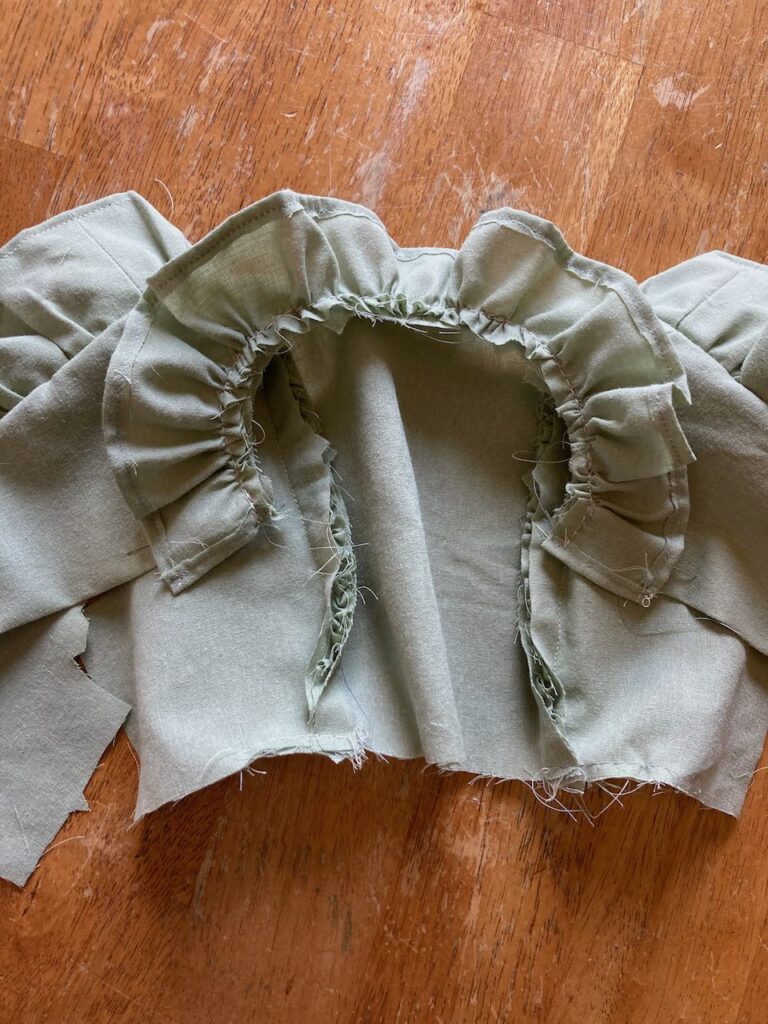
Starting right off where I ended last week, here we are at the step of finishing up the open edges.
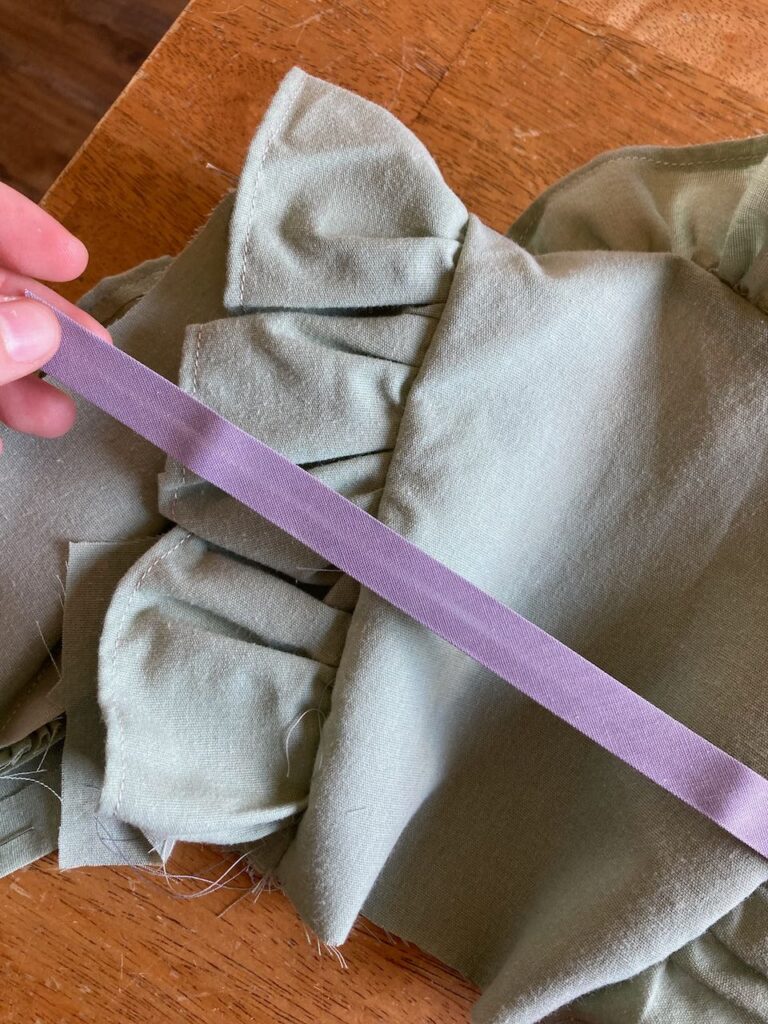
I used this purple bias tape, since it was the only color I had that I thought would look nice with the sage green.
Oh, and I have thought about experimenting with making bias tape out of the same fabric that I use for sewing outfits, but so far it just hasn’t happened. 😉
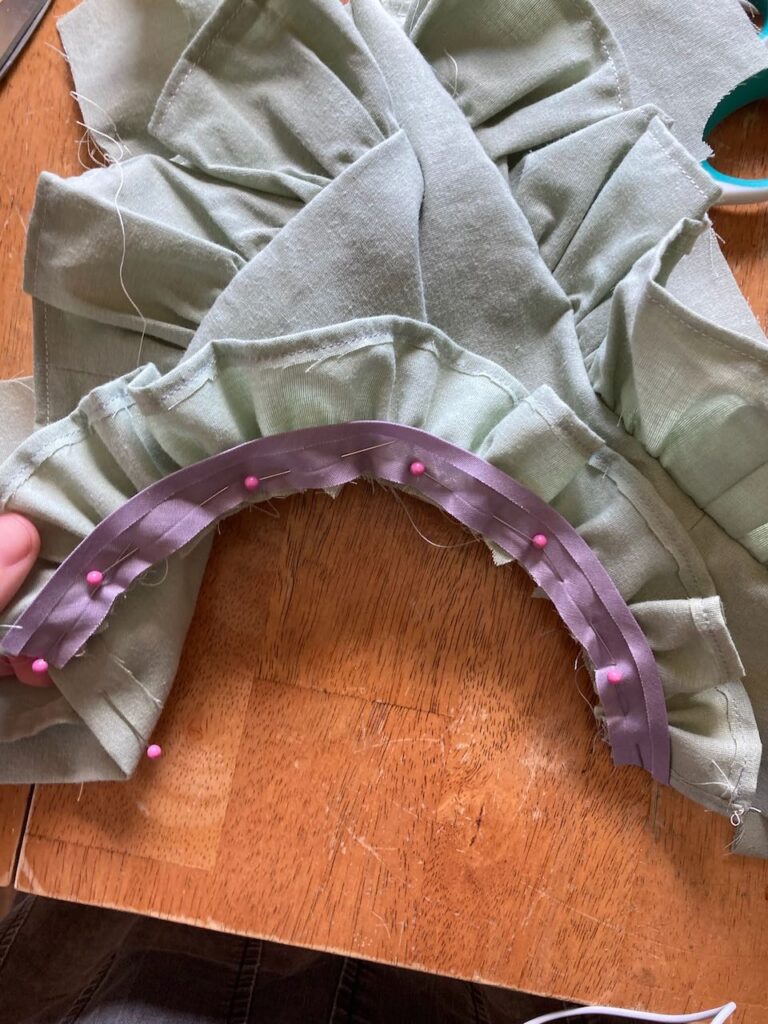
This step was not really making any sense in my brain, for some reason. I’d never used bias tape in this way before, so it took a little bit for me to actually figure it out. Eventually, I think I did. Or at least, it looks alright. 😉
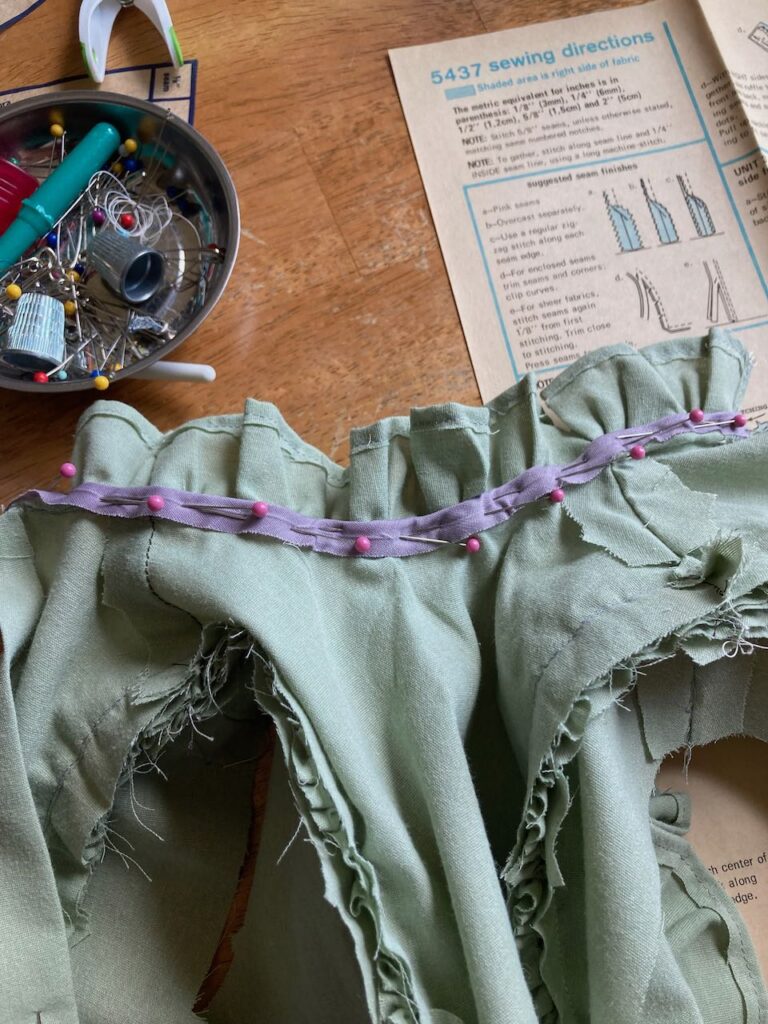

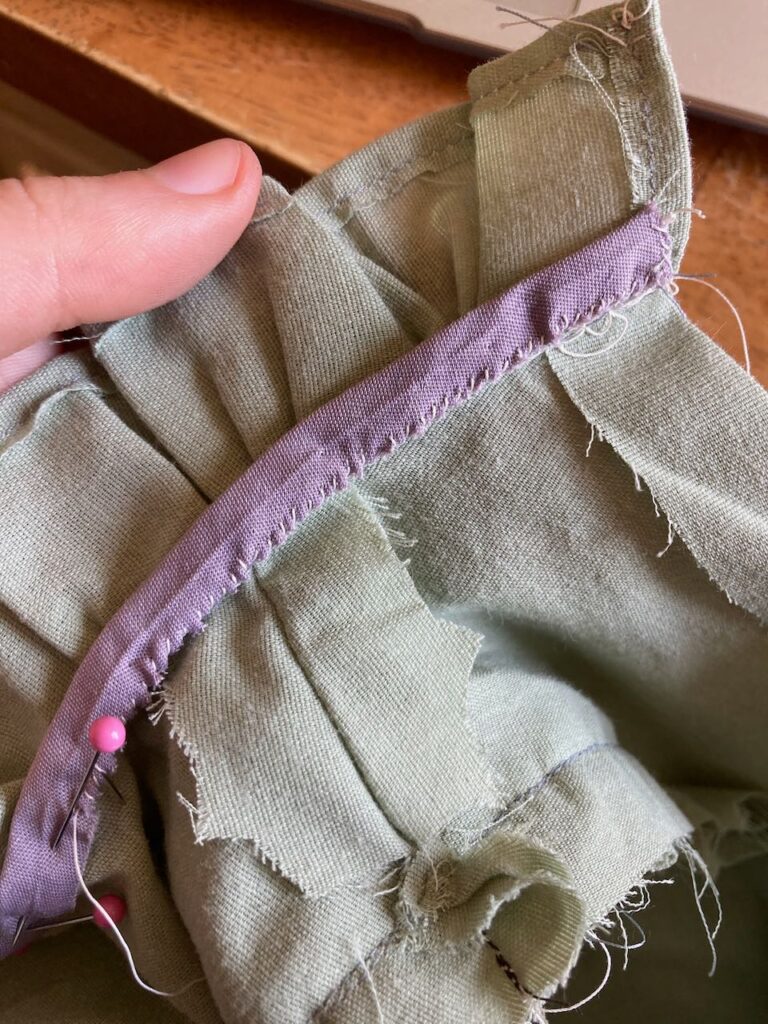
After folding and finagling it into place, I moved on to my favorite part, which was hand-stitching it down.
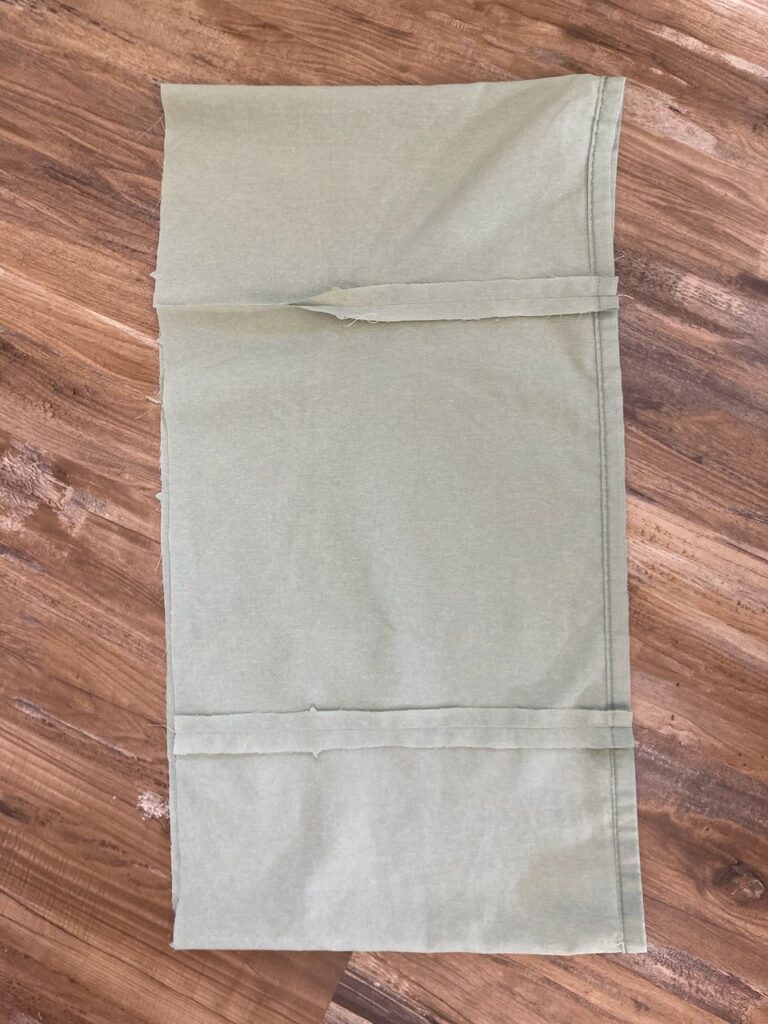
And then I started on the skirt portion, which began as this large piece of fabric.
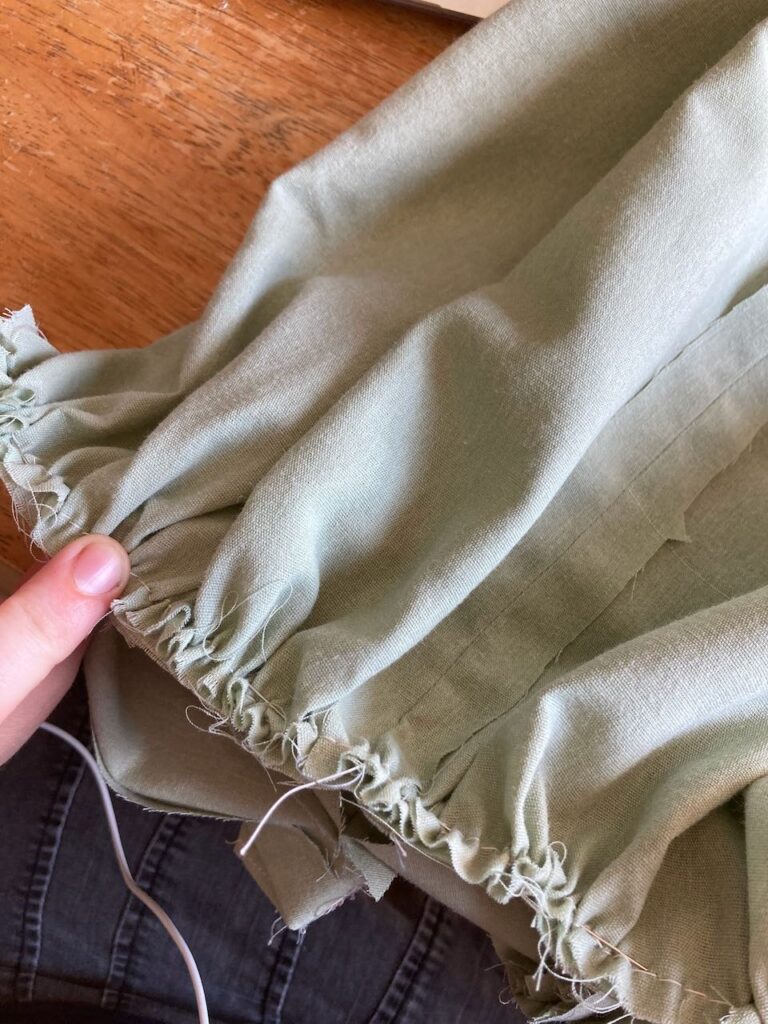
Which, I then gathered down to within an inch of its life. Seriously, these patterns involve a lot of gathering! It’s good practice for me, though.
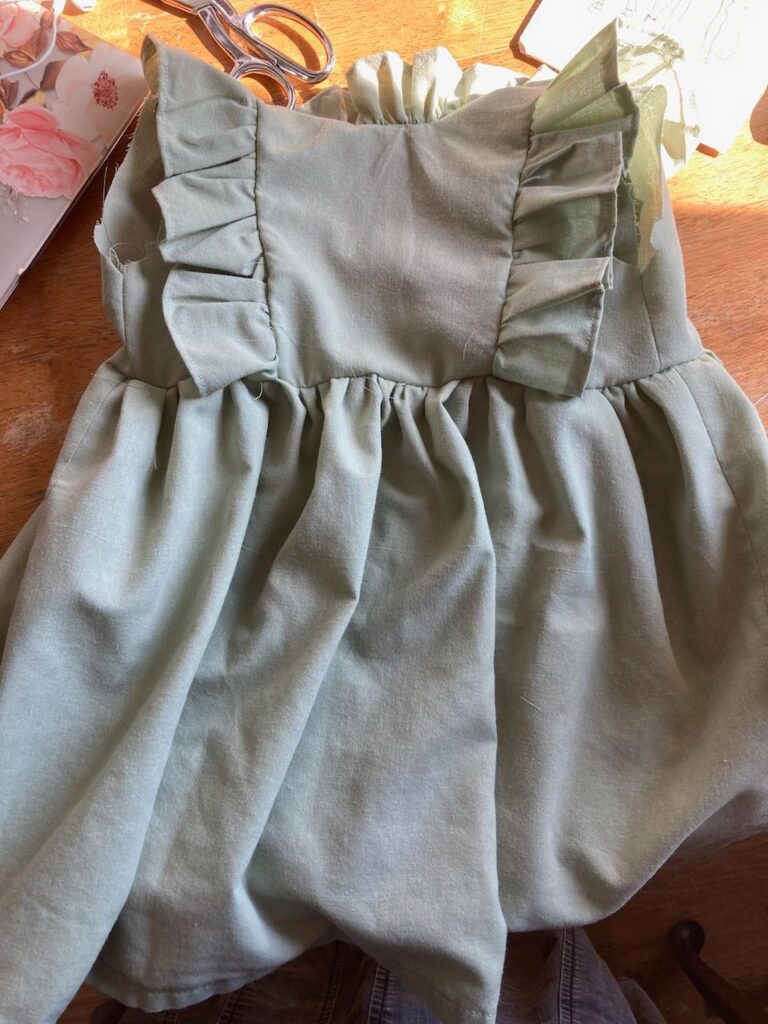
And I then attached that gathered skirt to the bodice.
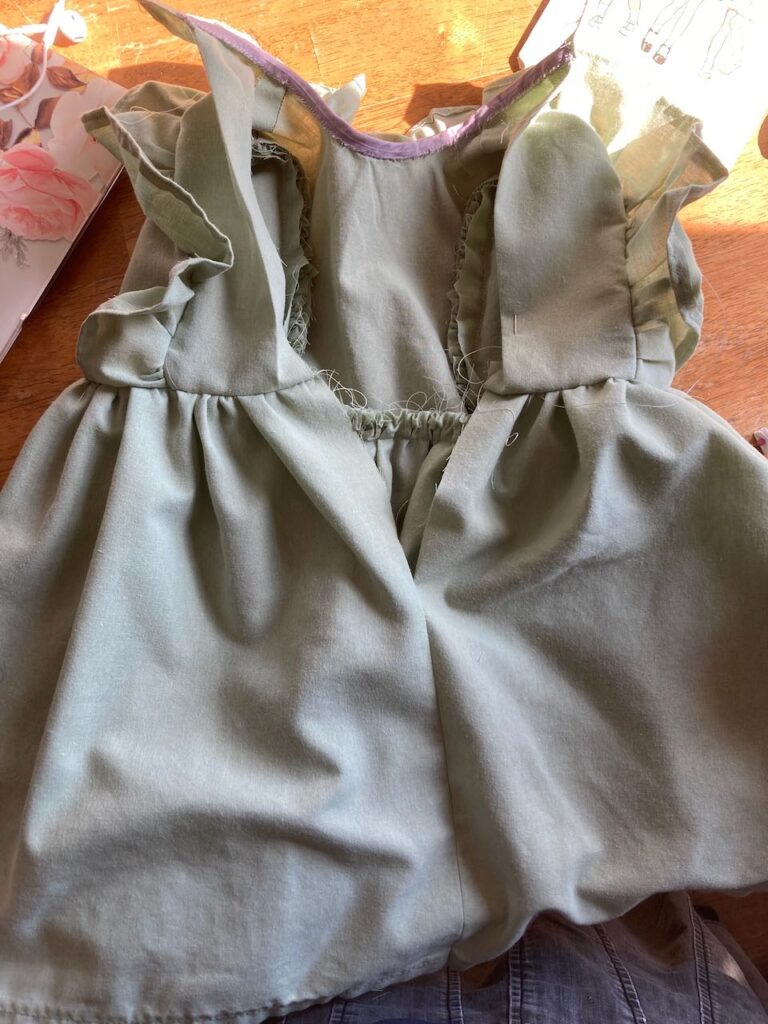
And here’s the back view as well.
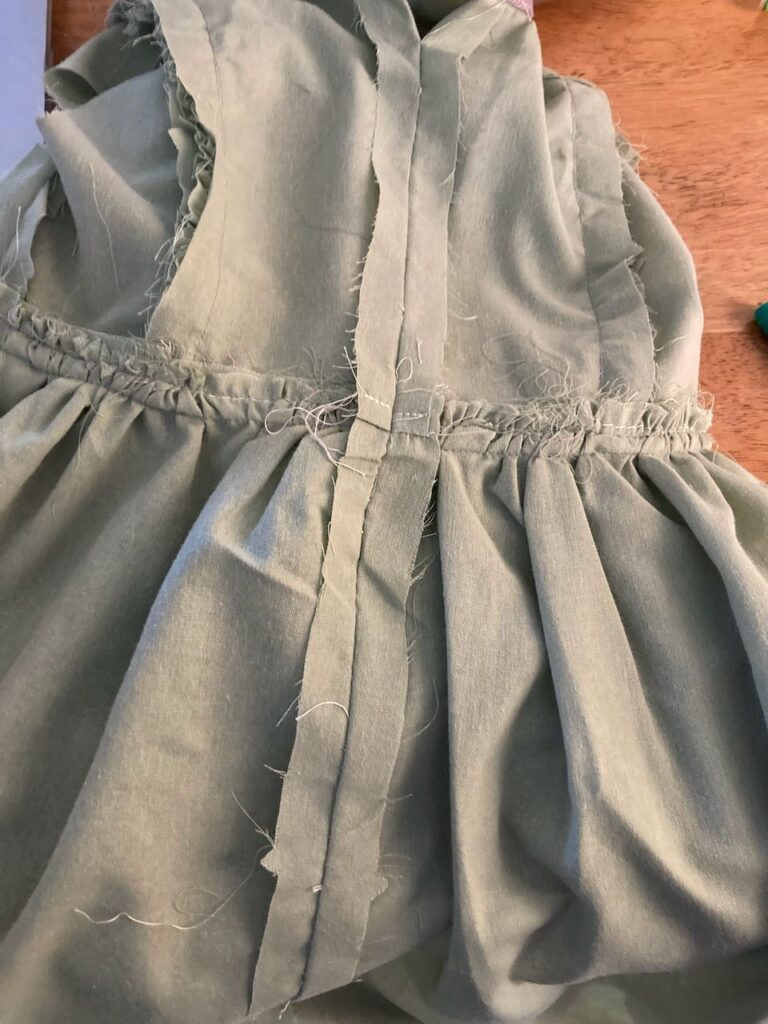
For the next step, I basted together the portion that would have a zipper on the back of the dress. I’ve found this to be the easiest way to install standard (as opposed to invisible) zippers. But, I’ll have to pick this up next week.
That’s all for now! I hope you enjoyed this post, making a ruffle-sleeved dress: part two. ~ Emily