Making a Ruffle-Sleeved Dress
Hello! Today on Simply Saturday we’ll be taking a look at making a ruffle-sleeved dress. Let’s get started!
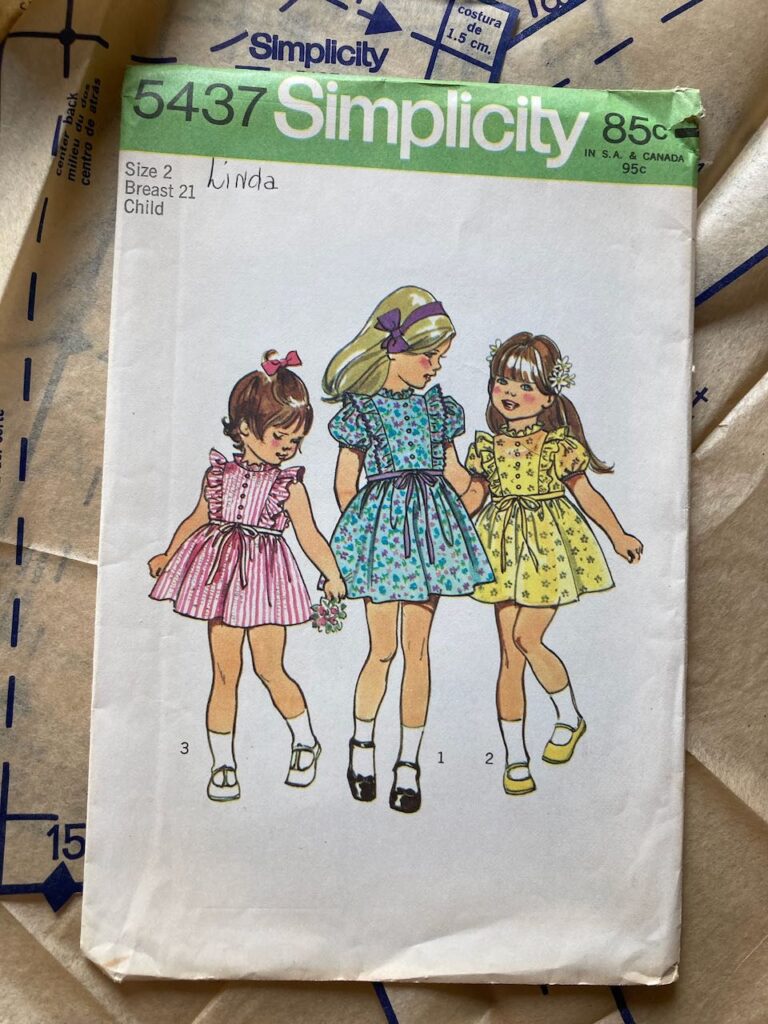
I decided to use another one of the vintage patterns (I made another outfit using a vintage pattern in this and this post). I made the third view of the dress, in a size two as shown.
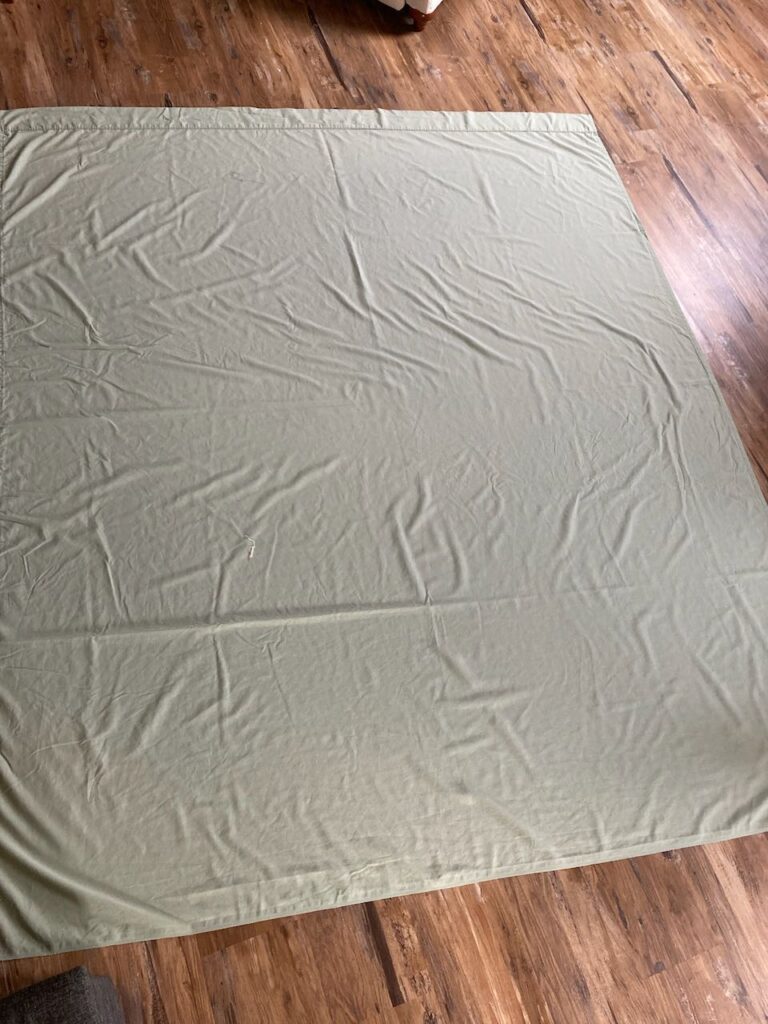
For fabric I actually used some of this pale green, queen sized sheet. Do you see how much fabric this is? And it’s quality, too. And, I bought it for 25 cents at the thrift store! I was pretty pleased about it, if you can’t tell. 😉

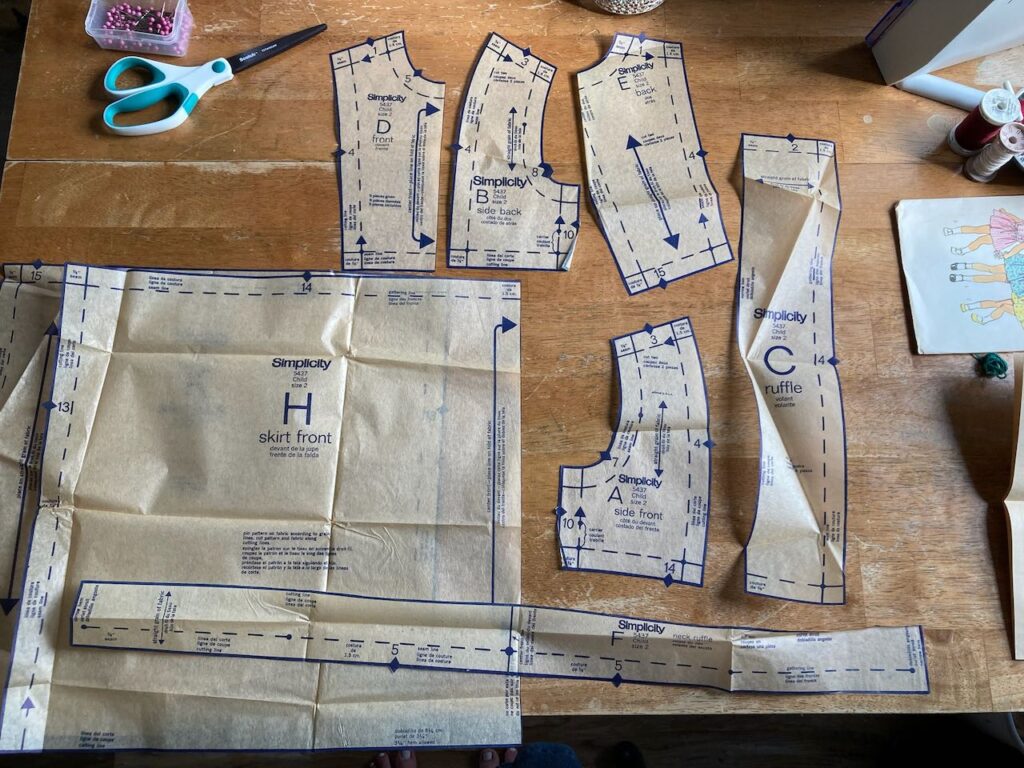
And here are all of the pattern pieces I needed to cut out. Oh, and I forgot to mention: this pattern is from 1972.
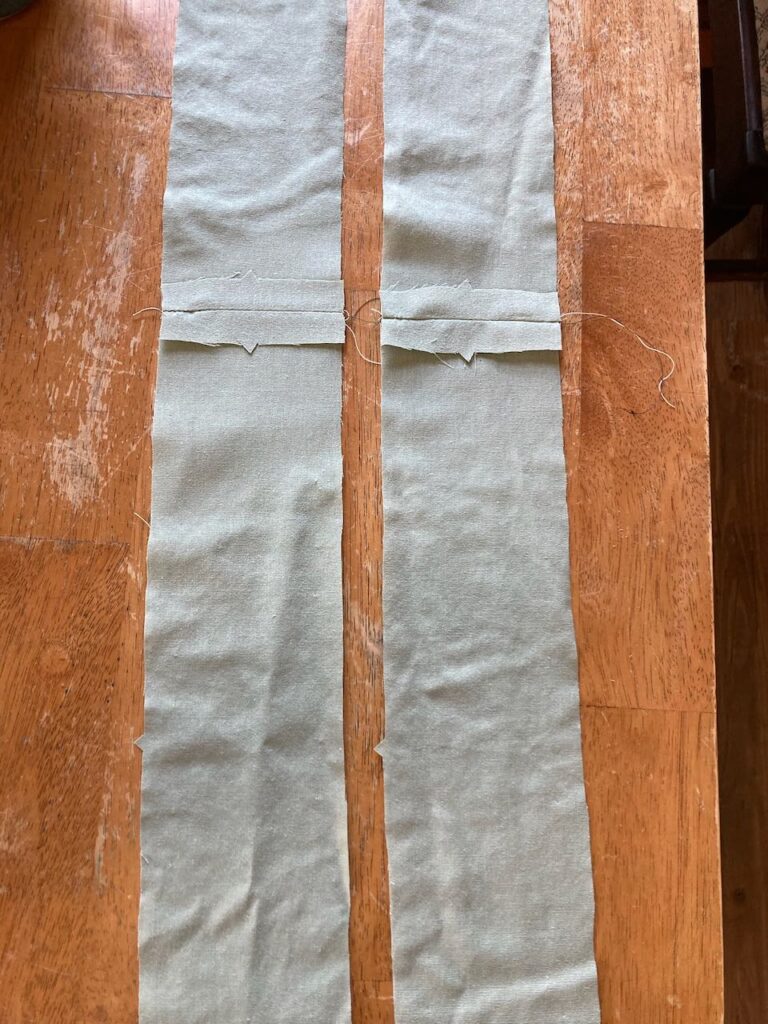
The first step after cutting out the pieces and sewing together the front and back sections of the bodice, was the sleeve ruffles. I’ve actually really enjoyed seeing how these patterns work, and learning different techniques, such as these sleeve ruffles.
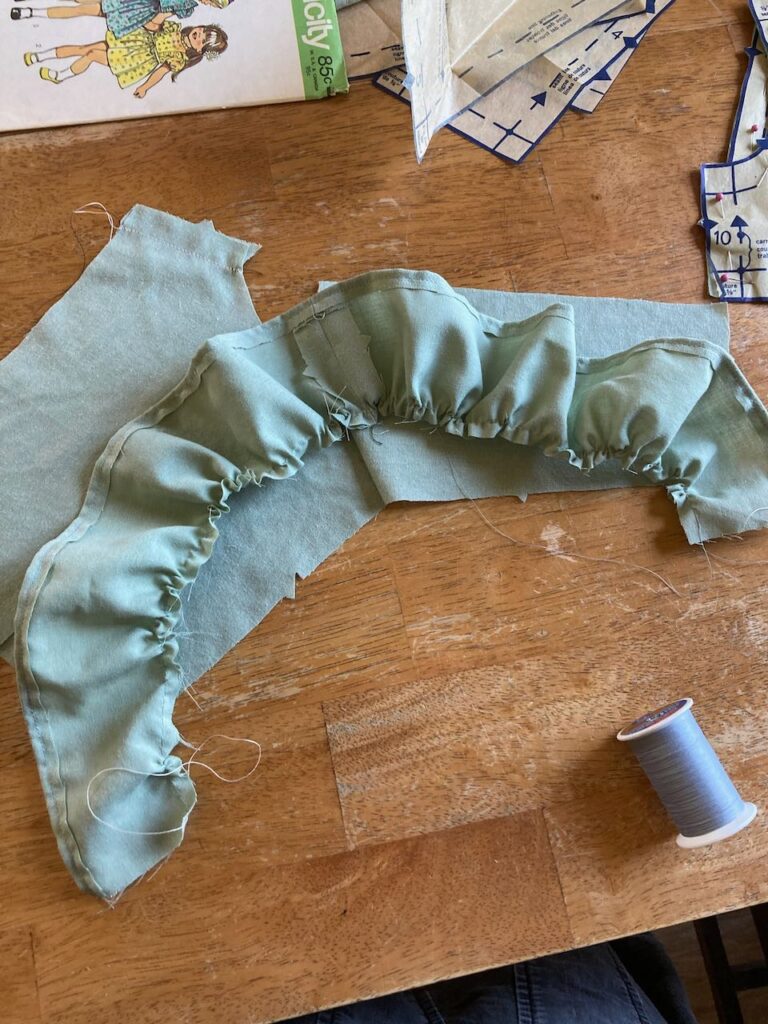
Moving on, here’s the gathered ruffles. They needed to be attached along the seam as shown.
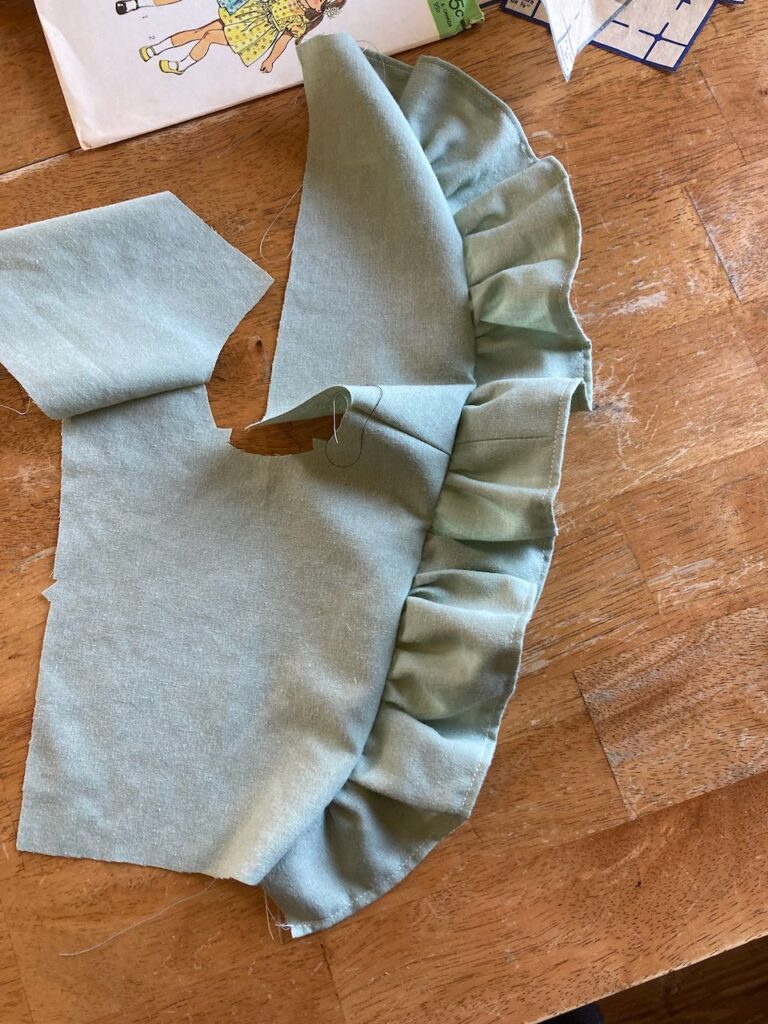
And here’s what that looked like. I thought it turned out reasonably well. 😉
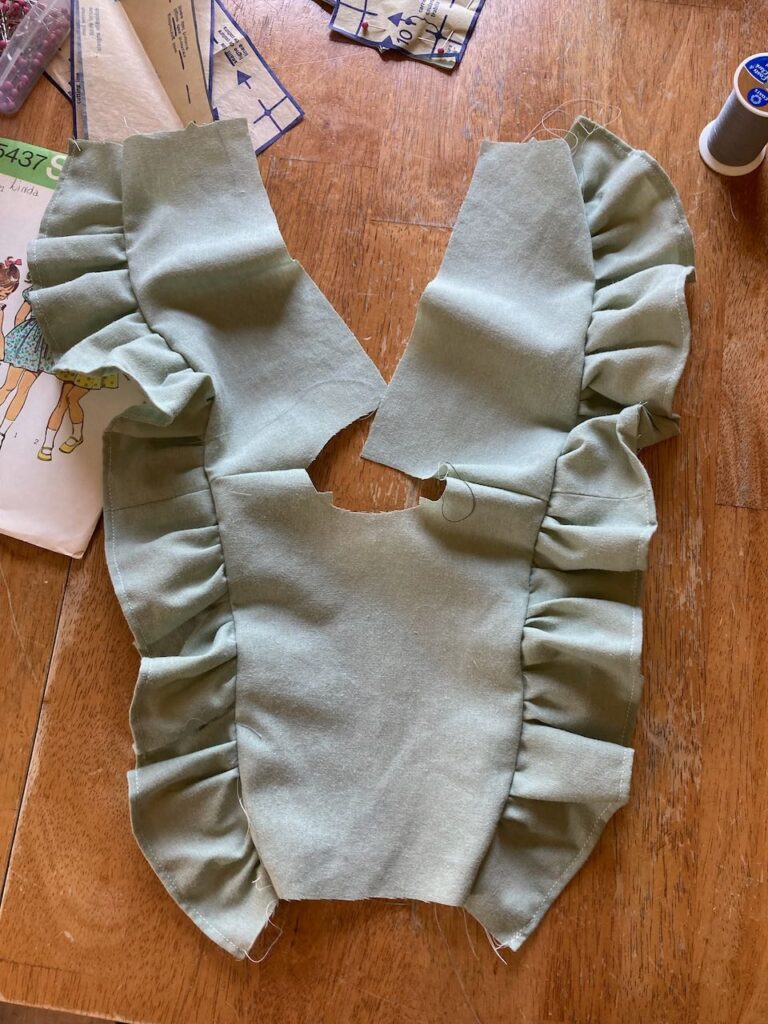
And then I repeated that step on the other side.
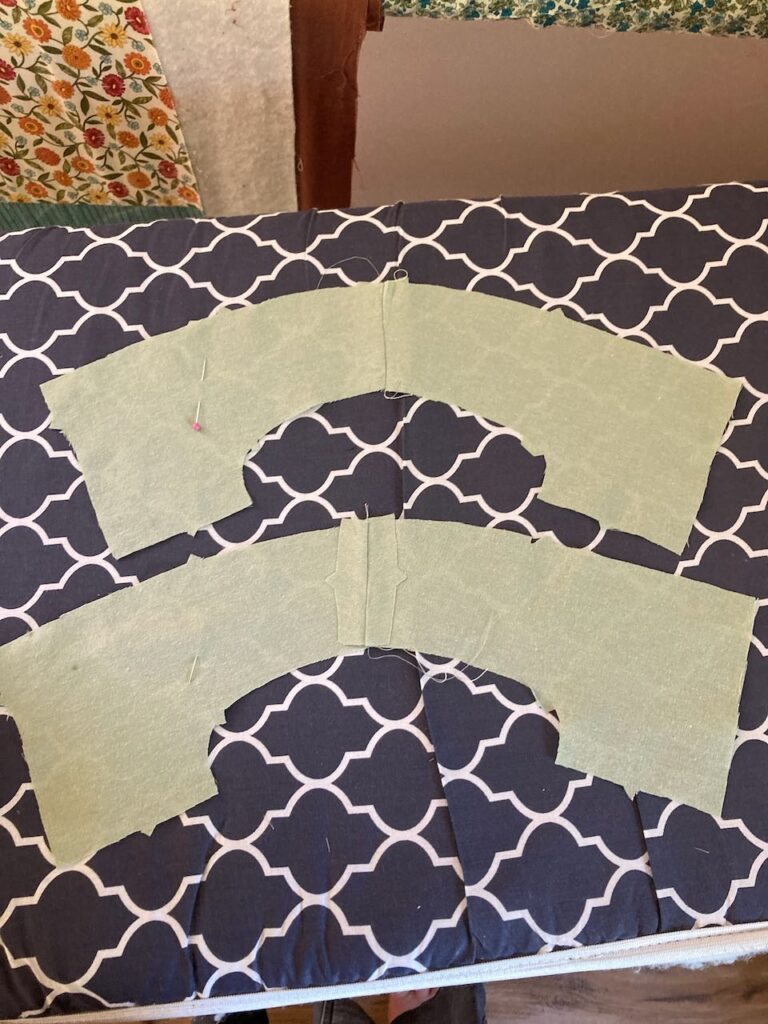
Next, I added the side pieces onto the bodice.
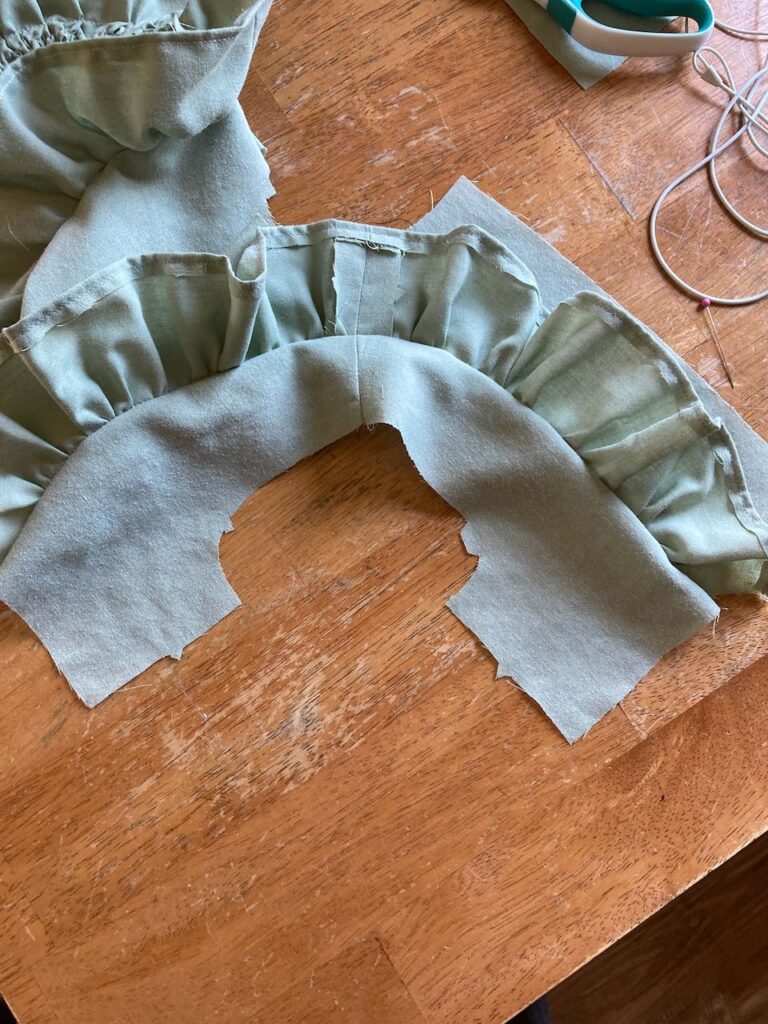
Which is what this is, pictured here.
Making a ruffle-sleeved dress: Wrapping up
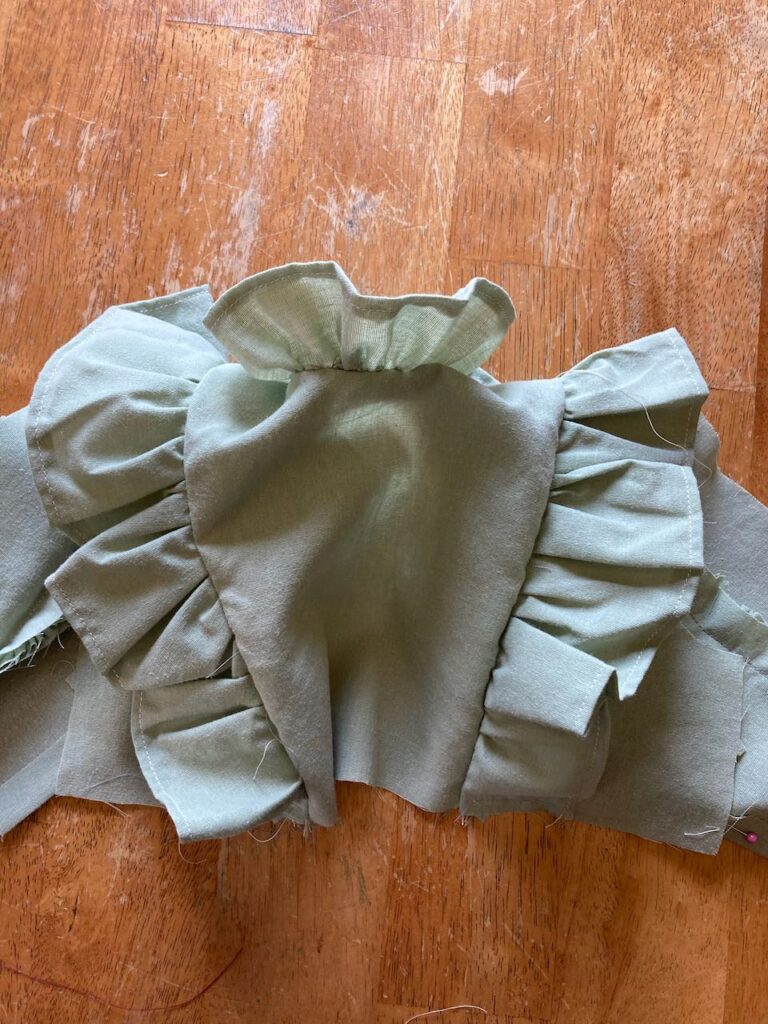
Apparently, for some reason, I didn’t take any photos of the process of adding the neck ruffle. Anyway, here’s what the bodice looked like after adding the neck ruffle and side bodice pieces. The neck ruffle still needs some work, since I don’t think it’s supposed to stick up quite as much as it does. But for now, this’ll have to be it. Come back next week, hopefully, for a part two!
I hope you enjoyed this post! Have you been sewing lately?~ Emily
2 thoughts on “Making a Ruffle-Sleeved Dress”
Comments are closed.
[…] Hello again! Today we’ll be taking a look at Making a Ruffle-Sleeved Dress: Part Two. Let’s get started! (And I’ll leave a link to the first part here.) […]
[…] (the final installment!). Let’s get started! Oh, and I’ll link to the other two parts here and […]