Making a Ruffle-Sleeved Dress: Part Three
Hello! Today On Simply Saturday we be taking a look at Making a Ruffle-Sleeved Dress: Part Three (the final installment!). Let’s get started! Oh, and I’ll link to the other two parts here and here.

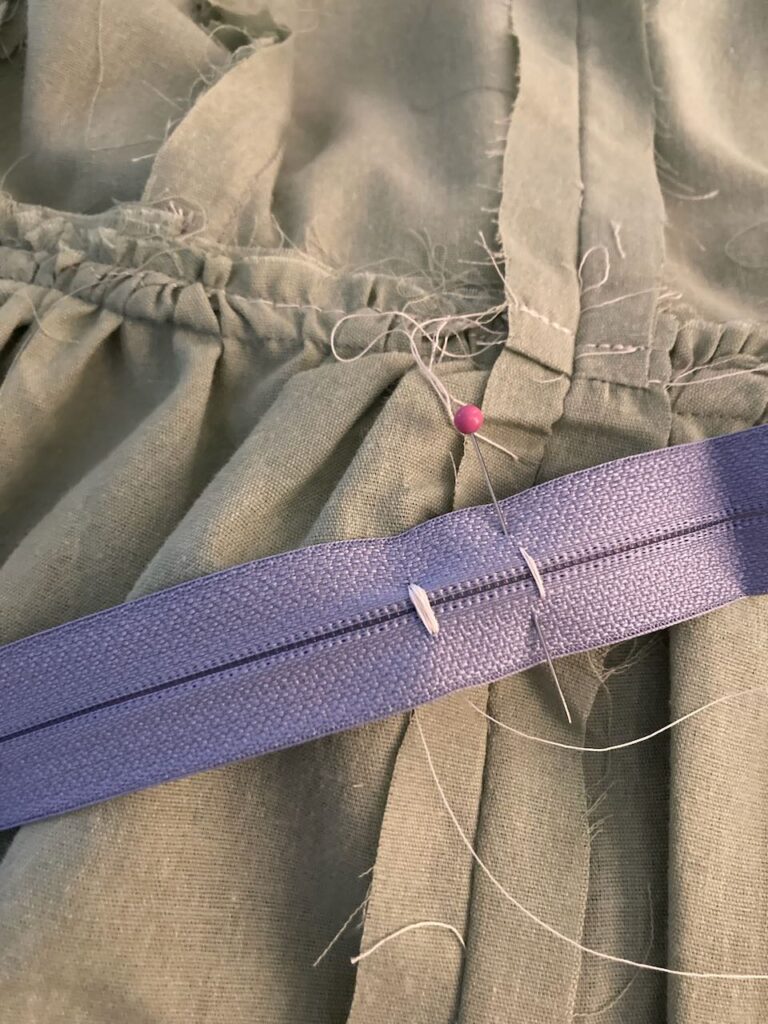
Last week I left off at the point right before adding the zipper, so here we are! I chose this purple zipper, since it would both match the bias tape trim and I didn’t have a color that matched the sage fabric anyway. 😉
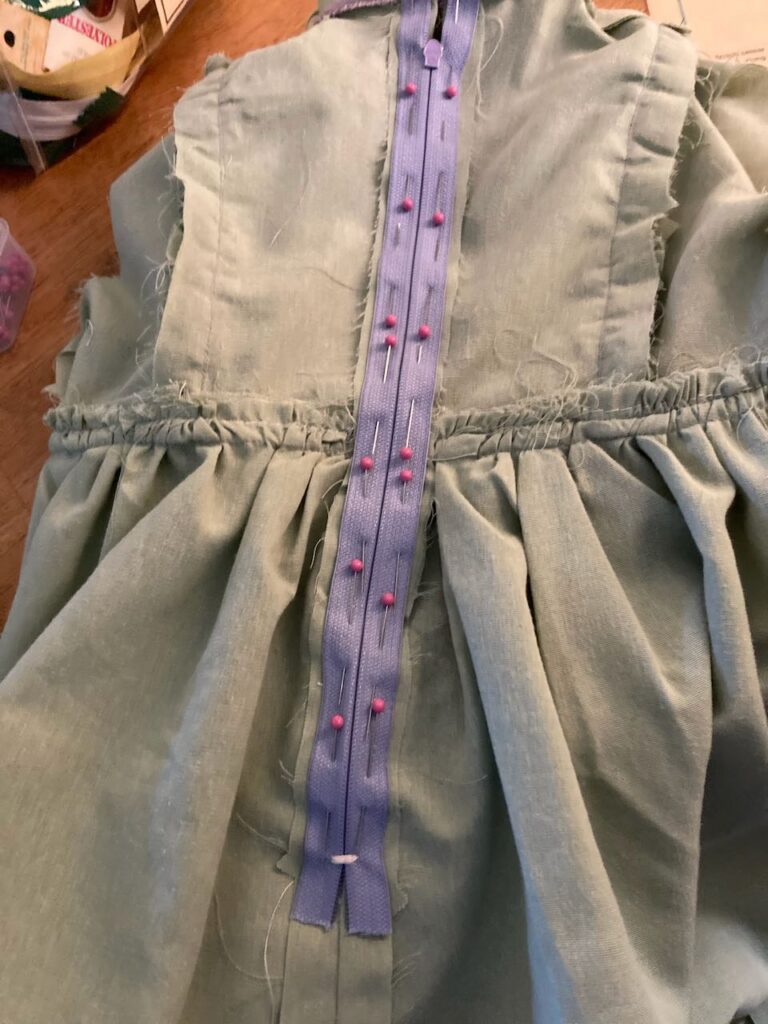
I pinned the zipper in place…
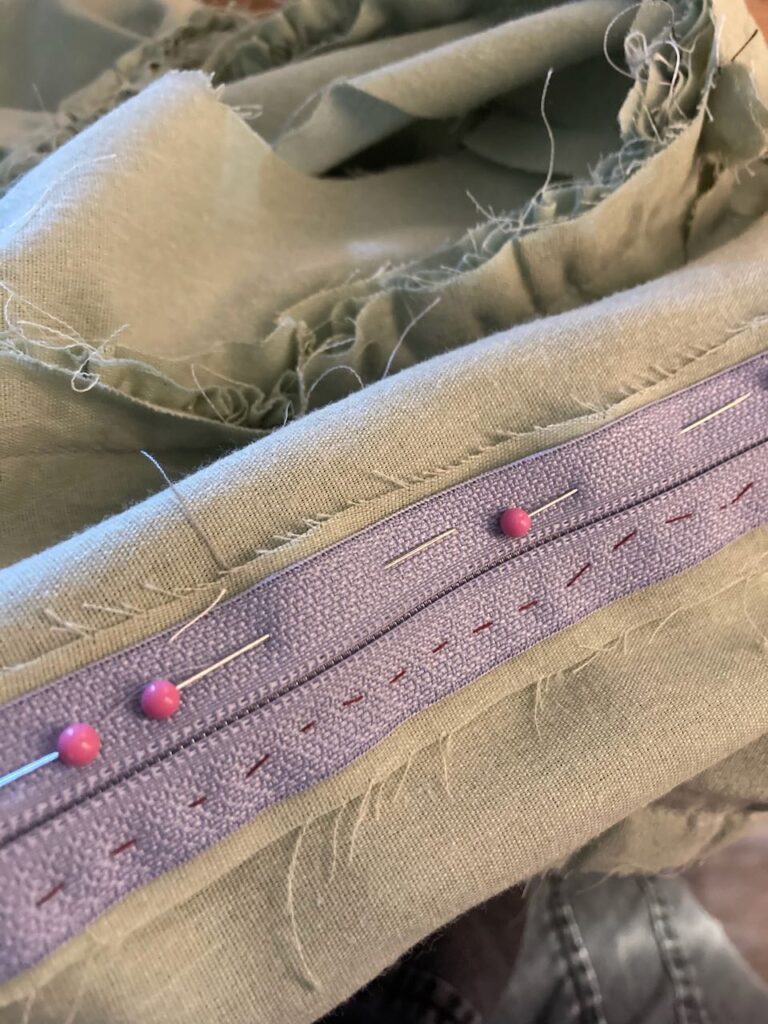
…then hand-basted it into place. And I should add: basting zippers into place was a total game changer for me! It made it so much more simple to do the final stitching into place with the machine. I’m planning on doing it from now on!
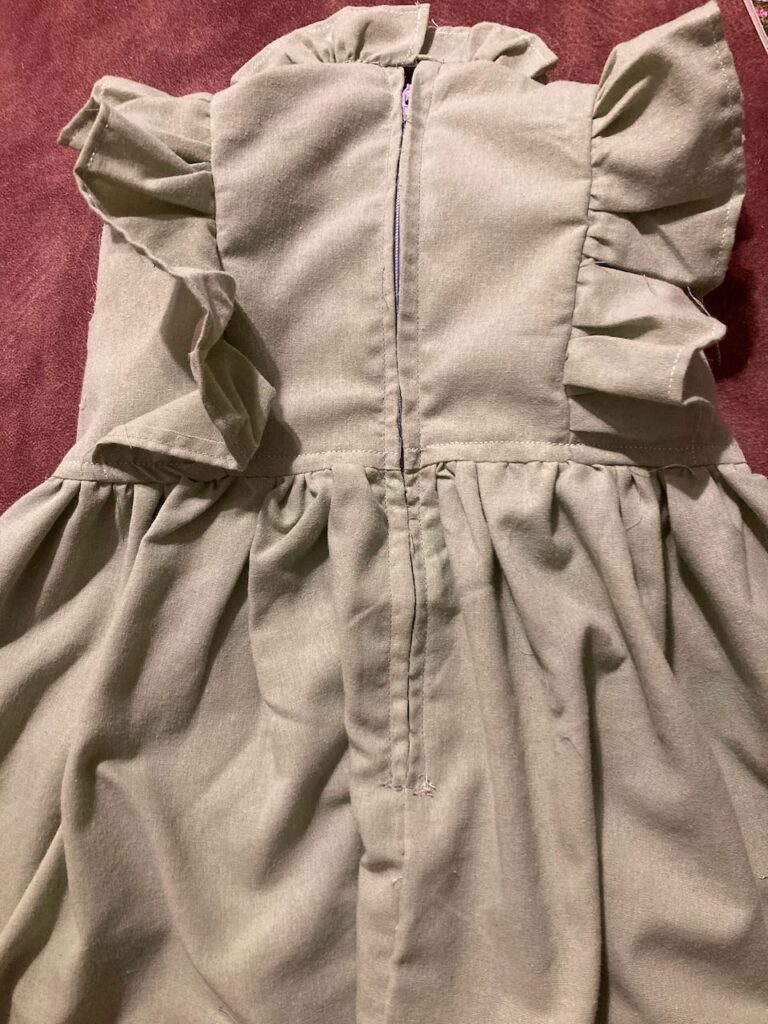
I hadn’t actually installed a zipper like this in a while, but it didn’t go too badly. Other than the very uneven placement in some places. It’s not as obvious after I opened up the baste stitches of the seam directly in front of the zipper, however.
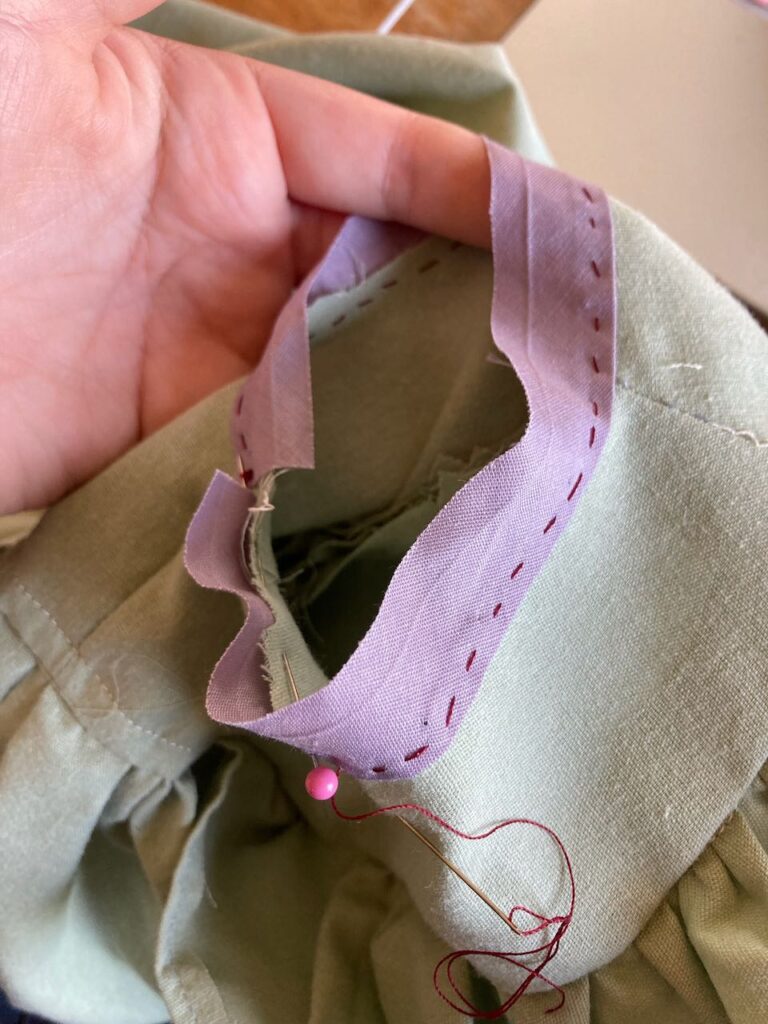
The next step was to finish the edges of the sleeves. Oh, and I actually only realized that I had done some of the steps leading up to this one in the wrong order at this point. The side seams under the sleeves were supposed to be open, and I wasn’t supposed to have attached the skirt or zipper yet. I still figured out how to add the bias tape, however, since I wasn’t about to take it all apart! 😉
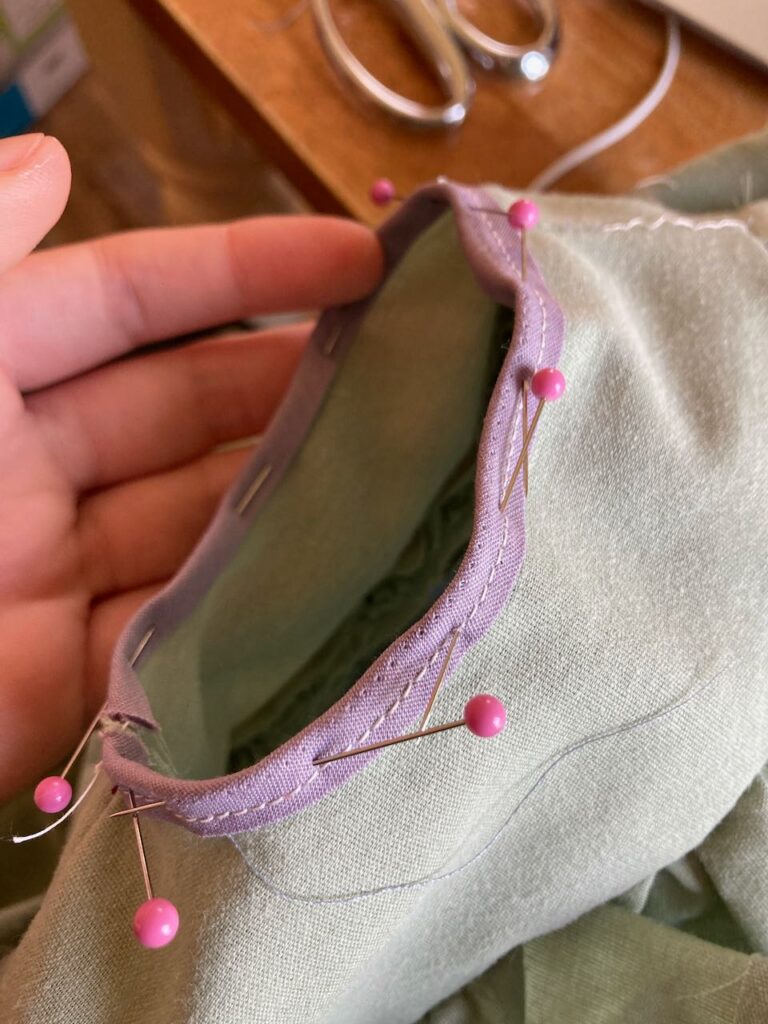
As you can see, i folded the bias tape towards the inside, after machine stitching the outer bias tape into place.
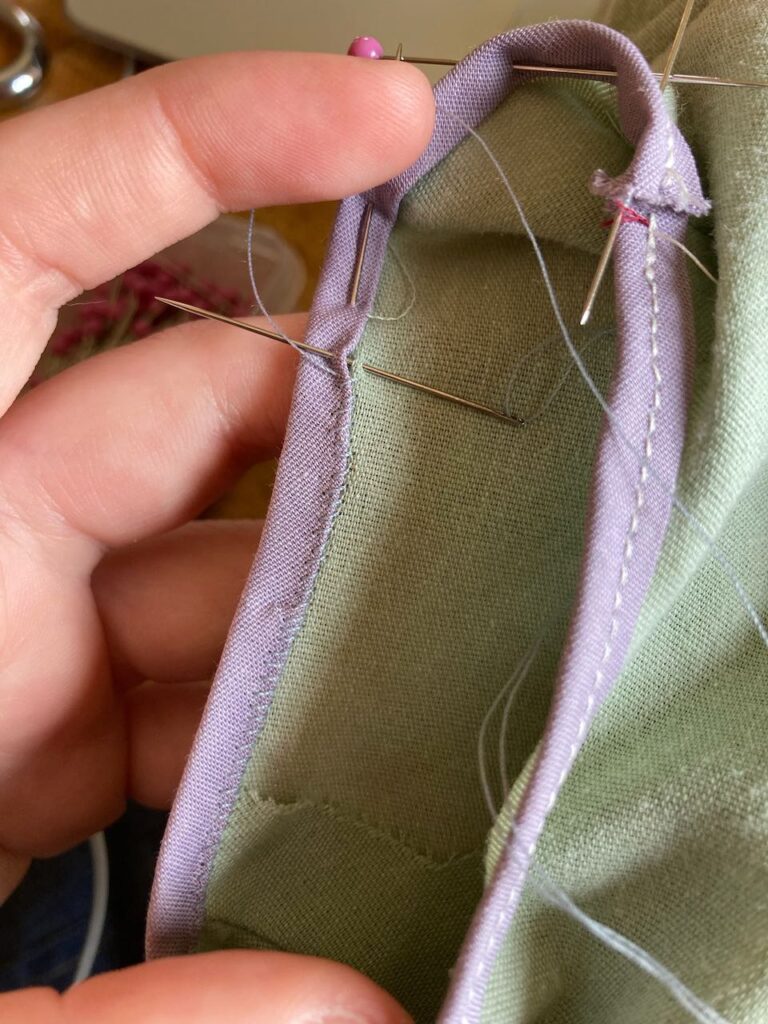
I then hand-sewed the inner bias tape into place.
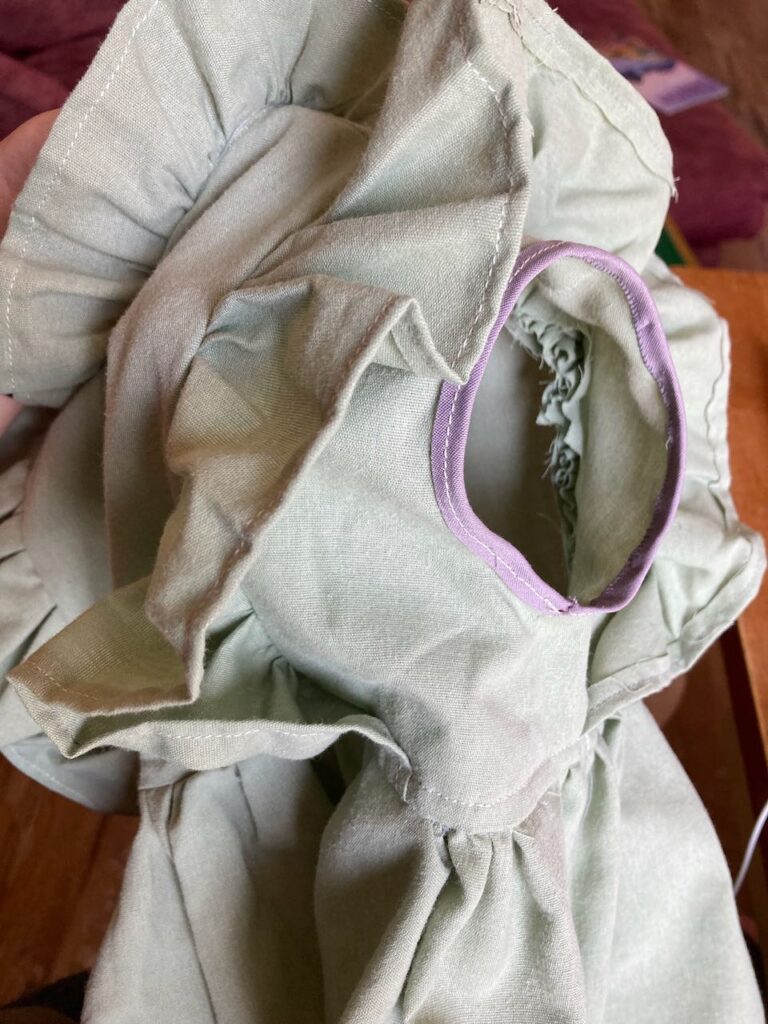
And here’s what the finished sleeve edges looked like.
The Finished Product:
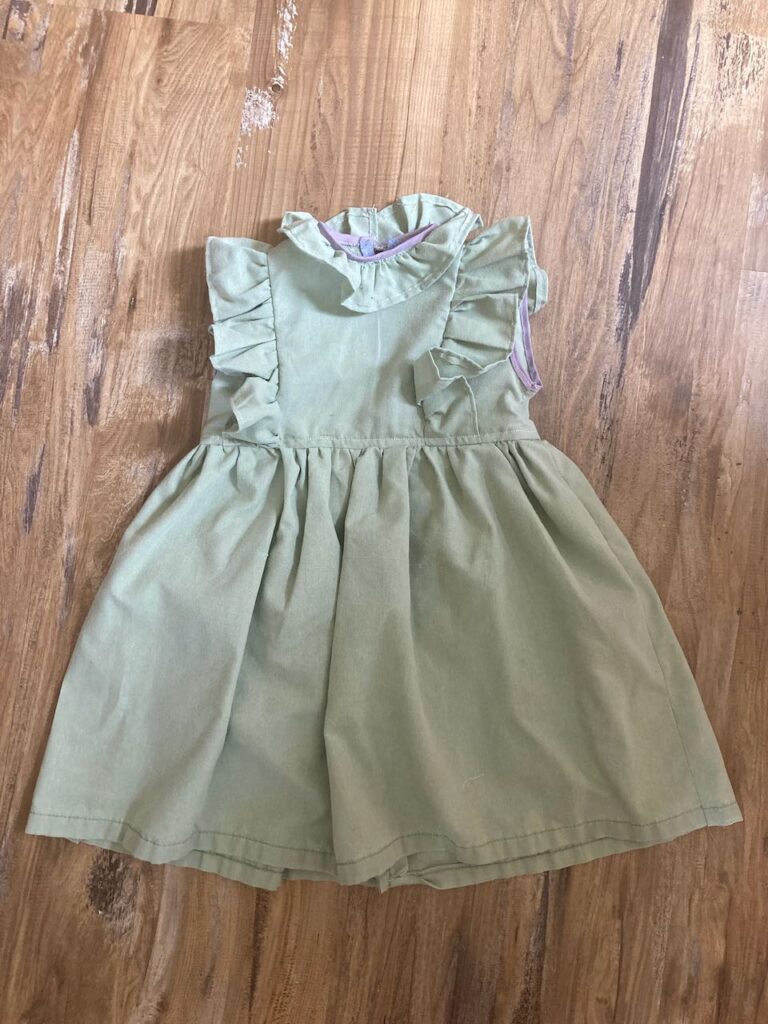
And here is the (almost) finished product. I say “almost” because I still need to figure out something to fix the little neck ruffle. It needs some help. 😉 But other than that, I think it turned out pretty cute!
That’s all for now. I hope you enjoyed this post, “Making a Ruffle-Sleeved Dress: Part Three.” Until next time ~ Emily