Altering a Knit Skirt
Today (even as late in the day as it is) I thought I’d still get this post out. Let’s get started with altering a knit skirt!
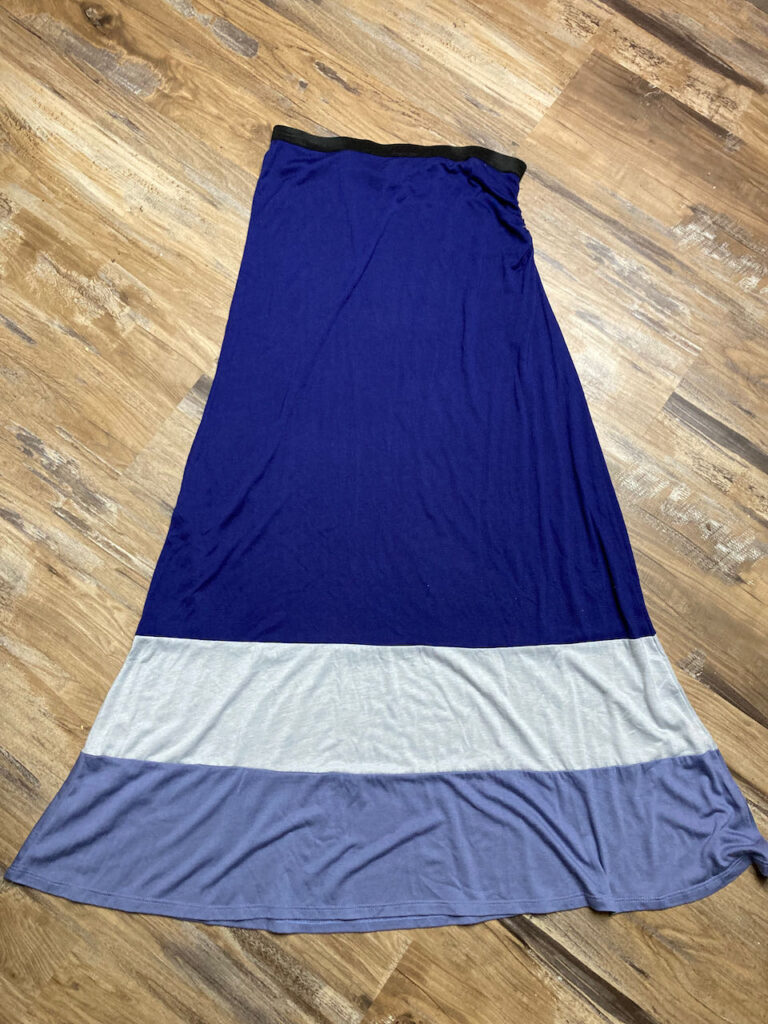
I decided to alter this skirt, since it’s a little tight as it is, and also has this really weird ruching on the left side. I’m not sure what the point of that is, but it’s not really a good look. 😉

First, I decided to (sort of) repeat the process that I used to alter this skirt, with a few changes.
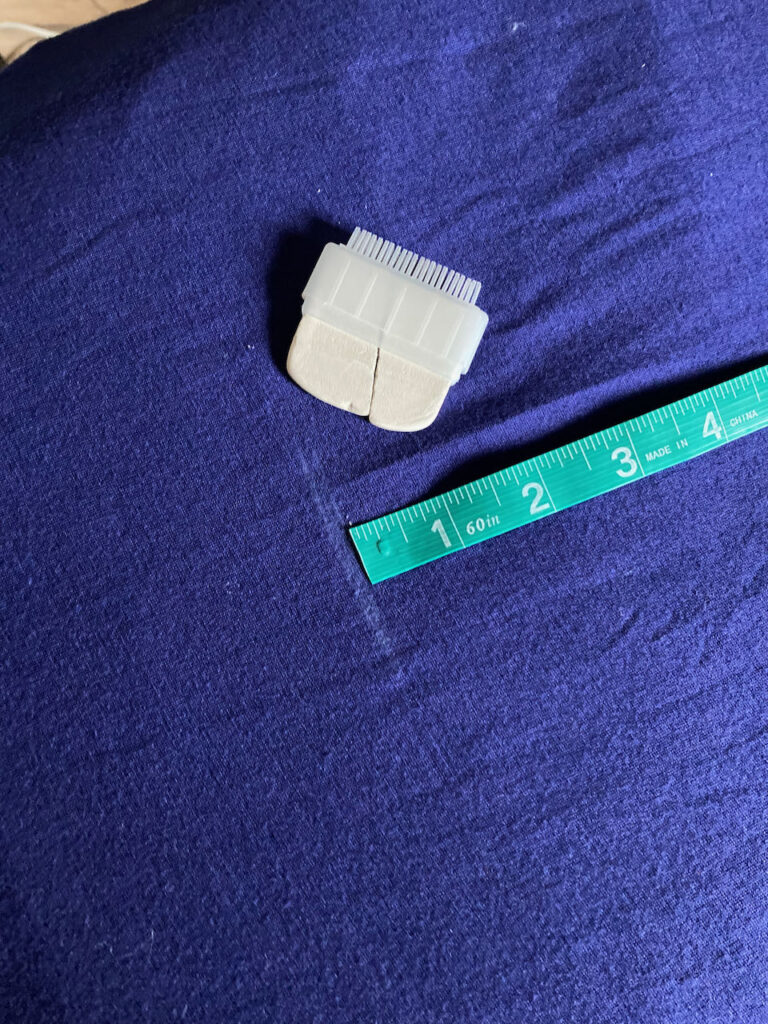
I began by measuring the distance from my waist to a little below my knees; which is about where I wanted this skirt to hit. Then I measured that distance from the hemline and marked it with chalk.
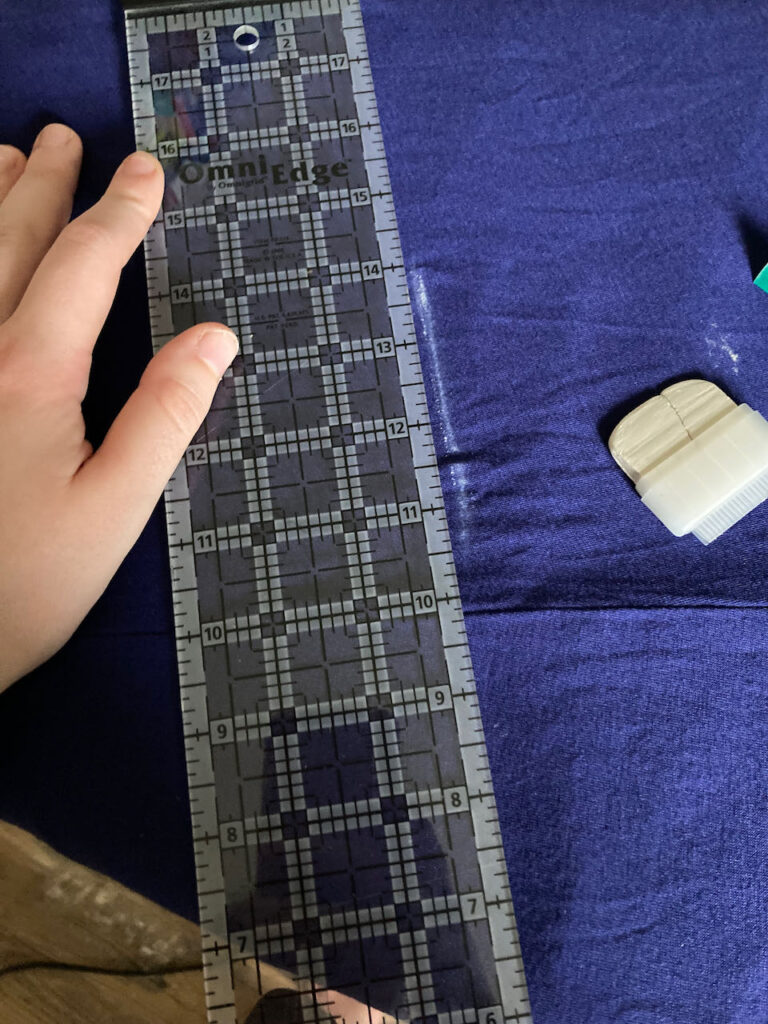
I then connected those markings using a ruler and once again, the white chalk.
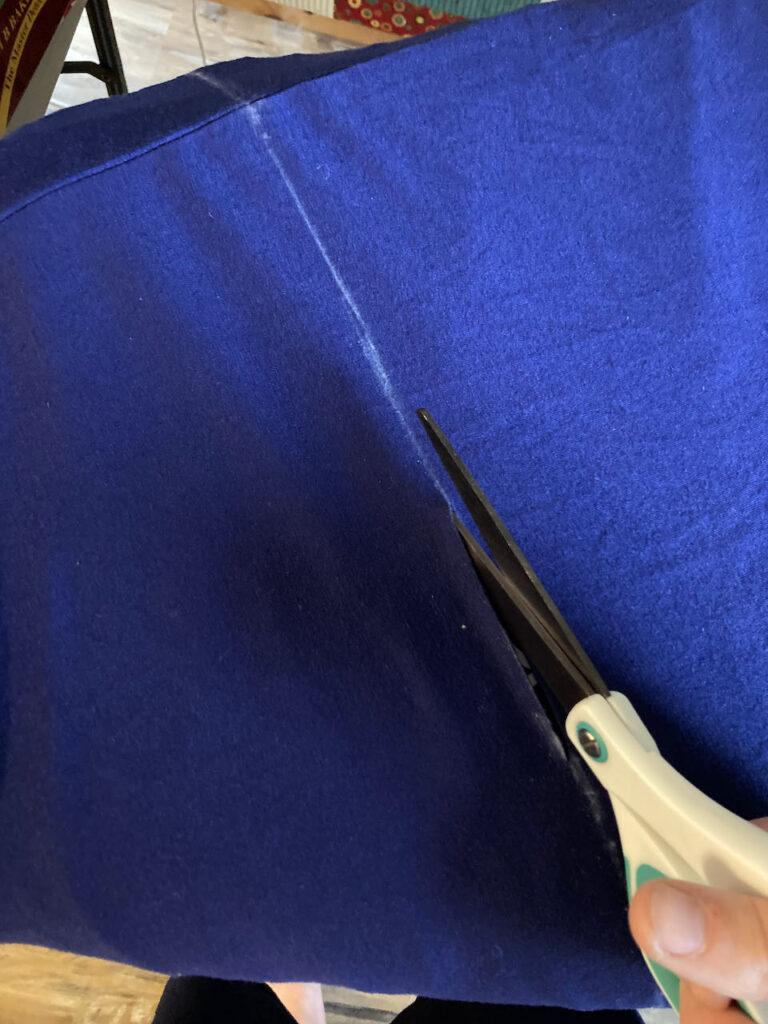
Next, I cut along that line.
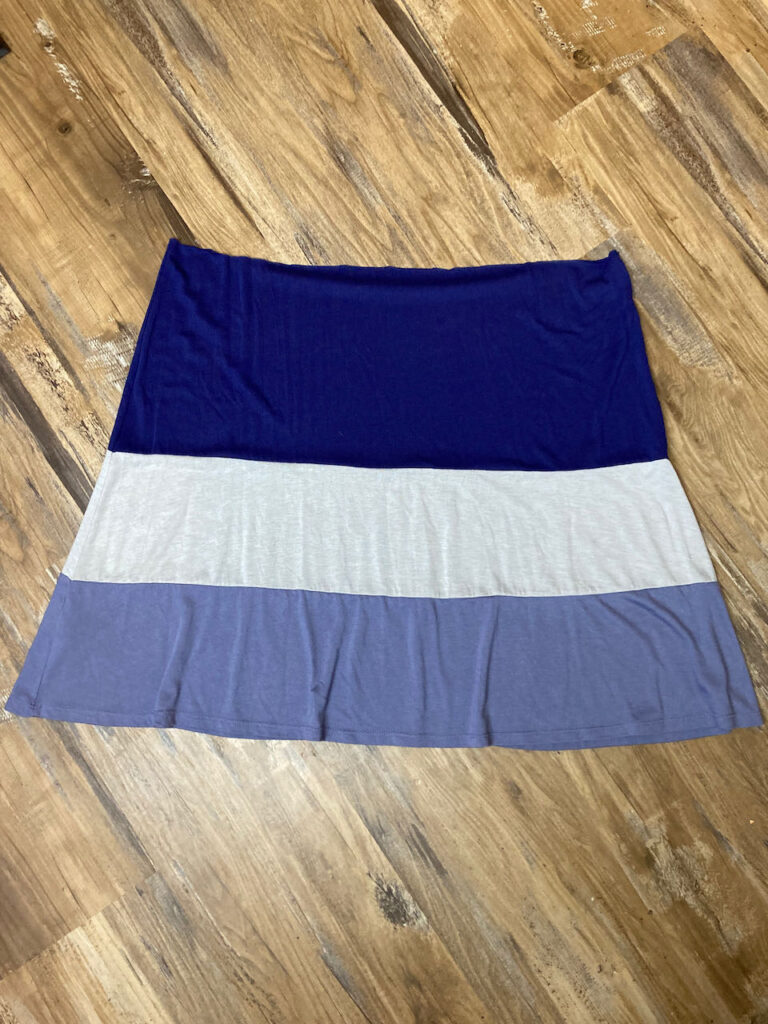
Which gave me this. And since this alone was much too big for me, I placed it on…
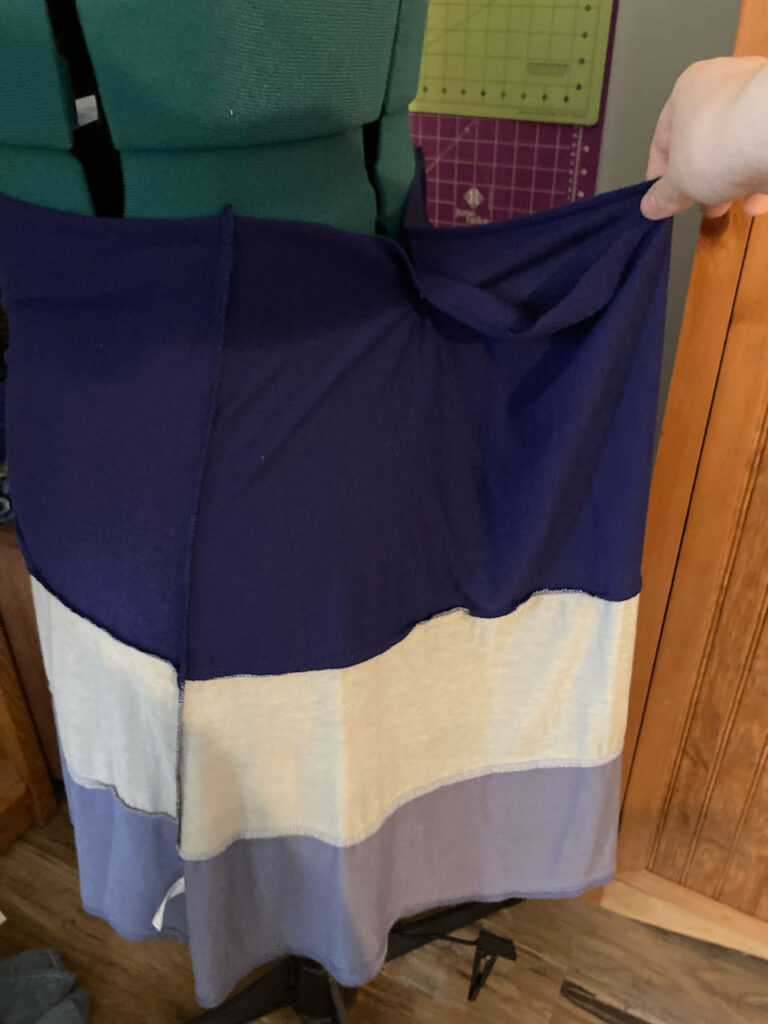
…the dress form. Which has proven to be vastly useful when attempting alterations. As you can see, there was quite a lot of extra fabric to this skirt. I briefly considered gathering the waistline, but I tend to not like the final result when I do that. It just adds extra bulk.
So instead I measured the extra fabric, and took the skirt off of the dress form. And what I did next I’ll have to say next week, since this post would be a little too long if I attempted to include all of the photos and steps into it. So altering a knit skirt will have to be continued then. 🙂
I hope you enjoyed this post. Do you alter your clothing? ~ Emily
1 thought on “Altering a Knit Skirt”
Comments are closed.
[…] And I’ll link to the first part of the process here. […]