Making a Dress, Part One
Hello! Today on Simply Saturday I’ll be sharing some of the steps I took in making a dress, which was my latest sewing project. (And you may remember I posted something about the making of the mock-up a couple of weeks ago. I’ll link to that here.)
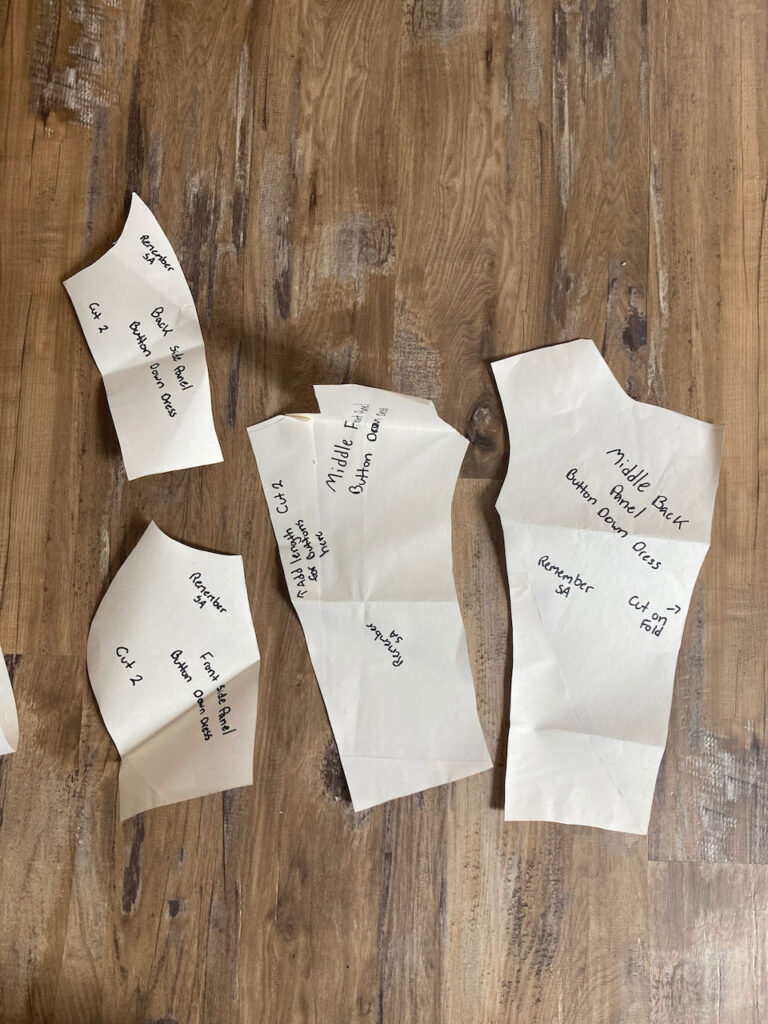
Well, after finishing up that mock up and liking the result, I decided to make another one; this time using nicer fabric.
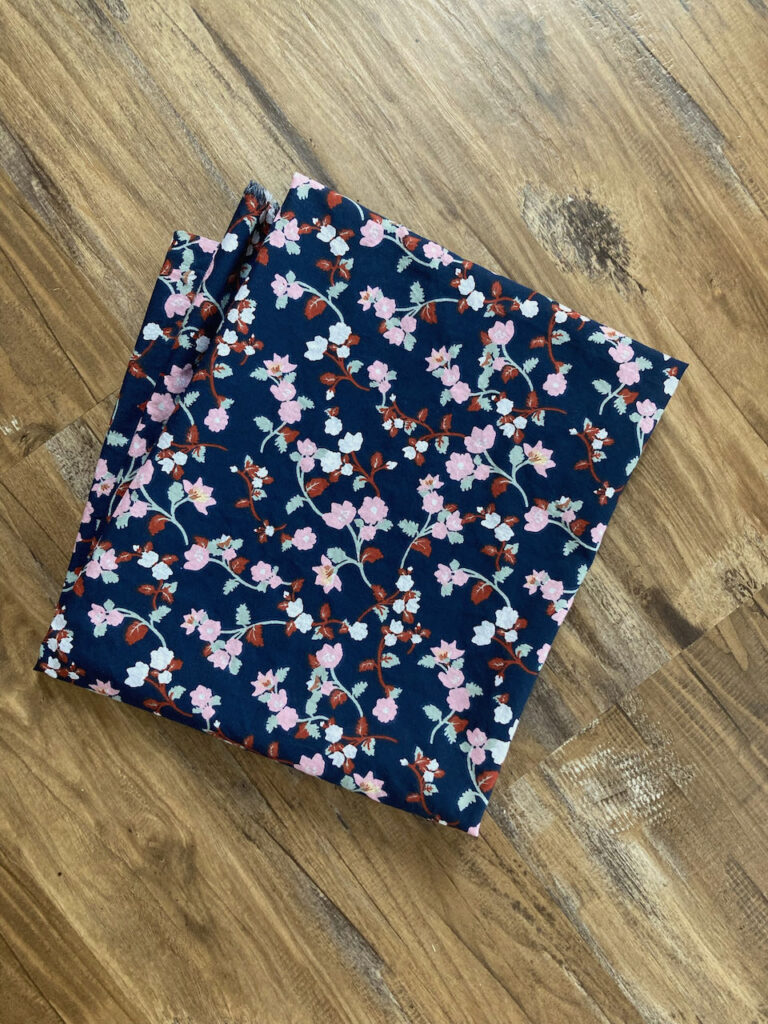
I ended up purchasing some inexpensive cotton fabric from the quilting section at Joann’s. It was easy to work with, and didn’t really wrinkle, even after being stuffed in a backpack. I’m definitely planning on using more in the future!

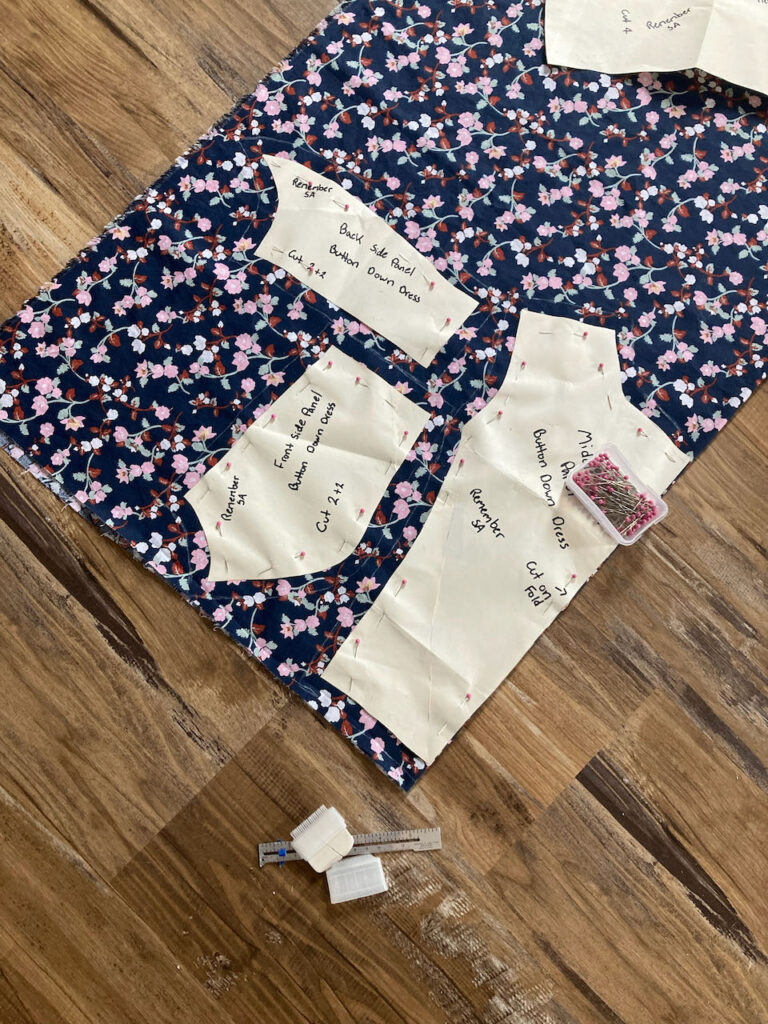
The next step was cutting out the bodice pieces. I actually marked out the seam allowances with chalk (since it’s not included in the pattern pieces I made) instead of just winging it like I did with the mock-up. 😉
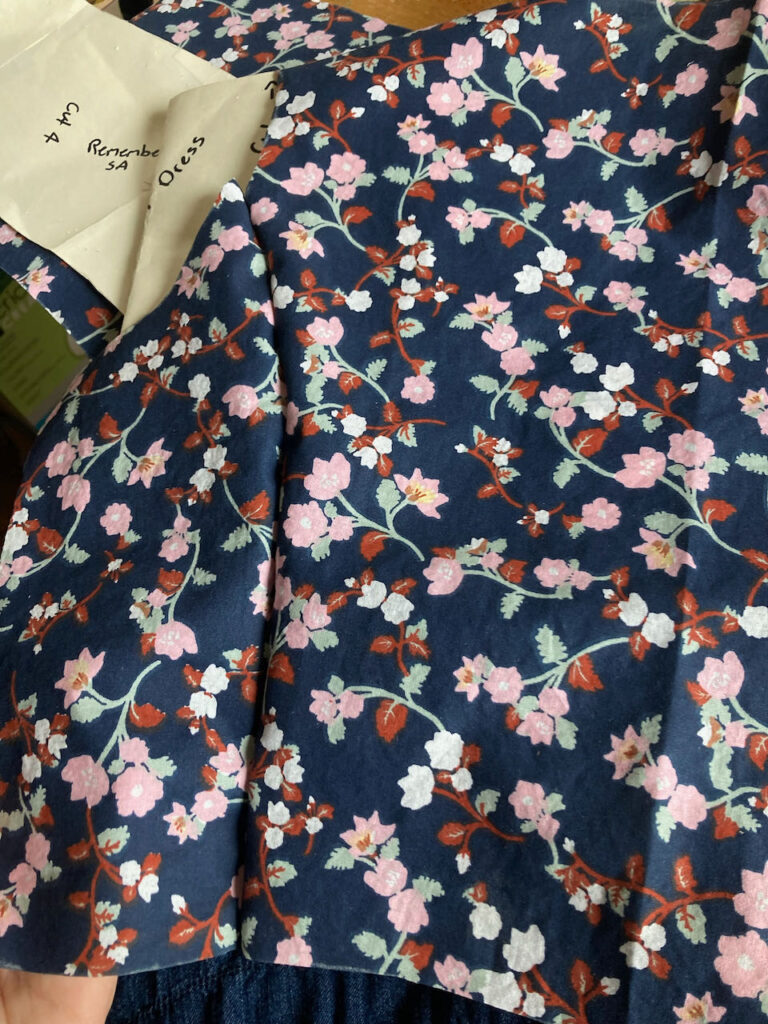
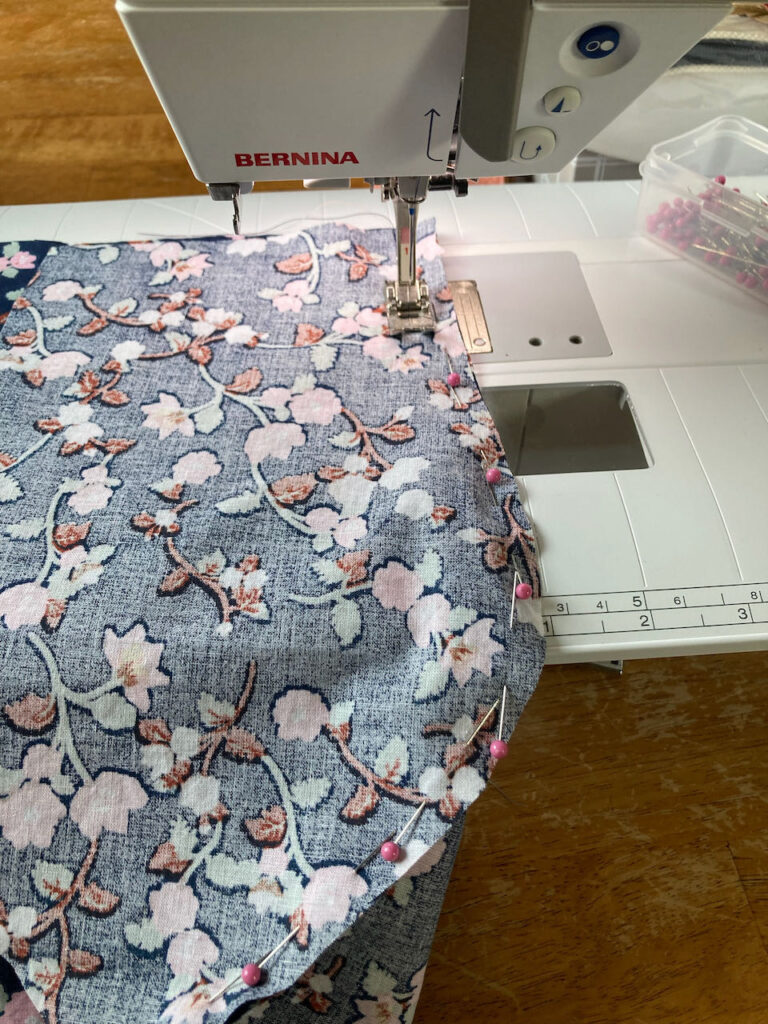
I then stitched up the bodice and back seams.
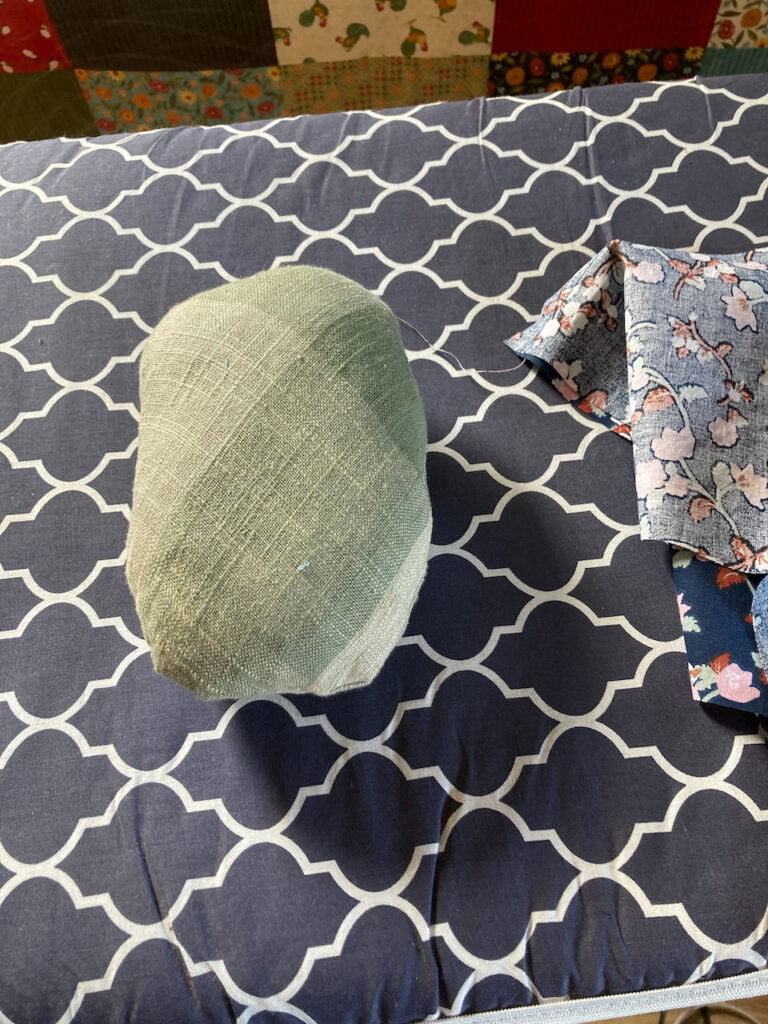
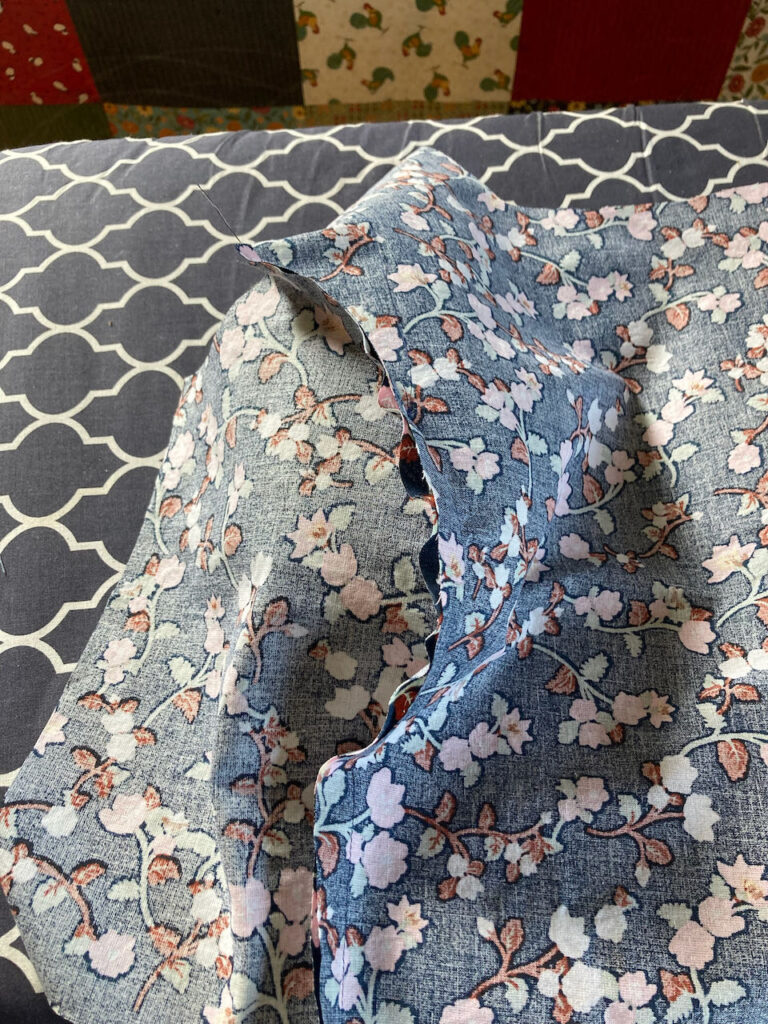
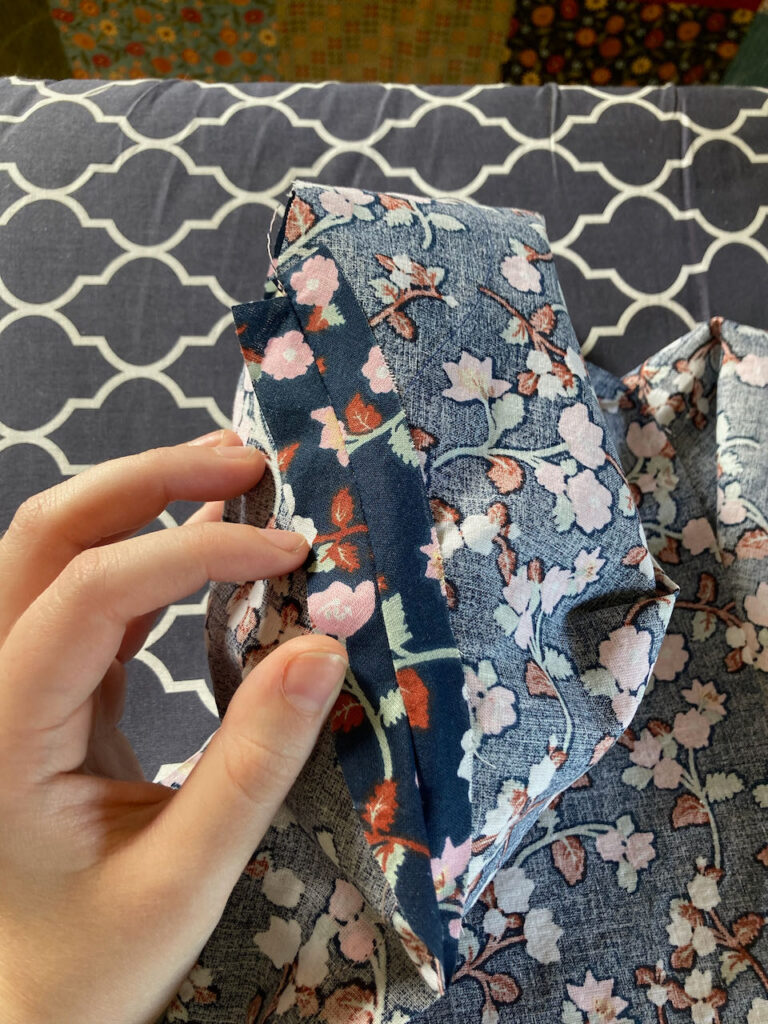
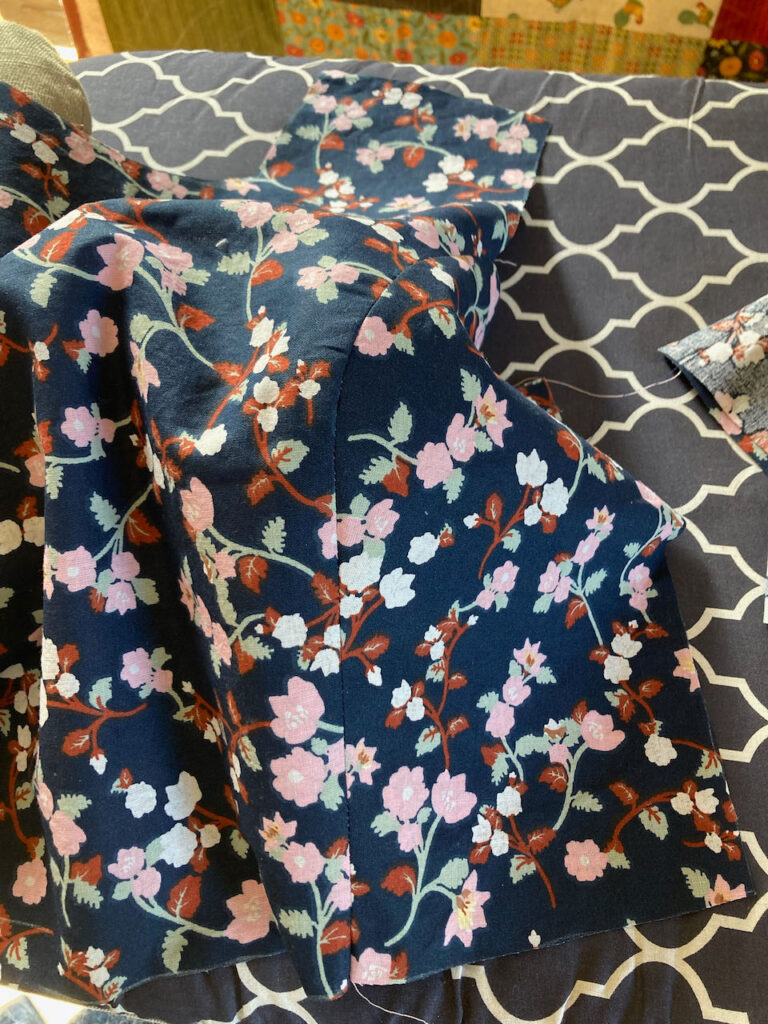
And then pressed those seams using my homemade tailor’s ham. The ironing really improves the look of these pieces at this stage of the process!
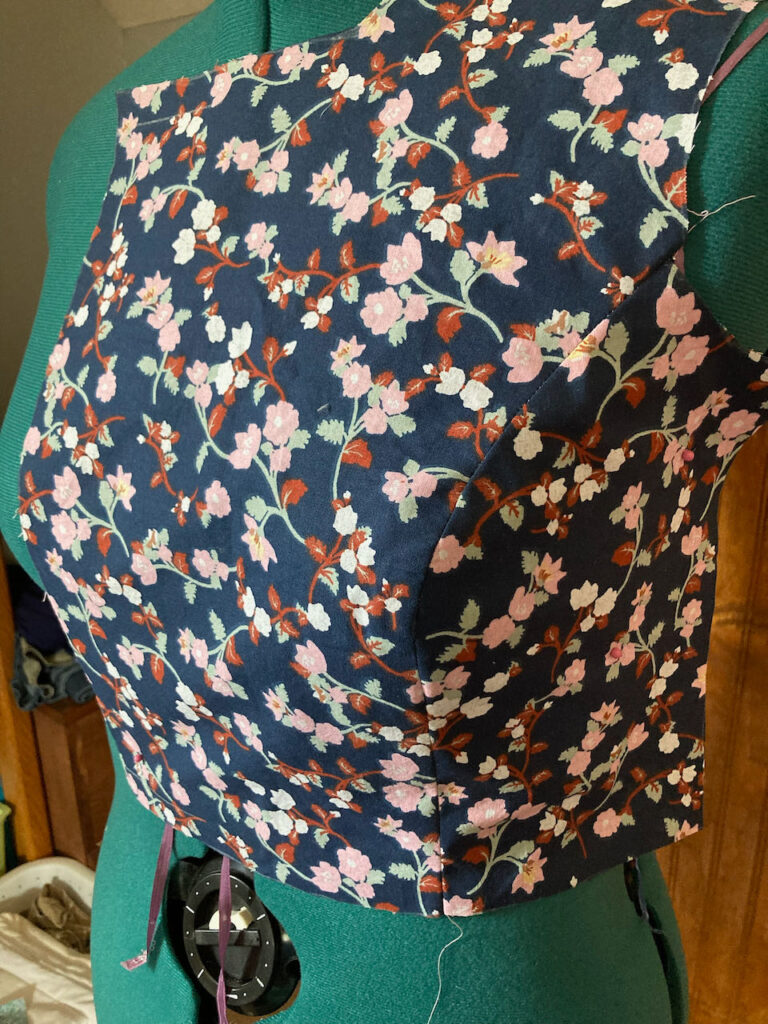
And here’s what one of those pieces looked like pinned onto the dress form.
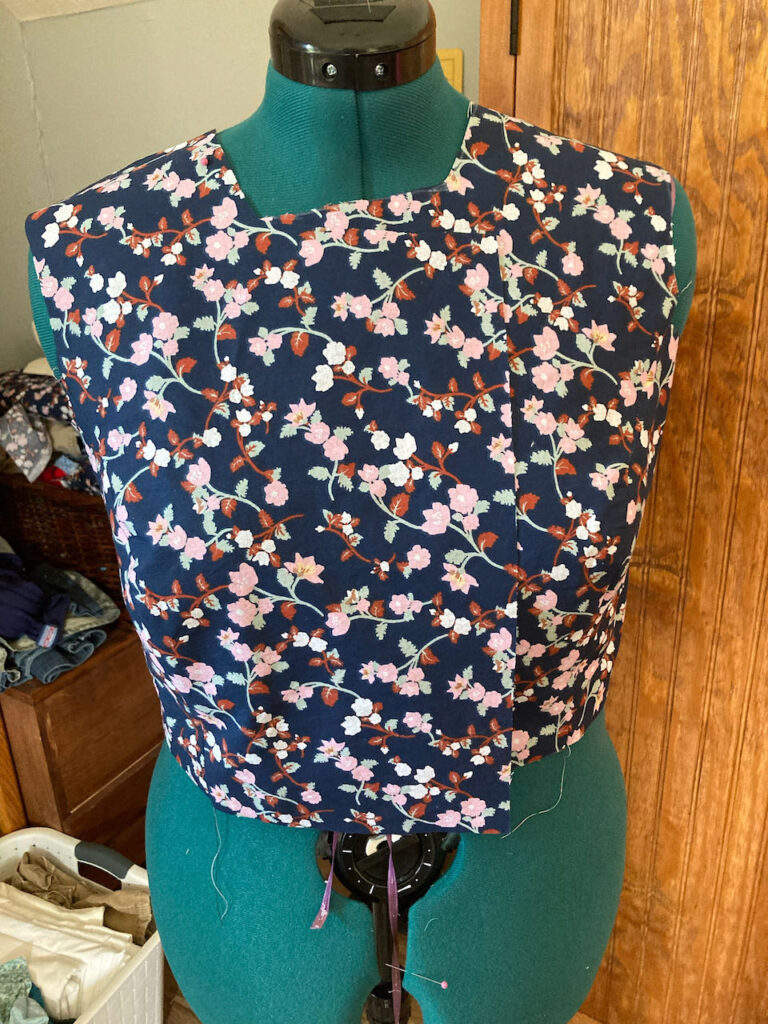
And here’s another view of those pieces.
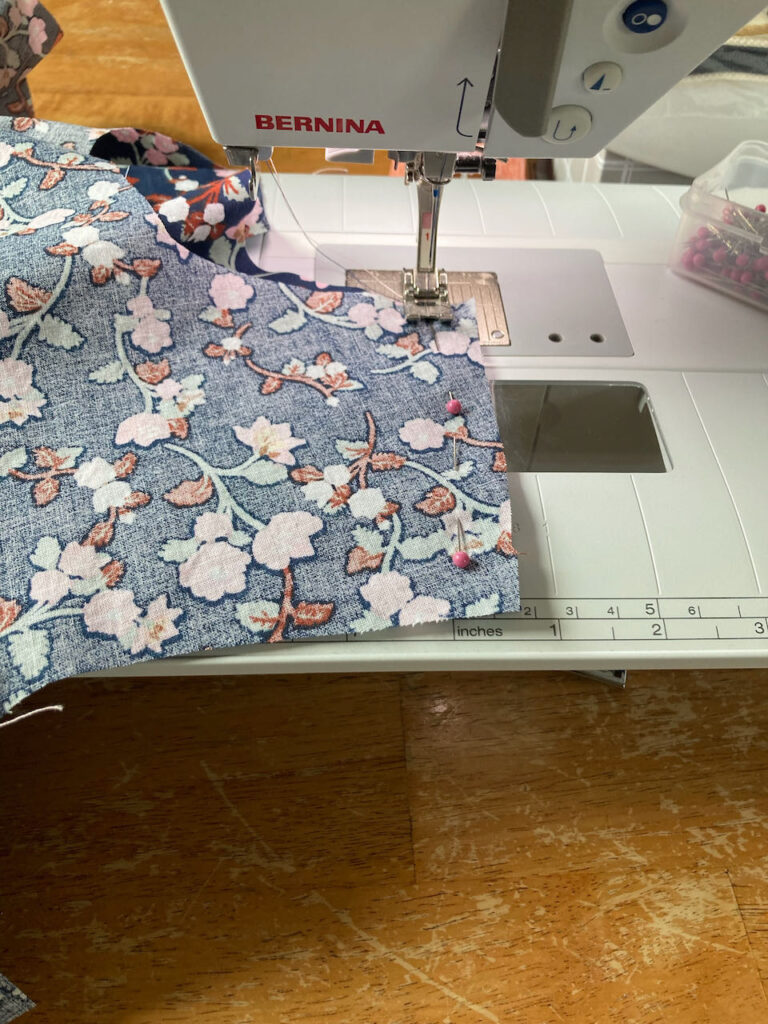
I then stitched the shoulder seams.
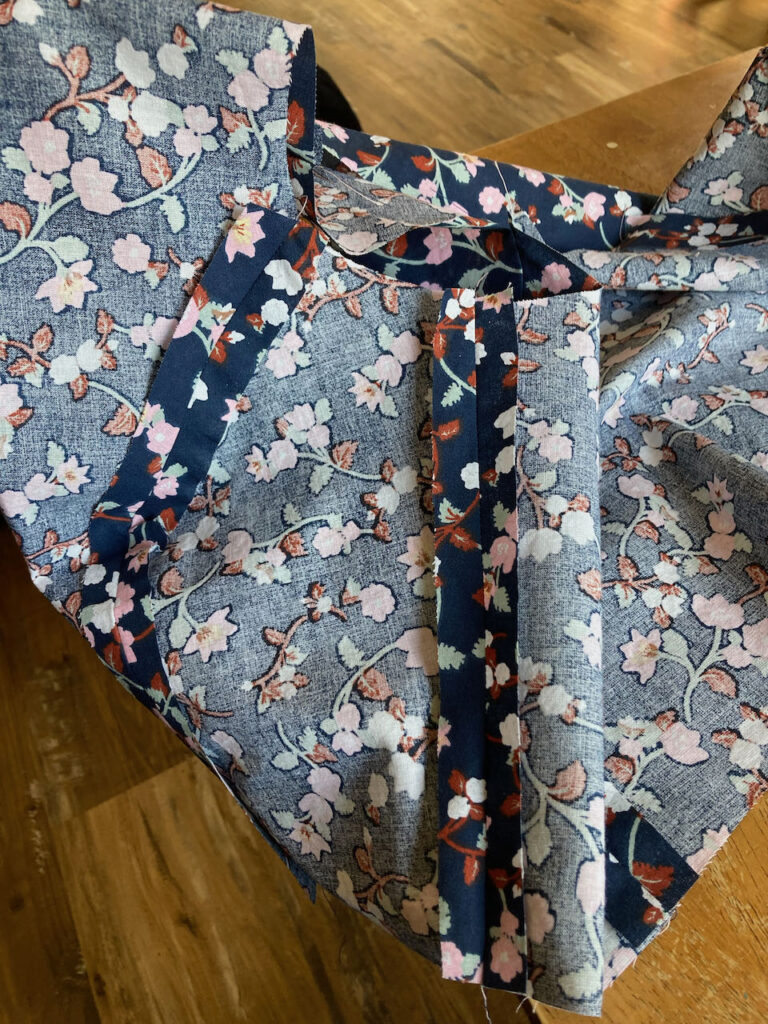
And also stitched the side seams. All of these seams were pressed, as well.
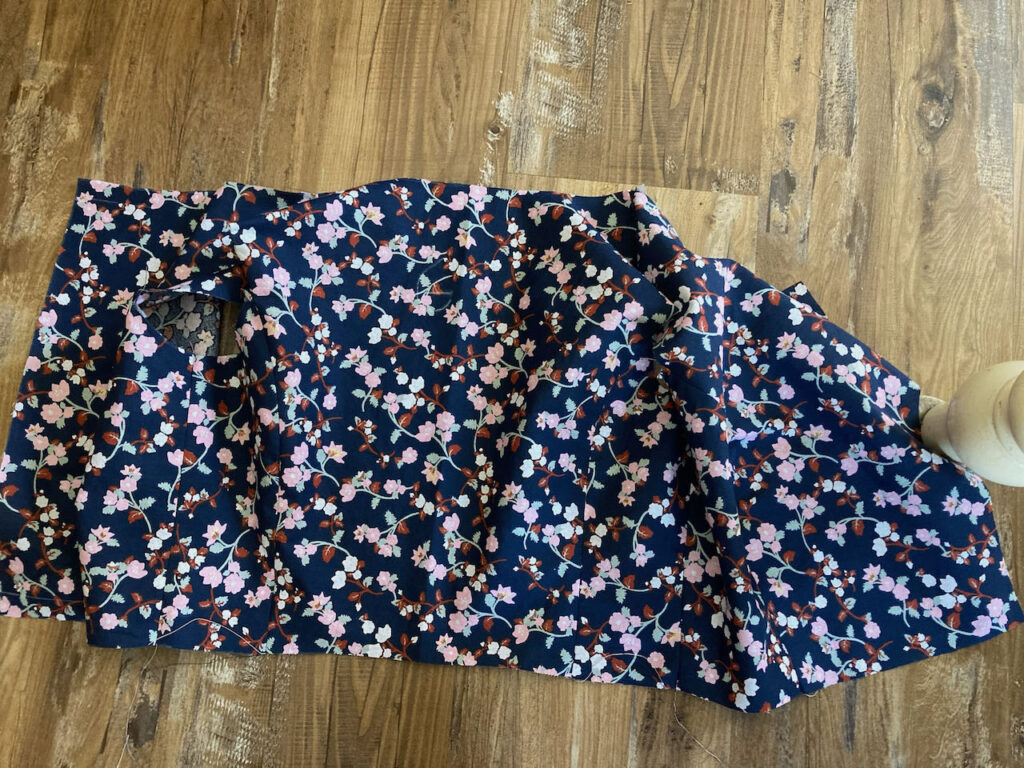
It’s a little hard to tell what’s going on in this photo, but this is all of the pieces of the bodice sewn together. I also had another piece identical to this one. I then sewed those two pieces together at the edges, so that I had a lined bodice.
But this post is pretty long, so I should probably stop now. Hopefully I’ll be able to post a second installment next week! ~ Emily