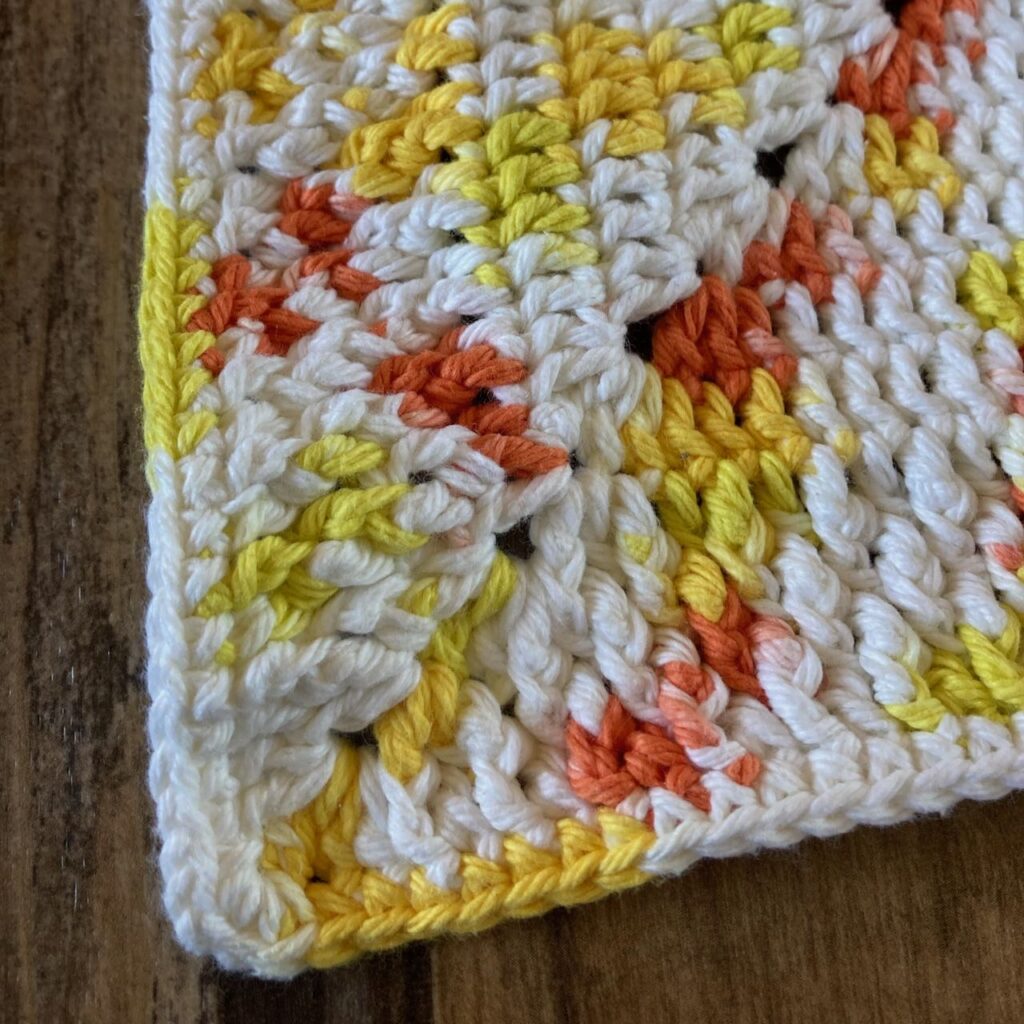
A Creamsicle Bear
Hello again! I’m back with another project to share on Simply Saturday. A Creamsicle bear.
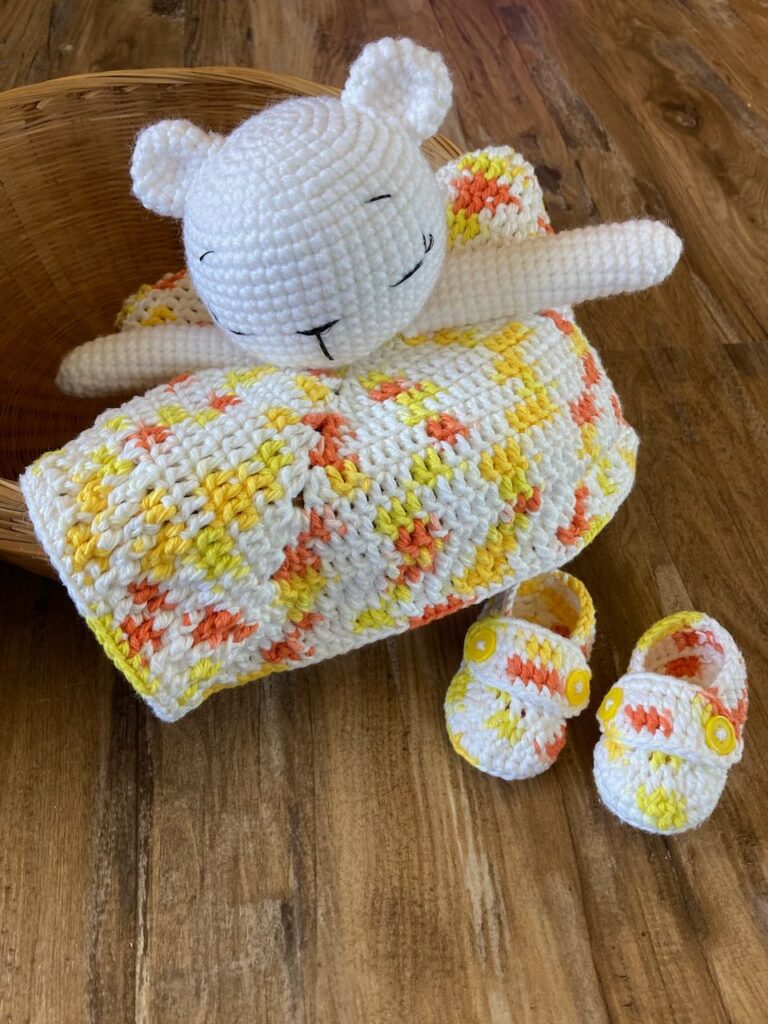
Well, really, a bear and a pair of shoes. I made these cute little crocheted pieces as a gift for a friend of mine, who’s having a baby. I’d never made anything like these before, but I think they turned out rather nicely. What do you think?
The Bear:
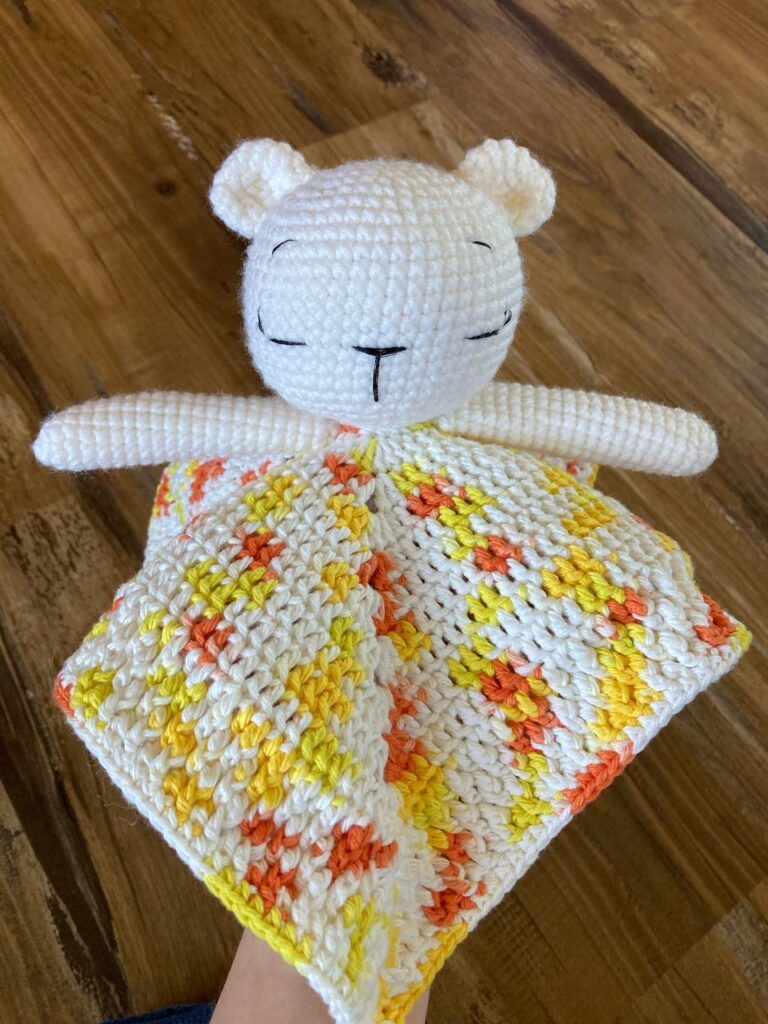
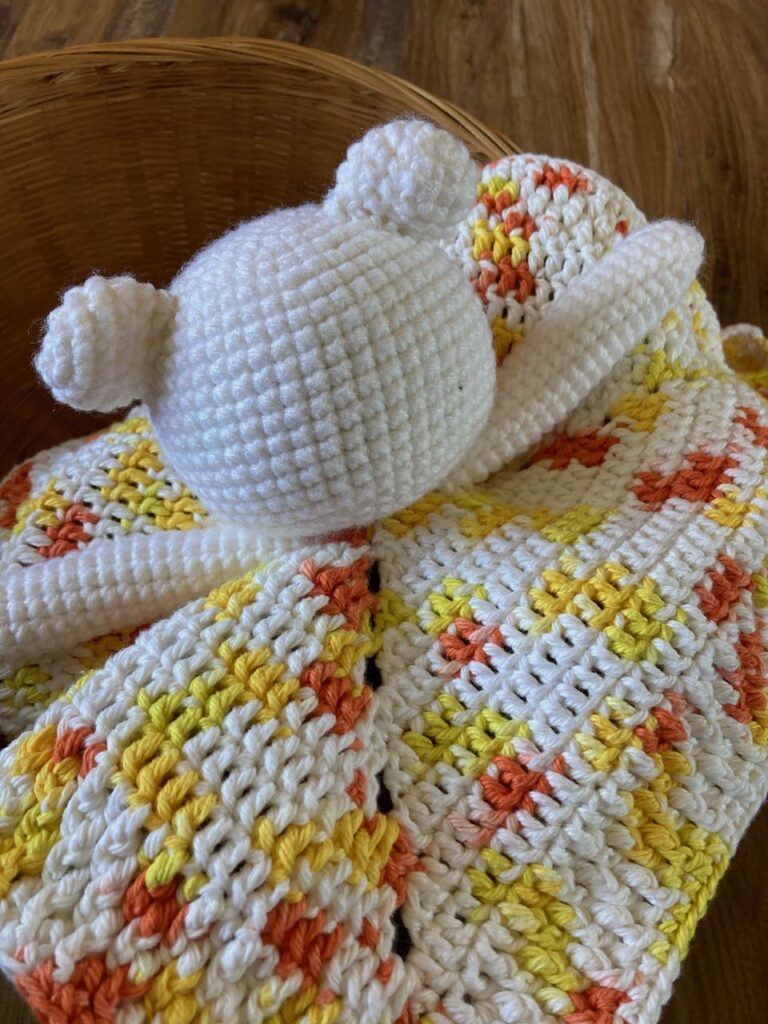
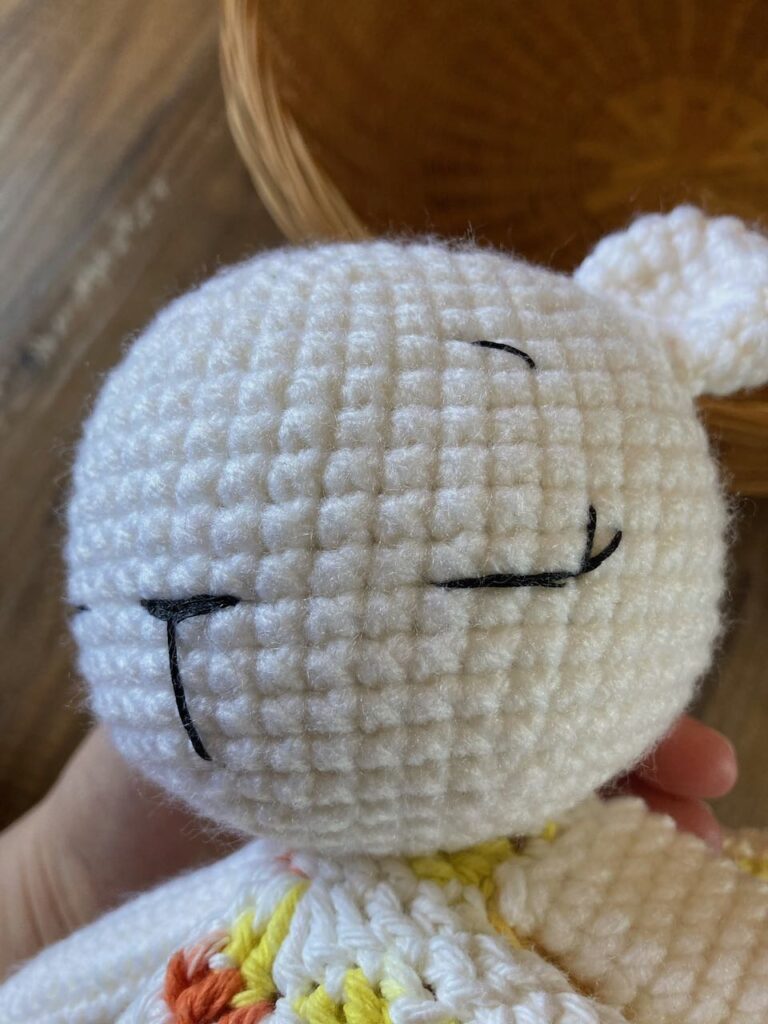
The making of this bear was a little lesson in the difference between UK crocheting terms and US terms, the ones I’m used to. I ended up making about eleven rounds on the head before realizing that something definitely wasn’t right. It was cone-shaped, and strangely elongated. I took a look at the comments to see if anyone else had had the same problem. That was when I found my mistake. Turns out that a DC stitch in UK terms is not the same as in US. Instead, it’s really an US SC stitch. The other stitches used in the blanket were also different from their US counterparts. (The woman who made the pattern did provide descriptions of the UK stitches, though, so that was very helpful.) Anyway, on the bright side, now I’ll know to be more careful about the stitches I’m crocheting. You learn that lesson when you have to unroll several hours work!
After that little hiccup, however, things went much more smoothly and I ended up with the result, pictured above. (Oh, and in case you’re wondering about the “Creamsicle” part, that’s what the yarn was called. Appropriate, don’t you think?) I really like how it turned out. I had to figure out a new stitch or two for the border on the blanket part, but it wasn’t very difficult to learn. Plus, it looks a lot more complicated than it is. 😉 I’ll link to the pattern that I used here. (And just let me warn you again: if you do decide to try your hand at this bear blanket, don’t forget about the difference between Uk and US terms!)
The Shoes:
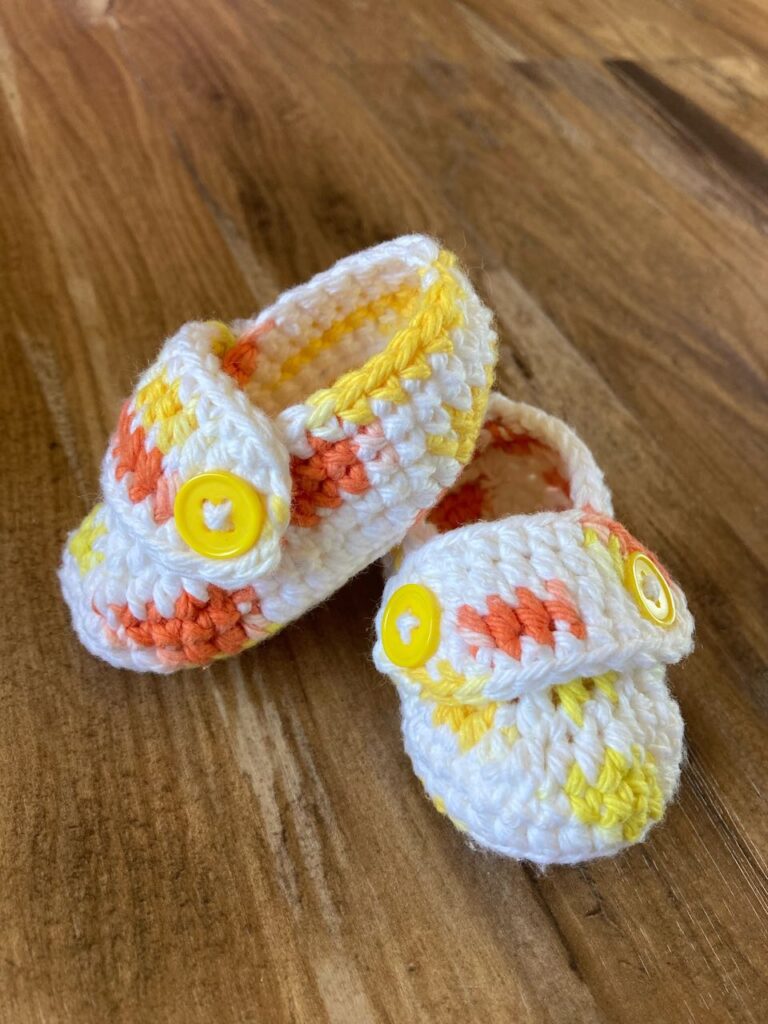
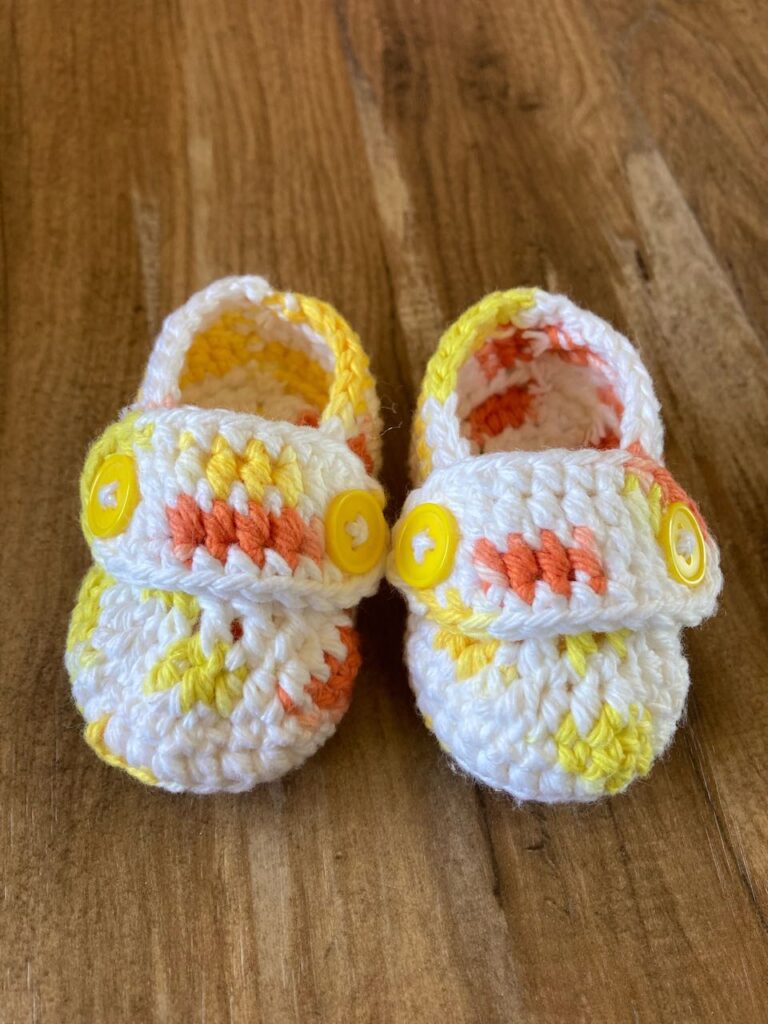
These little shoes were probably one of the fastest crochet projects I’ve ever done (though that’s because I mostly make blankets, which can take a fair amount of time to finish). The instructions for these shoes were a little tricky for me, since you join the rounds with a slip stitch instead of stitching in continuous rounds. I’m not quite as as experienced in the slip stitch style, since for Amigurumi (the style I used for making a few gifts) you mostly work in continuous rounds. They did turn out a little smaller than I had hoped, but I figure that if they don’t fit the baby for very long, they can be used for playing with dolls. Dual purpose, right? 😉 I’ll link to the pattern here.
I hope you’ve enjoyed this post. Until next time ~ Emily