Step- By-Step: Creating a Custom Card
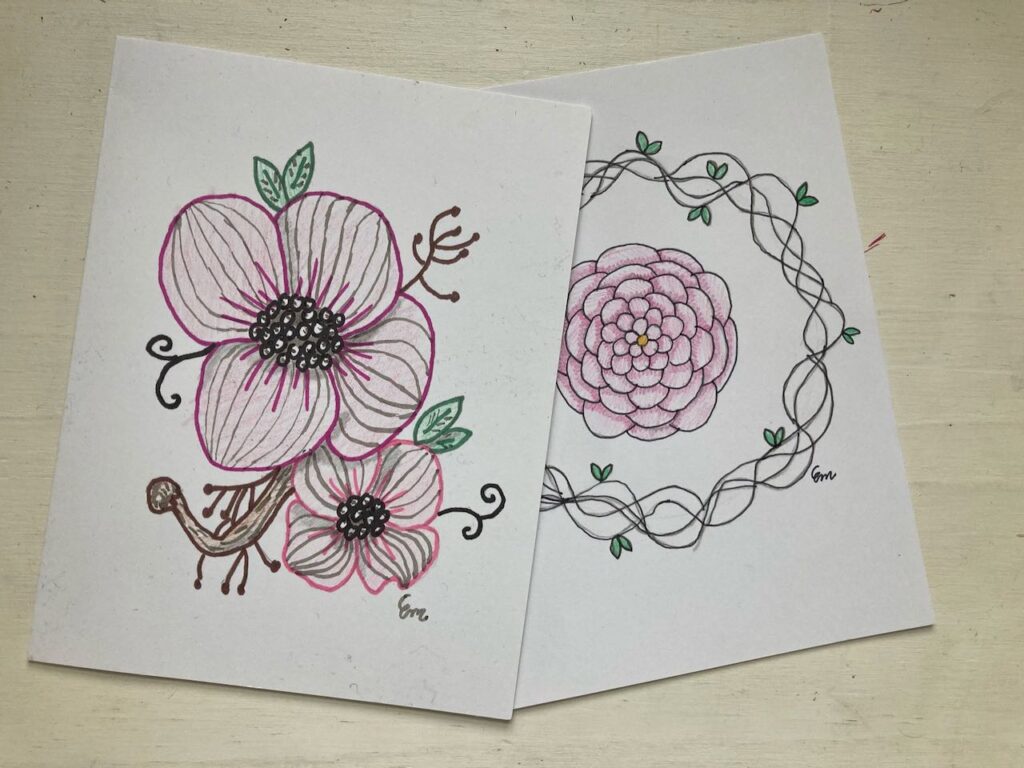
As I’ve posted before, I’ve recently been interested in creating custom note cards. There’s an endless amount of variety that can be drawn onto a blank card. I’ve mostly been drawing (no pun intended 😉 ) inspiration from flowers, vines, leaves, etc. The two cards above are some that I finished already. Today I thought I’d take you through the process of how I create them! But first a closer look at the ones I’ve finished:
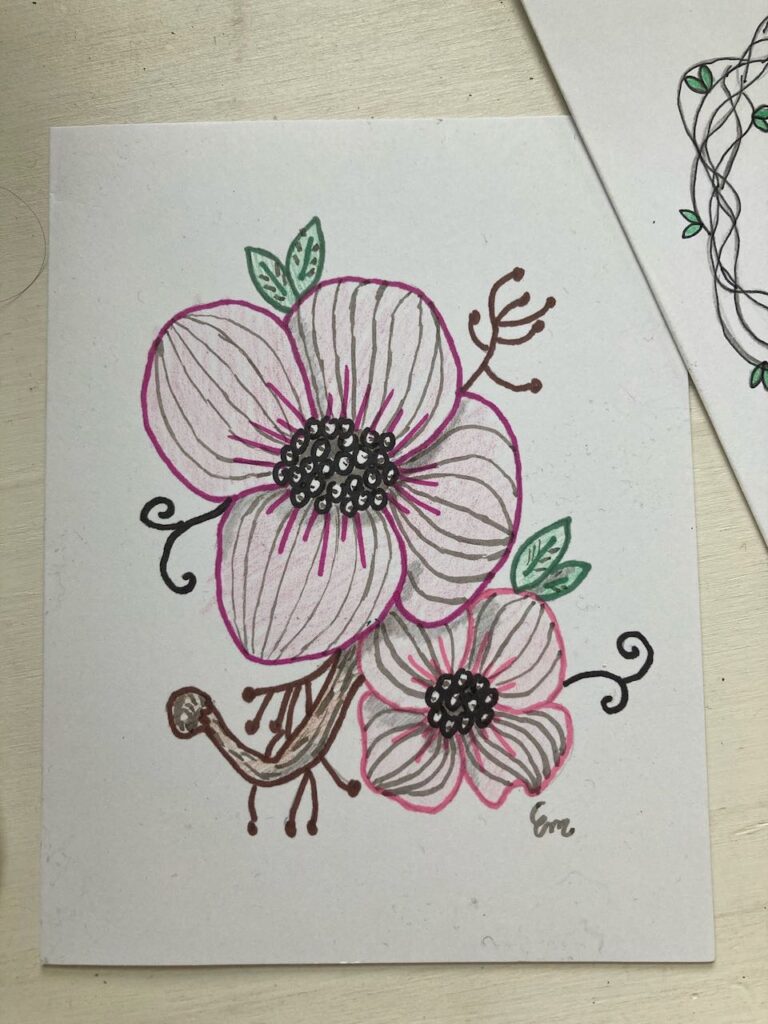
This one I used inspiration from an adult coloring book, which contained detailed coloring pages of flowers, etc. I liked how these dogwood blooms looked in the coloring book, so I used the shape in an arrangement of my own. For some color, I used my Prismacolor markers, pencils, and an HB pencil for shading.
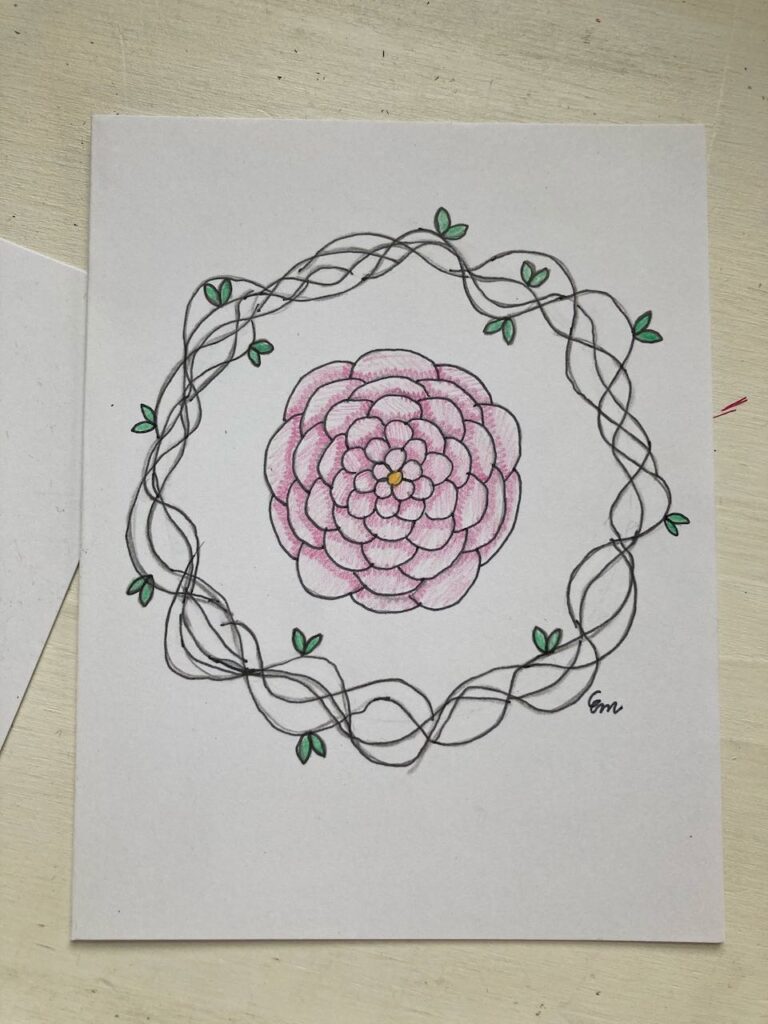
For this one, I noticed the vines and flowers on my lampshade, for some reason. I see it everyday, but that particular day the design caught my eye. I decided to use it on a card. First, I outlined a circle on another blank note card, then drew wavy lines all around it to represent vines. I added a few tiny leaves for a little detail. Then, I drew a flower in the center. Pretty simple, but elegant. 🙂
Creating a Custom Card:
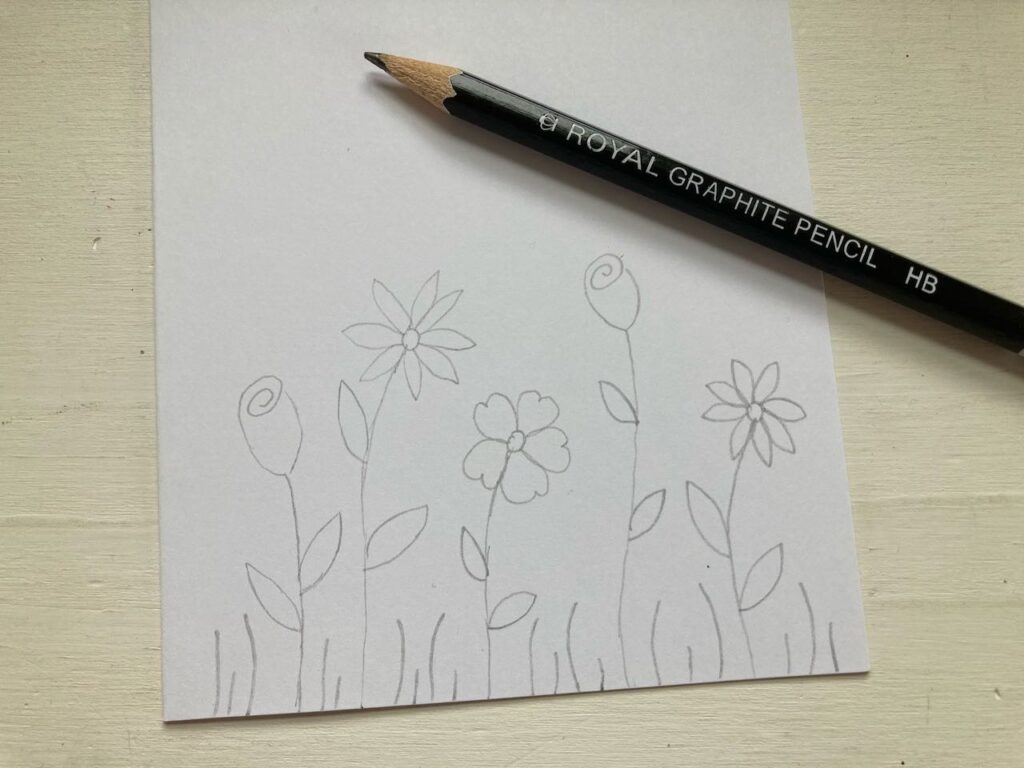
For this one, I had an idea of what I wanted, and went from there. I drew the forms with an easily erasable HB pencil.
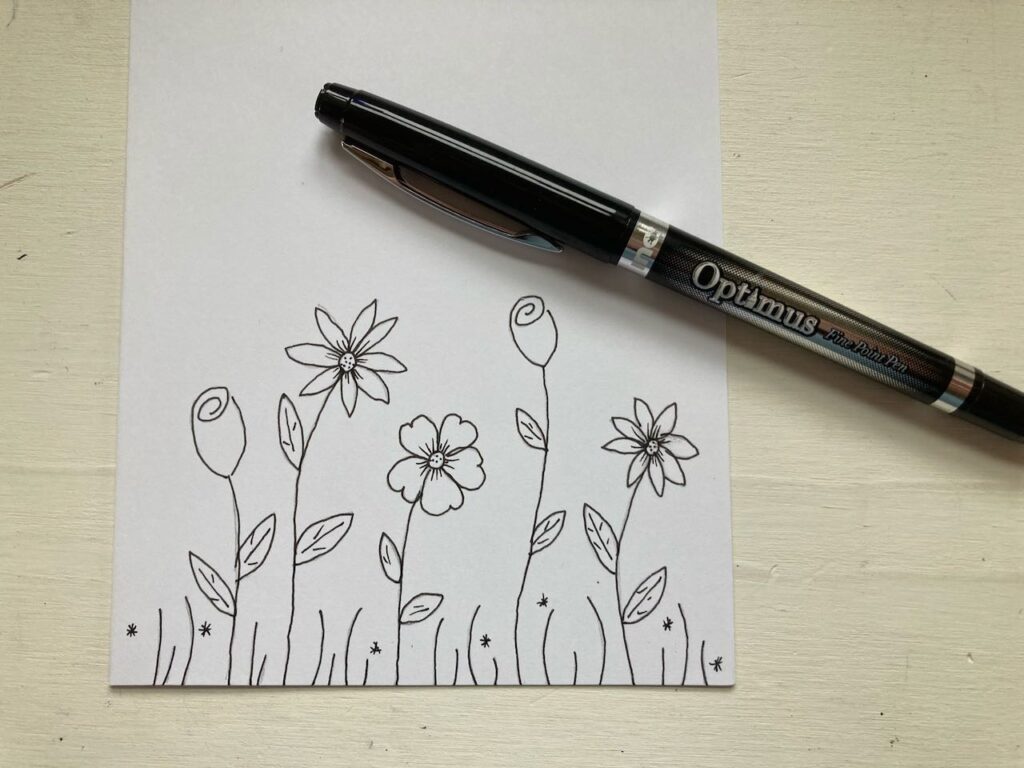
For the next step I drew over the lines a second time with a fine point, black pen. This part, in my opinion, is essential. It creates lines that don’t smudge like a pencil, and just looks more professional. I also added in the little details of veins on the leaves and flowers.
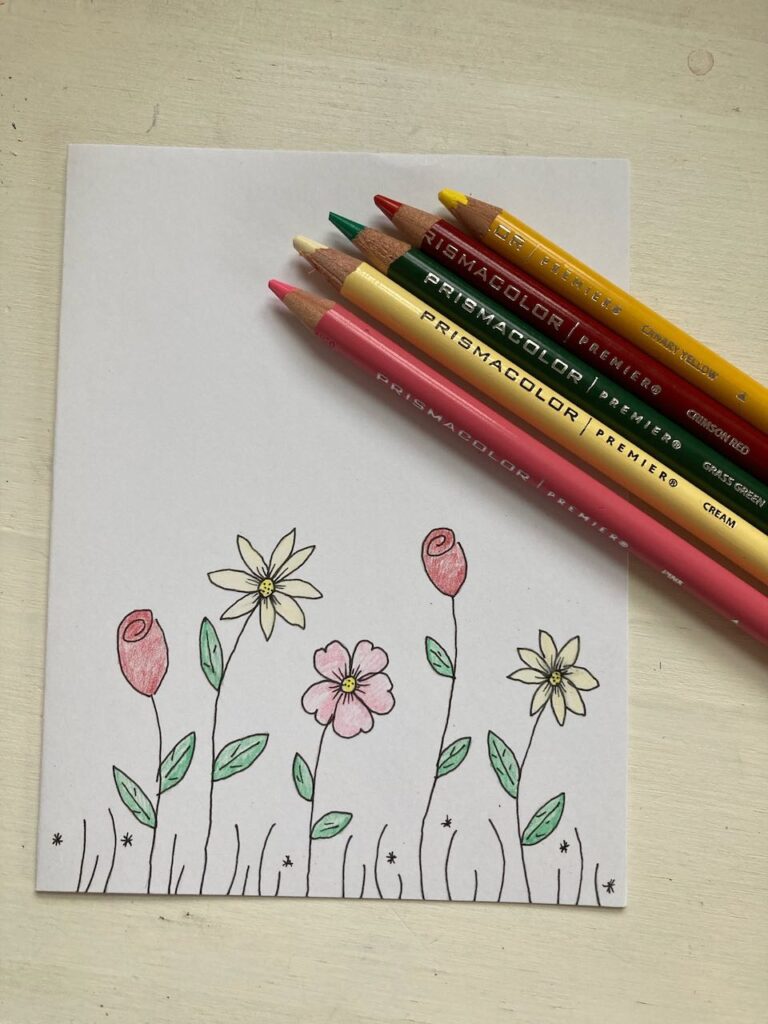
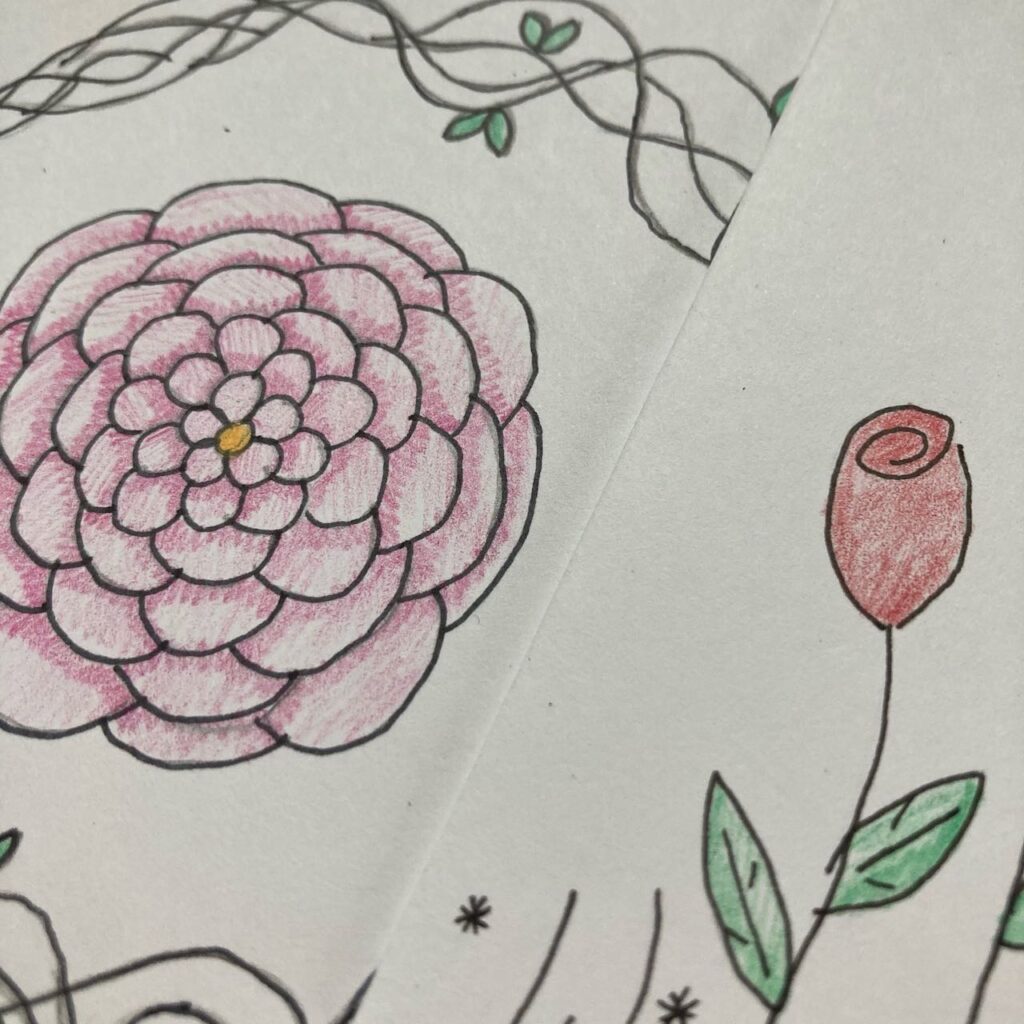
Last step: Adding color! (The colors are actually brighter in real life, they’re just not showing up in the photo.) As you can see, these flowers are more on the whimsical side than the realistic side. Typically, that’s where I lean. It’s much easier to draw from memory, and still looks pretty. 🙂 I may add a word or two above the flowers, but as of this moment I don’t know what the card will be used for. I’ll wait to customize it further. Isn’t that the point, after all? 😉
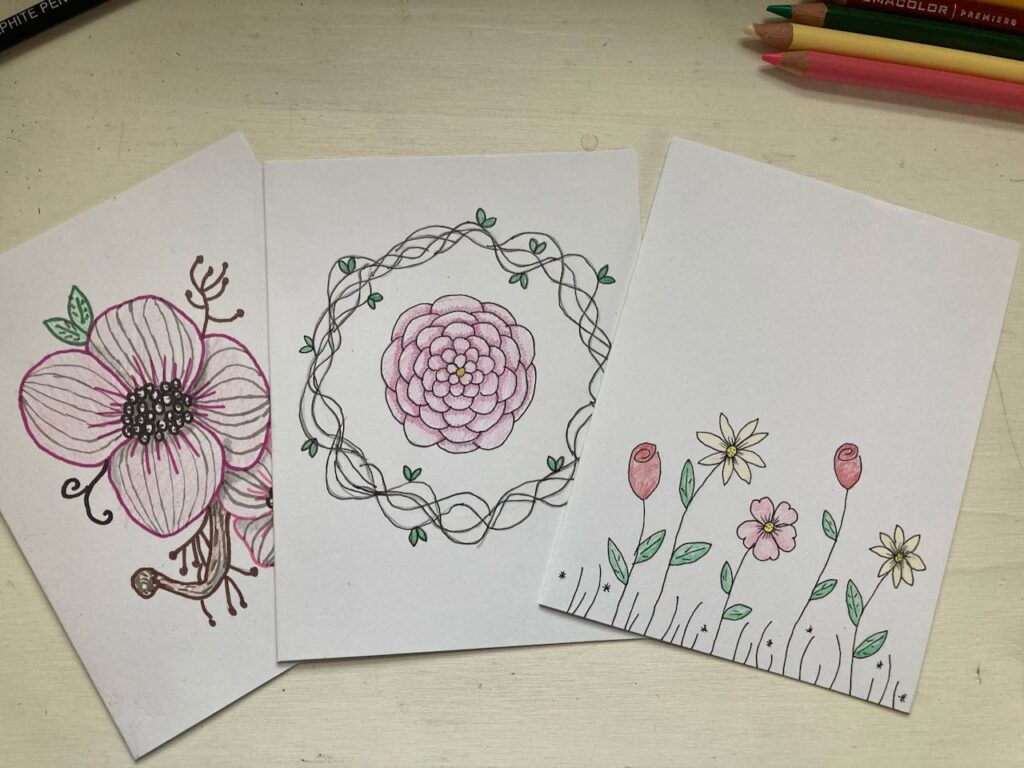
And here they are all together! I’m starting to notice a trend. 😉
Well, I hope you enjoyed this post on creating a custom card. Now, I’d better get back to that book I’m writing… ~ Emily
1 thought on “Step- By-Step: Creating a Custom Card”
Comments are closed.
[…] of the process. If you’re interested seeing more of my artwork, I’ll leave a a link here, and […]